Sp0_0k
- Messages
- 1,233
- Vehicle
- T6 Beach 4Motion
Trying to find all the 12v sockets in a T6 Beach.
Not on the top of a comfort dashboard. One in a phone compartment. 20A one on the left wall behind the seat.
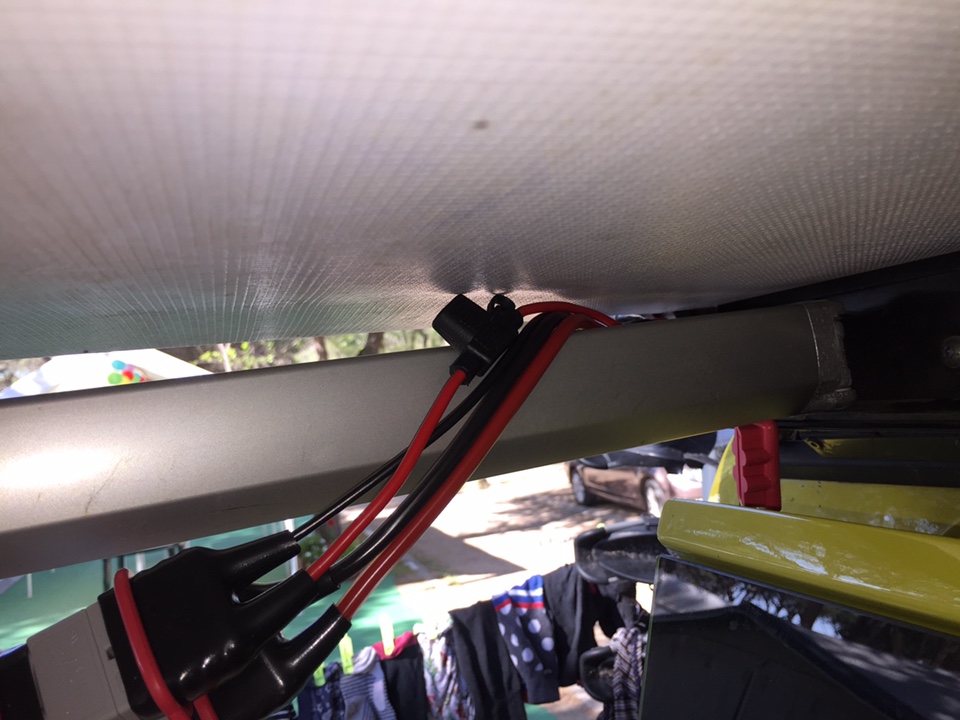
One in the tent up top.
Did I miss any other ones? Also is there a table of Amper ratings for each? I suppose the one in a dashboard is the only one going from the auxiliary battery right?
Not on the top of a comfort dashboard. One in a phone compartment. 20A one on the left wall behind the seat.
One in the tent up top.
Did I miss any other ones? Also is there a table of Amper ratings for each? I suppose the one in a dashboard is the only one going from the auxiliary battery right?