JAPRACER
On my old T25 I purchased a Fiamma 45s awning with the full on privacy room at an extortionate amount of money but my philosophy is you pay your money you get what you pay for.
I didnt want to split it from the old van and I dont think it would have fitted the new bus anyway so decided to give the Comfortz room a try, this is my unbiased opinion and I have tried to compare it with the Fiamma one where possible.
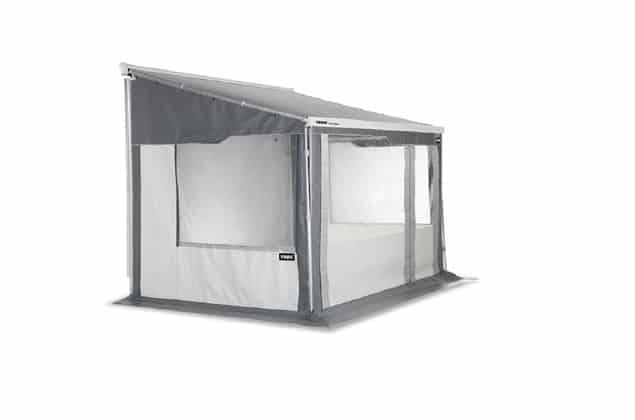
First impressions and fresh out the bag, it’s so simple, looks hard wearing and takes up virtually no space in comparison to the Fiamma one which came with poles to attach it to the awning rail and a 3 or 4 ft long bag to match. Score 1 to Comfortz
So having laid out which way we wanted the door and windows round (you have one side with window and one with door) we attached the sides using the mega simple zip over the awning rail fitting.
The front panel slid into the awning rail within seconds and attached with hardcore velcro either end.
With the Fiamma we would still be trying to thread the poles through the sides and attach the fiddly rubber bungs at this stage, Comfortz, we have an enclosure in about 2 minutes.
So pretty much within 5-10 mins the pegs are in and we are up and operational.
I would say for ease of use I would have taken this one over the Fiamma one any day of the week, my only criticisms are:-
By using the rail to attach the sides it feels much smaller than the fiamma.
The roof is still open to the elements above the rails so the cold is still making its way in, the heat out, the Fiamma is a proper enclosure in that respect but harder to erect.
The side panels where it meets the van are also open, the Fiamma had a much slicker fit here and one which i think lets this product down, really my main criticism if truth be told, if its raining and I have the door open, we could get wet and colder.
I think an optional extra should be another velcro panel which attaches to the van via one or 2 limpets to seal that gap and to stop the side panel rubbing the van in the wind.
This night picture highlights all of the above..
So fellow campers, novices, experienced, would I recommend this? It’s a yes from me, the optional side extensions would have seen this beating the Fiamma to a pulp £ for £ in my opinion.
If you want an easy shelter in a hurry then this is the one for you.
I am yet to see how it looks after being put away a few times maybe even damp, the Fiamma died a death after a few times being away damp, blackened mould spots which couldnt come out and ruined the look for me.
A few more pics


I didnt want to split it from the old van and I dont think it would have fitted the new bus anyway so decided to give the Comfortz room a try, this is my unbiased opinion and I have tried to compare it with the Fiamma one where possible.
First impressions and fresh out the bag, it’s so simple, looks hard wearing and takes up virtually no space in comparison to the Fiamma one which came with poles to attach it to the awning rail and a 3 or 4 ft long bag to match. Score 1 to Comfortz
So having laid out which way we wanted the door and windows round (you have one side with window and one with door) we attached the sides using the mega simple zip over the awning rail fitting.
The front panel slid into the awning rail within seconds and attached with hardcore velcro either end.
With the Fiamma we would still be trying to thread the poles through the sides and attach the fiddly rubber bungs at this stage, Comfortz, we have an enclosure in about 2 minutes.
So pretty much within 5-10 mins the pegs are in and we are up and operational.
I would say for ease of use I would have taken this one over the Fiamma one any day of the week, my only criticisms are:-
By using the rail to attach the sides it feels much smaller than the fiamma.
The roof is still open to the elements above the rails so the cold is still making its way in, the heat out, the Fiamma is a proper enclosure in that respect but harder to erect.
The side panels where it meets the van are also open, the Fiamma had a much slicker fit here and one which i think lets this product down, really my main criticism if truth be told, if its raining and I have the door open, we could get wet and colder.
I think an optional extra should be another velcro panel which attaches to the van via one or 2 limpets to seal that gap and to stop the side panel rubbing the van in the wind.
This night picture highlights all of the above..
So fellow campers, novices, experienced, would I recommend this? It’s a yes from me, the optional side extensions would have seen this beating the Fiamma to a pulp £ for £ in my opinion.
If you want an easy shelter in a hurry then this is the one for you.
I am yet to see how it looks after being put away a few times maybe even damp, the Fiamma died a death after a few times being away damp, blackened mould spots which couldnt come out and ruined the look for me.
A few more pics
Last edited by a moderator: