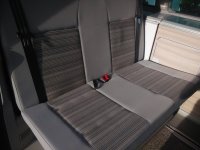
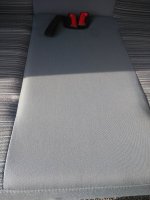
Buy all your VW California Accessories at the Club Shop Visit Shop

How to dismantle rear bench seat fabric.

T

TripleBee

Messages
2,848
Location
.
Vehicle
N/A
I could have posted this in the video section how to, but it's no video.

After 11 years of use without seat covers, on the last trip to Millau, after a nice hike, we got into a thunderstorm. By the time we got to the van, we were all soaking wet.
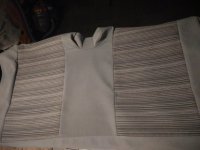
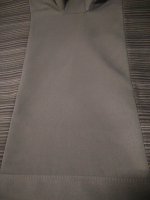
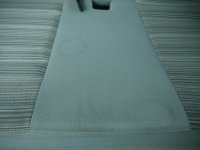
Too bad the light grey fabric doesn't go along well with water stains, and this happened when all dried up.
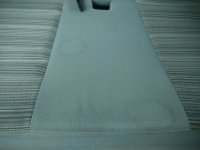
IMG_20201003_100957.jpg
And this is after trying to clean it by hand and fabric cleaner. Might have given it a few more tries, but one can never clean it good without a decent wash.

Time for action.
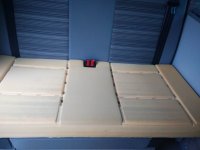
First take out the side hatch, or if you have the second drawer, take that one out.
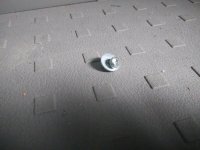
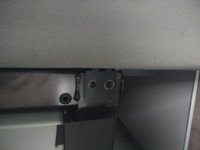
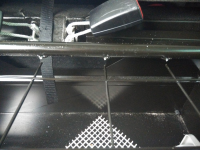
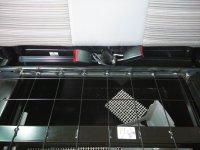
Under the bench, in the load through space, or the second drawer space, you will find the strap for holding the rear seat. Unscrew the Philips screw with washer.
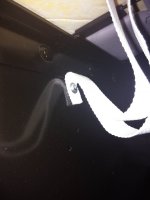
IMG_20201003_101022.jpg
IMG_20201003_101200.jpg
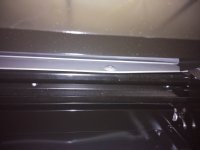
Fold the seat into bed position and lift up the seat as high as possible.
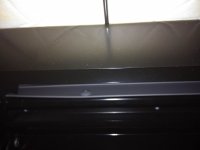
IMG_20201003_101413.jpg
IMG_20201003_101427.jpg
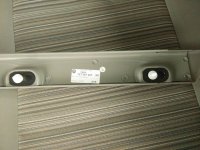
Take out the two plugs. I use a Torx 20, but it's actually a hex (2 or 3?).
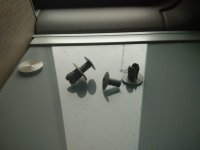
IMG_20201003_101826.jpg
Gently, but firmly pull out the trim between the seat and the big drawer.
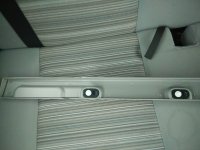
IMG_20201003_101938.jpg
IMG_20201003_101944.jpg
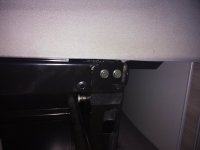
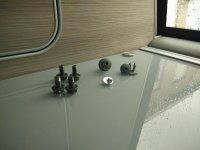
Unscrew the 4 bolts (size 10) on both sides. They hold the hinges for the seat base.
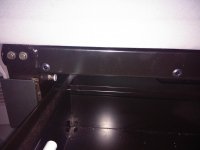
IMG_20201003_102000.jpg
IMG_20201003_102010.jpg
 
Too bad I can only add 10 photo's in 1 post.
IMG_20201003_102217.jpg
So all you have to loosen is this:
IMG_20201003_102210.jpg
IMG_20201003_102251.jpg
IMG_20201003_102258.jpg
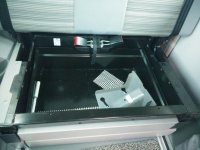
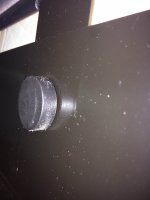
And I found some round rubber spacers/shocks under the seat base:
IMG_20201003_102322.jpg
IMG_20201003_102335.jpg
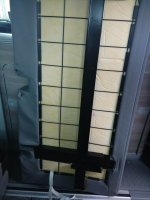
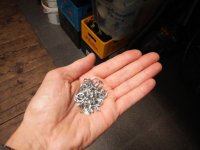
Then unclip all the black plastic clips that are attached to the metal frame, cut all the metal hooks holding the fabric to the foam:
IMG_20201003_104755.jpg
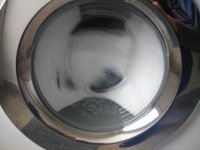
And put the fabric in the washing machine on very low temperature. Let's see what it gives :talktothehand
IMG_20201003_112521.jpg

Maybe I can leave it like this? :thumb
IMG_20201003_105332.jpg

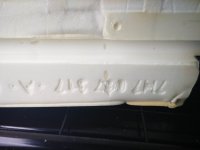
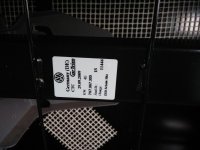
Anyone interested in some part numbers?
IMG_20201003_105353.jpg
 
Date of manufacturing of the seat base: 29/09/2009. A lot of 9's.
IMG_20201003_105408.jpg

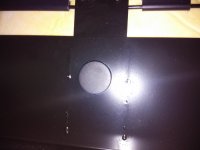
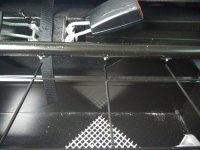
And I might need a good welder for the seat base:
IMG_20201003_105427.jpg

Just wait till I have the result of the washing machine before applying this tutorial!!
 
If you've still got it pieces, can you get any pics of the seat back release mechanism? Mines getting a bit reluctant to fold. WelshGas got me some schematics but any photos would help!
 
If you've still got it pieces, can you get any pics of the seat back release mechanism? Mines getting a bit reluctant to fold. WelshGas got me some schematics but any photos would help!
I am sorry, but at the moment I only dismantled the seat, not the backrest. The backrest fabric is still visibly clean.
If I would dismantle the backrest, I will certainly post pictures.
 
Washing machine has finished his (her?) job. 30°C programme, drying at 600 rpm.
The fabric is still wet, but first look is promising.
IMG_20201003_125210.jpg
IMG_20201003_125217.jpg
 
That looks like a lot of effort - but I guess worth it if it works on the water stains and without shrinking the material.
 
I am sorry, but at the moment I only dismantled the seat, not the backrest. The backrest fabric is still visibly clean.
If I would dismantle the backrest, I will certainly post pictures.
I appreciate that TB, but wondered if you can see the part that is being released when you pull the strap. I think the strap (pull lever) goes up into the back rest where it makes a V and comes down again to actuate some lock / gearing at the bottom of both sides of the back rest.
No worries if you can't see anything!
 
1601729489321.png
The black strap goes up into the fabric of the backrest. So there is nothing to see without dismantling the back of the backrest.
You can try to pull the backrest to you, pulling the strap, and it works fine (for me).
 
Update:
The fabric is dried and looks as new again.
Now first have the seat base welded, and then put everything back in reverse order.
 
Now with the seat base welded and reinforced, I put eveything back together.
IMG_20201022_124053.jpg
Of course it's cleaned up and sprayed in black to match the rest of the seat base. Not that you will see it, but it's for the ease of the mind.
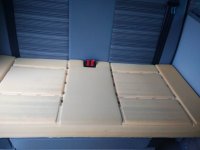
Looks a lot better now.
IMG_20201107_100454.jpg
Instead of this:
IMG_20201003_105332.jpg

And this looks way better
IMG_20201107_100906.jpg
than this:
IMG_20201003_100957.jpg

I am glad I did the effort, and when the time comes again, I will do the same again.

I hope I could help others out with this post.
 
Well I’m definitely keeping covers on mine now!!
 
Back
Top