


benArrayx
VIP Member
- Messages
- 157
- Vehicle
- T6 Cali On Order
So I bought 2 100w solar panels from Roger Donaghue at solar camper solutions.
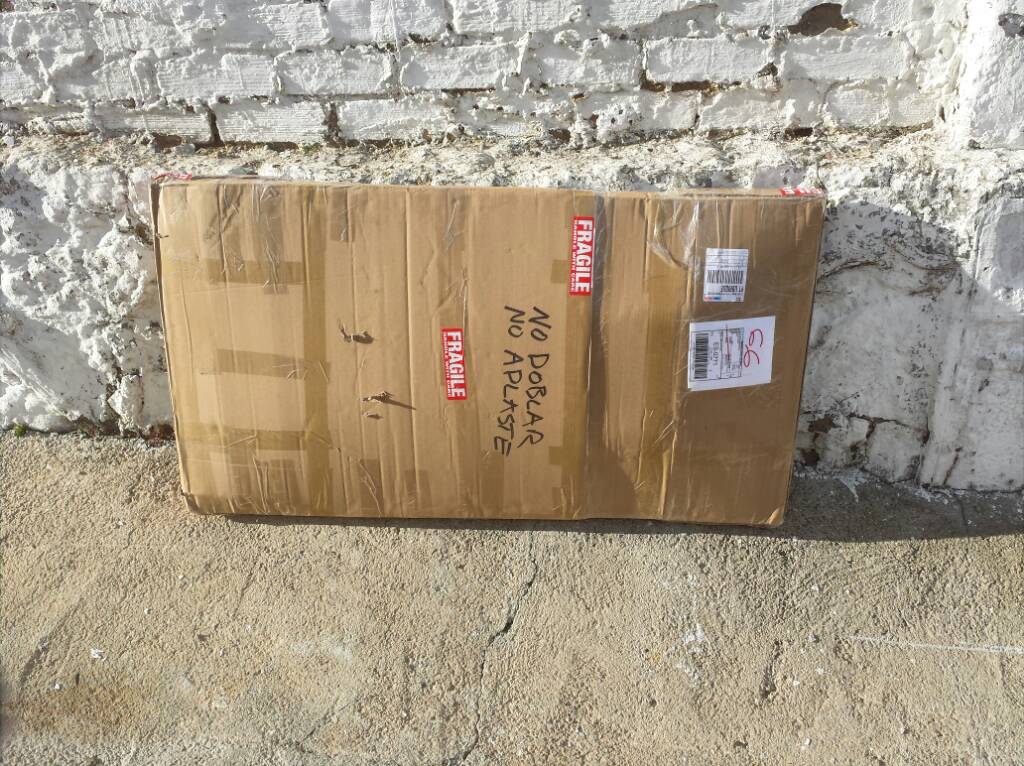
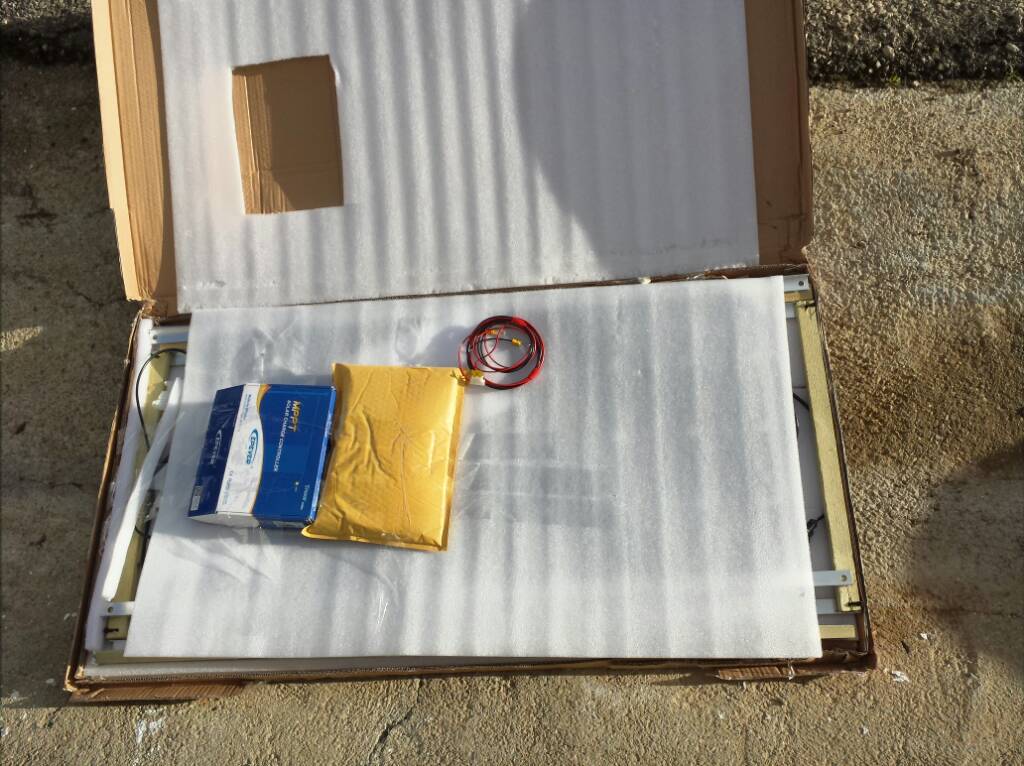
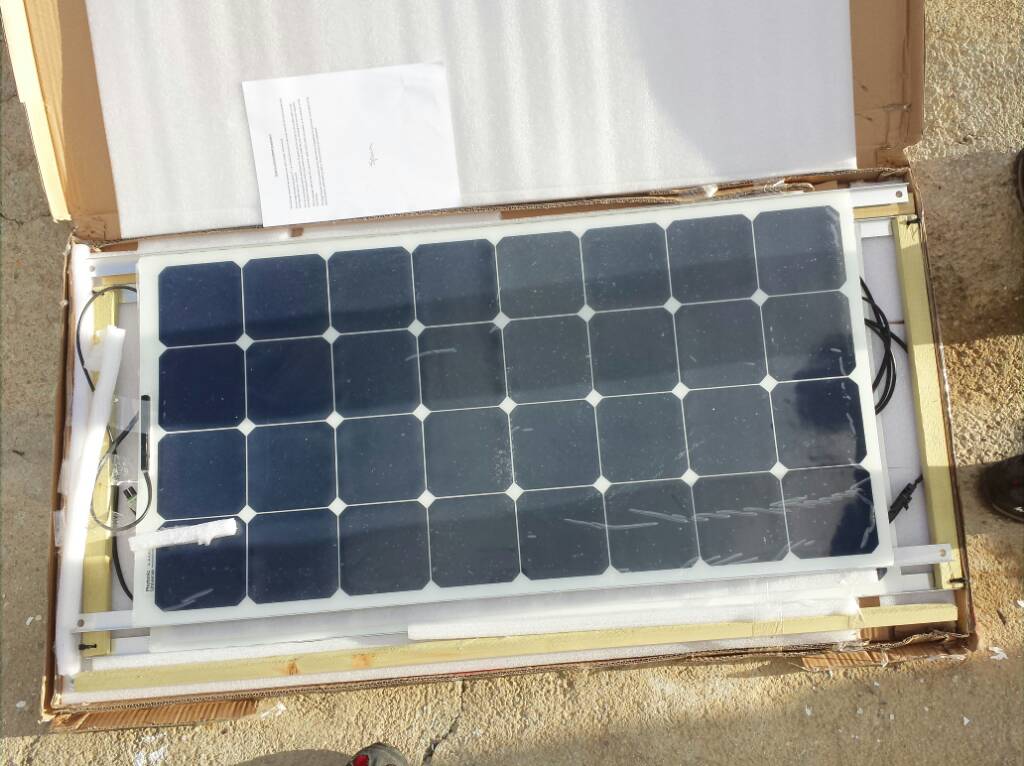
He posted them to Spain which had me slightly worried but when they arrived they were superbly packed and in excellent condition.
Getting them onto the roof was pretty simple but ended up taking ages because first I got the washer order wrong (rubber & small hole under the ali frame, large hole over the ali frame then bolt).
Then I realized that in order to route the cables down the roof rail, I needed to do that before bolting the panels on. Hence lots of screwing, unscrewing and re-screwing which was avoidable if I'd planned things a little better to start with
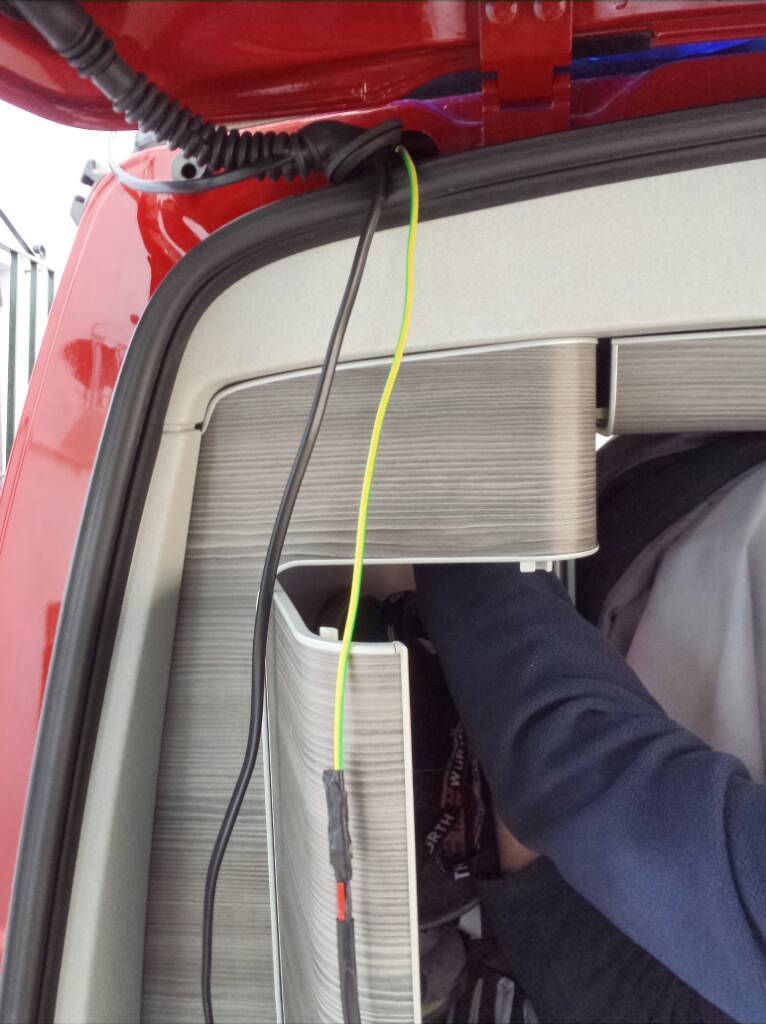
The most difficult thing by far was getting the cable through the existing rubber tube into the van, and then through the roof section to where I could get hold of it. I started off too high up the rubber tube (about halfway) but couldn't get the cable to the end, so I cut another hole about an inch from the end which was much easier.
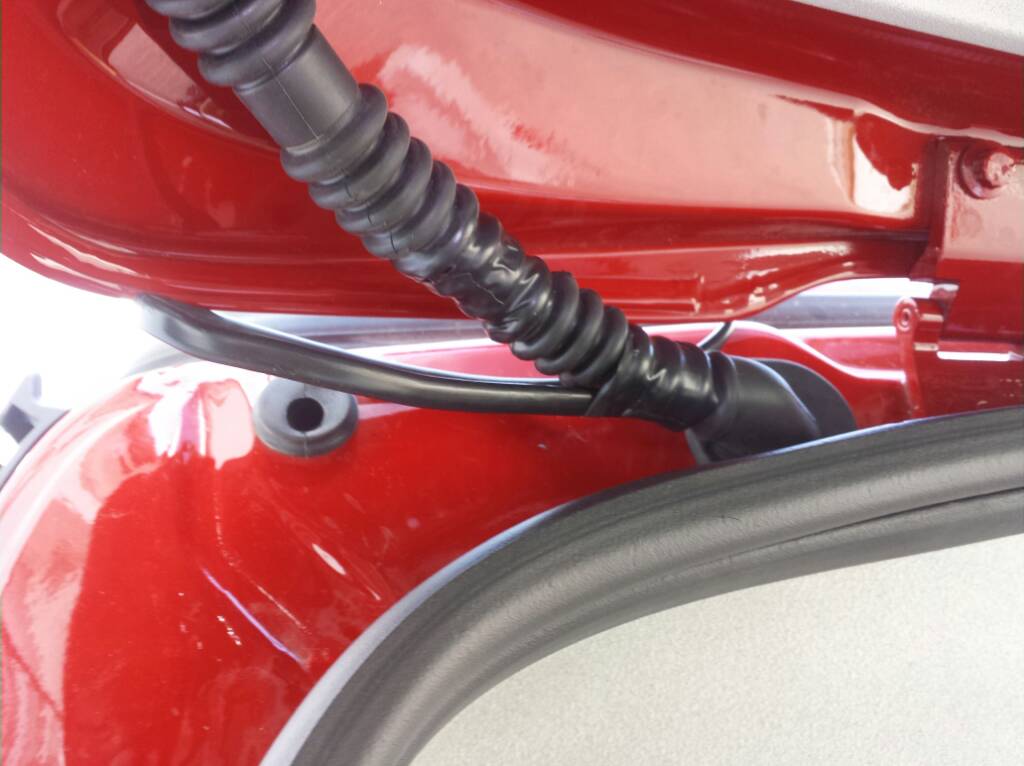
Getting through the roof section in the end required a guide wire which was threaded next to the thick loom cable using a torch to look in, and another torch inside to see where the gap is. Really not easy and prepare to be frustrated!
After that, installing the charger, wiring it to the battery and panels was all really easy and explained in the instructions.
Getting the battery out was a pain, be prepared for more frustration! I taped the fuse to the front of the battery for easy future access without having to remove the battery again.
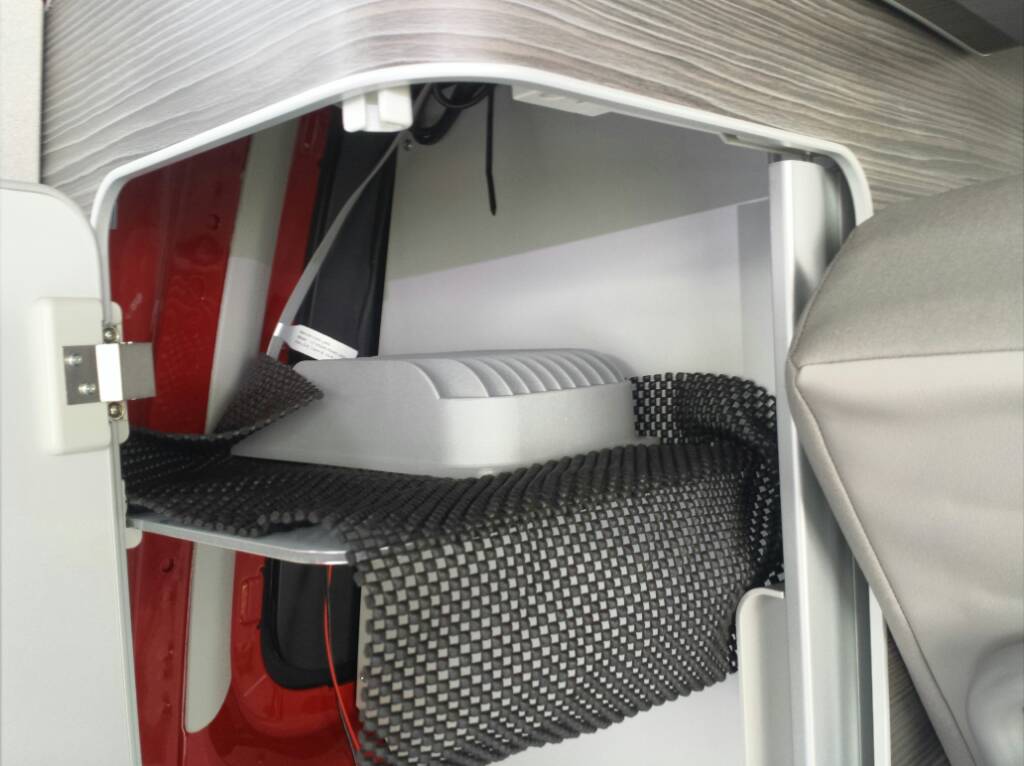
I left the charger loose on the top shelf in the back cupboard with some non-slip mat and padded with other stuff. I didn't want to drill any holes and it's fine like that.
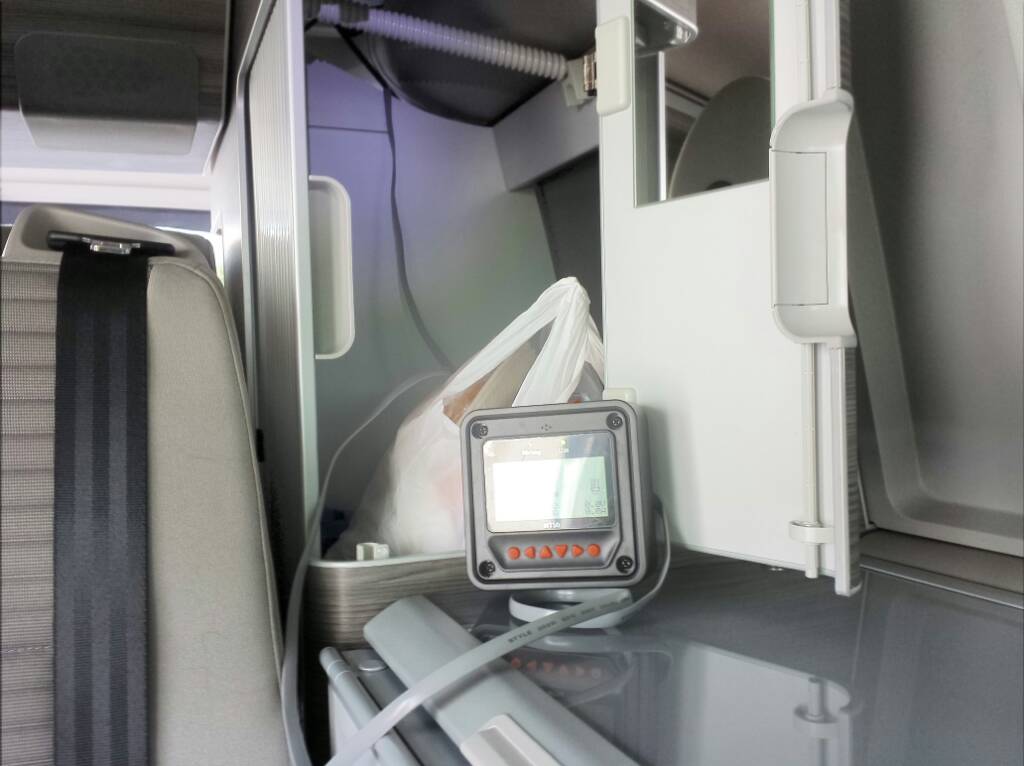
Finally I plugged in the data cable and the control unit with the cable threaded over the top of the cupboards. It's also loose in the cupboard so I can get it out and stow it away as required.
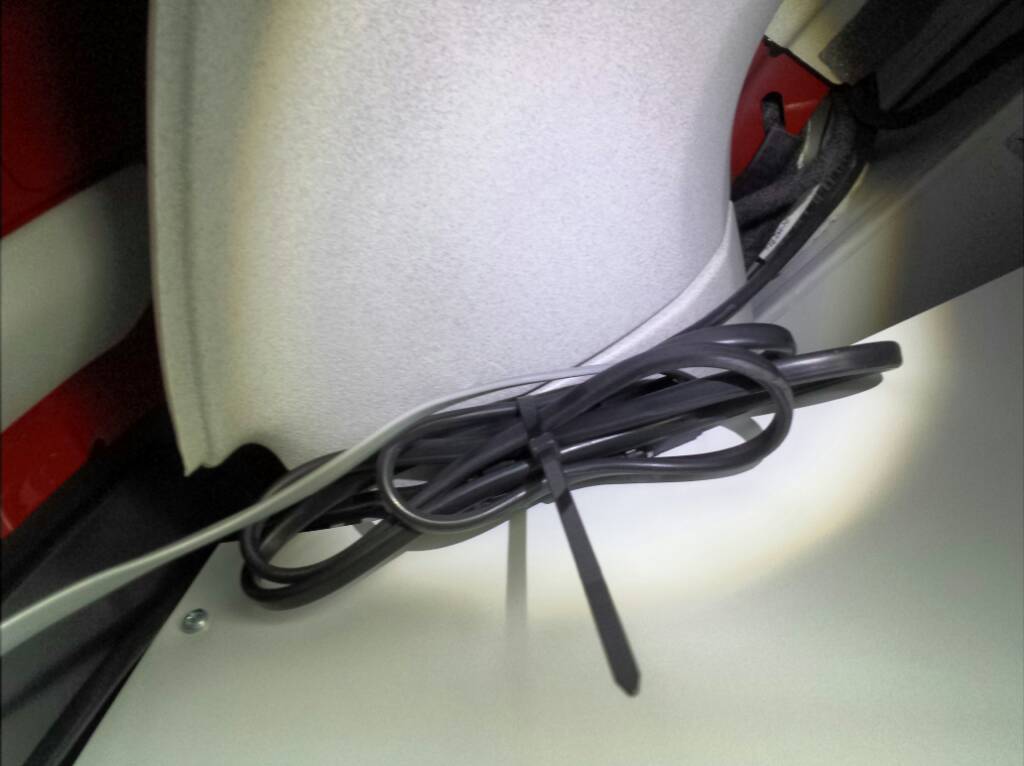
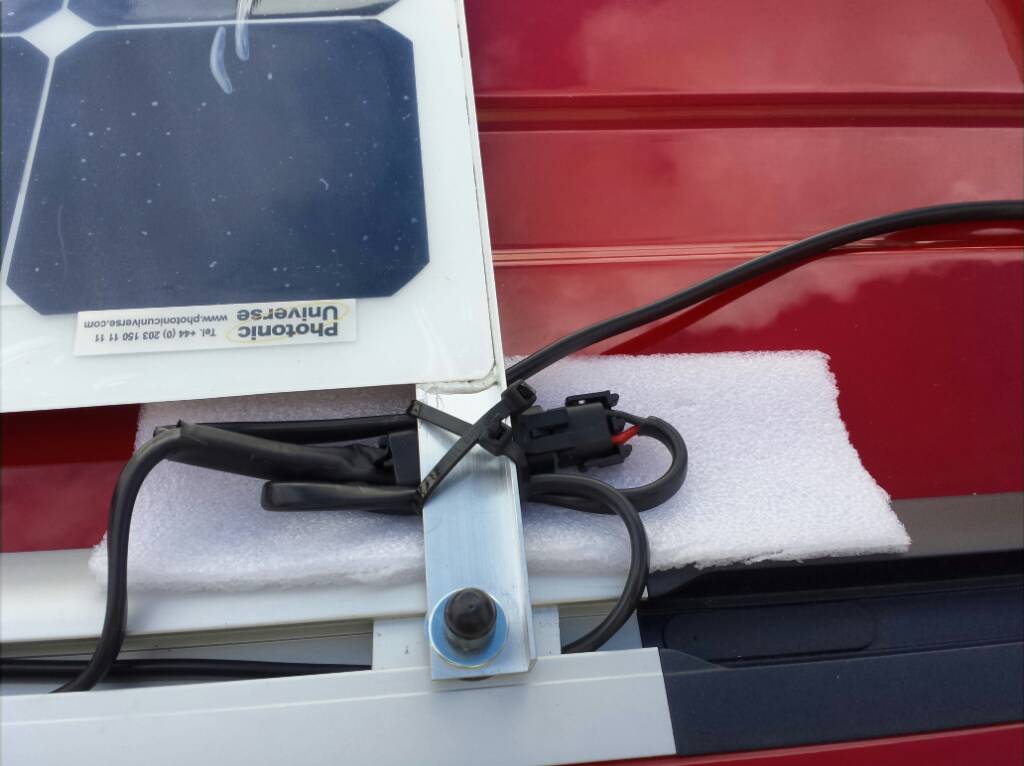
Finally I tidied up the wiring on the roof using a small section of the packing material under the cables and junctions to protect the roof.
I also used more of the packing material on the van floor underneath the covers I've got there, makes kneeling at the sink and cupboards much more pleasant!!
All seems to be working fine, hopefully will get chance to do some proper testing with laptop charging and other stuff plugged into the mains outlet. Will report back...
Experience up till now has been top notch, would definitely recommend Roger's solution

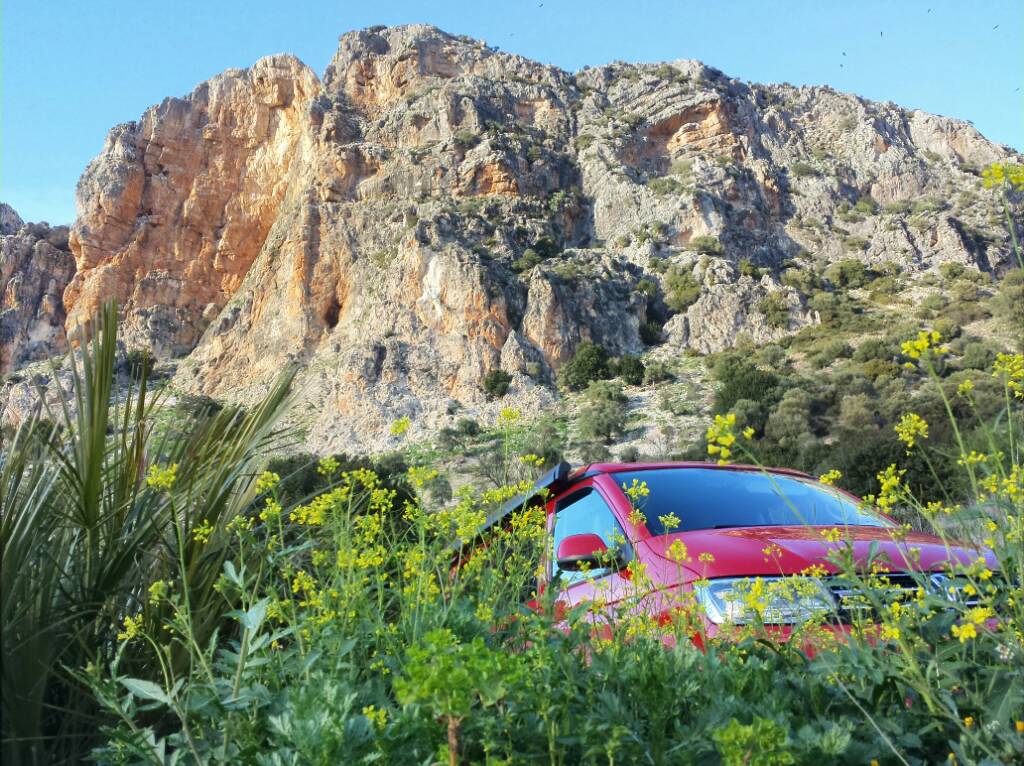
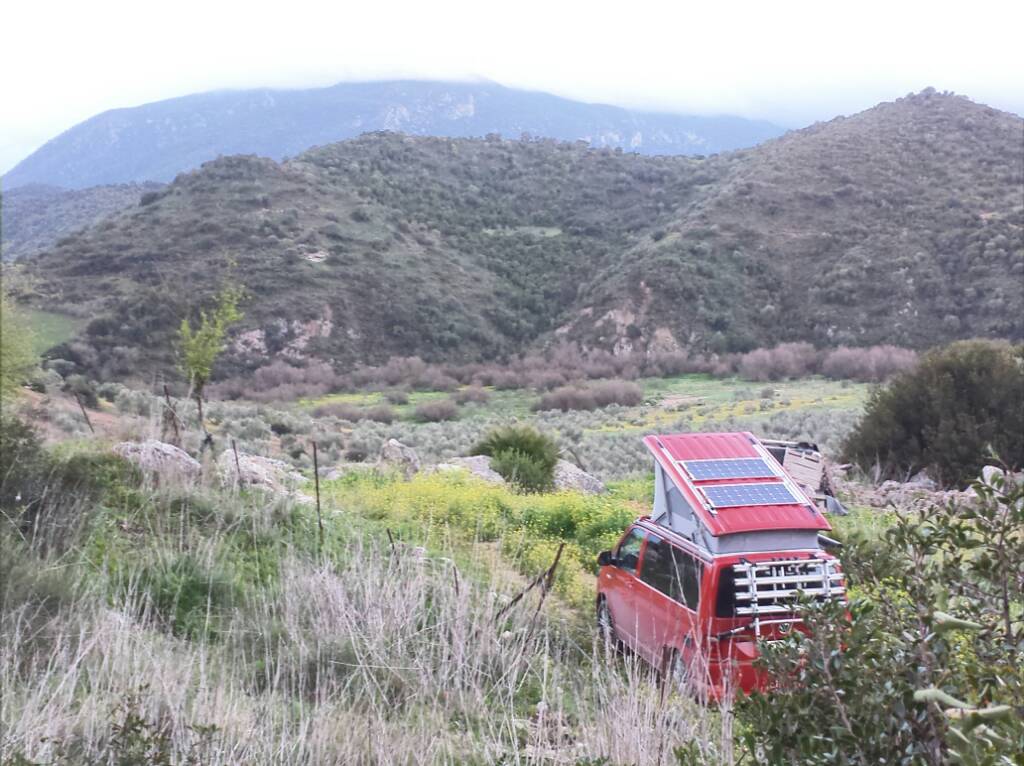
Here's some gratuitous shots from tonight's wild camping adventure
Sent from my GT-I9505 using Tapatalk
He posted them to Spain which had me slightly worried but when they arrived they were superbly packed and in excellent condition.
Getting them onto the roof was pretty simple but ended up taking ages because first I got the washer order wrong (rubber & small hole under the ali frame, large hole over the ali frame then bolt).
Then I realized that in order to route the cables down the roof rail, I needed to do that before bolting the panels on. Hence lots of screwing, unscrewing and re-screwing which was avoidable if I'd planned things a little better to start with

The most difficult thing by far was getting the cable through the existing rubber tube into the van, and then through the roof section to where I could get hold of it. I started off too high up the rubber tube (about halfway) but couldn't get the cable to the end, so I cut another hole about an inch from the end which was much easier.
Getting through the roof section in the end required a guide wire which was threaded next to the thick loom cable using a torch to look in, and another torch inside to see where the gap is. Really not easy and prepare to be frustrated!
After that, installing the charger, wiring it to the battery and panels was all really easy and explained in the instructions.
Getting the battery out was a pain, be prepared for more frustration! I taped the fuse to the front of the battery for easy future access without having to remove the battery again.
I left the charger loose on the top shelf in the back cupboard with some non-slip mat and padded with other stuff. I didn't want to drill any holes and it's fine like that.
Finally I plugged in the data cable and the control unit with the cable threaded over the top of the cupboards. It's also loose in the cupboard so I can get it out and stow it away as required.
Finally I tidied up the wiring on the roof using a small section of the packing material under the cables and junctions to protect the roof.
I also used more of the packing material on the van floor underneath the covers I've got there, makes kneeling at the sink and cupboards much more pleasant!!
All seems to be working fine, hopefully will get chance to do some proper testing with laptop charging and other stuff plugged into the mains outlet. Will report back...
Experience up till now has been top notch, would definitely recommend Roger's solution


Here's some gratuitous shots from tonight's wild camping adventure
Sent from my GT-I9505 using Tapatalk
Last edited:


