Buy all your VW California Accessories at the Club Shop Visit Shop
You are using an out of date browser. It may not display this or other websites correctly.
You should upgrade or use an alternative browser.
You should upgrade or use an alternative browser.
sidepod
Super Poster
Lifetime VIP Member
- Messages
- 5,945
- Vehicle
- T4 PopTop
I live in Oxfordshire. I’ve done it before, easy. Happy to help. PM me your contact details.
sidepod
Super Poster
Lifetime VIP Member
- Messages
- 5,945
- Vehicle
- T4 PopTop
On hols till Sunday so it’ll be next week.
sidepod
Super Poster
Lifetime VIP Member
- Messages
- 5,945
- Vehicle
- T4 PopTop
I did post a complete “how to” on this but it was several years ago and I can’t find it.
Bobt4westy1998
VIP Member
I did post a complete “how to” on this but it was several years ago and I can’t find it.
Tried to message you earlier, thanks for the fast reply; I only just got an email to say my message hadn't been sent.
Would you be able to pm me as I haven't set up VIP yet so I cannot start private conversation, if not ill try to set it up over the weekend.
Many thanks, John.
sidepod
Super Poster
Lifetime VIP Member
- Messages
- 5,945
- Vehicle
- T4 PopTop
I’ve been trying to do just that but I can’t figure out this new Forum Format?
Watch this space.
Admin? Where is the PM function?
(iPhone not PC)
Watch this space.
Admin? Where is the PM function?
(iPhone not PC)
mrcheesbrough
Hey up @sidepod. I was trying to find your 'How To' and failed dismally. Just started to replace our canvas, amongst other jobs. Started off unscrewing far too many screws (the bottom rail didn't require unscrewing) but soon got the hang things. Quick question though - can you remember using any for of lubrication to relocate the seal that grips the bottom bead of the canvas? The top bead is a case of simply re-screwing everything to the poptop, something quite time consuming rather than complicated. Cheers.I did post a complete “how to” on this but it was several years ago and I can’t find it.
mrcheesbrough
Oops. Apols for hijacking the post. Good luck with the canvas replacement. Interested to hear any tips or workarounds you come up with.Hi I have to replace my pop top on my T4 California coach , I live in Oxfordshire does anyone know of anyone that could help , or could I tackle it myself.
sidepod
Super Poster
Lifetime VIP Member
- Messages
- 5,945
- Vehicle
- T4 PopTop
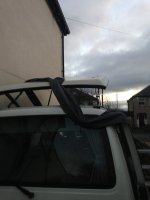
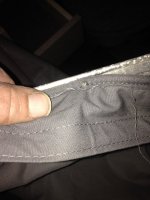
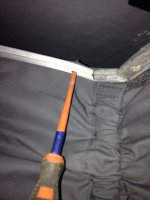
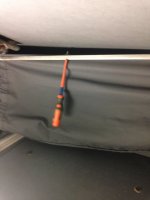
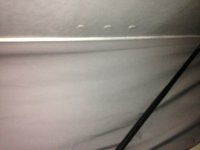
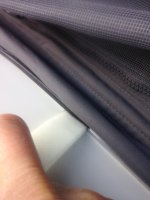
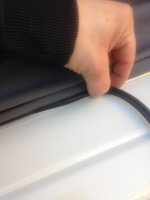
The bottom only needs the seal pulling out all the way around. Keep it obvs as it goes back in.
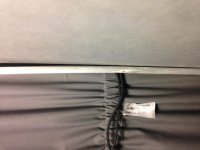
The top , you only need to unscrew half way, don’t take them all out. Leave the aluminium strips floating on the partially undone screws.
Pop the top bead of the canvas into the allow strips and tighten slightly just to hold the canvas in place.
Once you’re happy it’s not twisted top to bottom nip up the top screws.
The bottom just pulls down and the bead locates in its groove. It’s quite a neat fit.
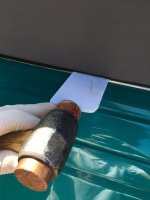
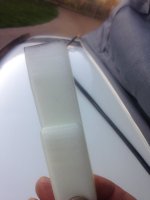
I think I used talcum powder to help fit the rubber seal. I did make up a tool from a piece of plastic chopping board to knock the seal in with a mallet. It was about as thick as the seal diameter and about 75mm wide.
Make sense?
mrcheesbrough
The bottom only needs the seal pulling out all the way around. Keep it obvs as it goes back in.
The top , you only need to unscrew half way, don’t take them all out. Leave the aluminium strips floating on the partially undone screws.
Pop the top bead of the canvas into the allow strips and tighten slightly just to hold the canvas in place.
Once you’re happy it’s not twisted top to bottom nip up the top screws.
The bottom just pulls down and the bead locates in its groove. It’s quite a neat fit.
I think I used talcum powder to help fit the rubber seal. I did make up a tool from a piece of plastic chopping board to knock the seal in with a mallet. It was about as thick as the seal diameter and about 75mm wide.
Make sense?
Great stuff. Really useful as ever. Only difference with ours is the screws in the top aluminium strip went through the beading on the canvas so I had to remove them completely. No hardship to return them. Just bit of a fiddle, particularly on the lower end of the roof. Lots of grunting, sweating and cursing to come I suspect. Cheers.
Sent from my iPhone using Tapatalk
sidepod
Super Poster
Lifetime VIP Member
- Messages
- 5,945
- Vehicle
- T4 PopTop
sidepod
Super Poster
Lifetime VIP Member
- Messages
- 5,945
- Vehicle
- T4 PopTop
mrcheesbrough
These are quite familiar at the moment.

Sent from my iPad using Tapatalk
sidepod
Super Poster
Lifetime VIP Member
- Messages
- 5,945
- Vehicle
- T4 PopTop
If memory serves, the lower seal, find the mid point then start level with the rear view mirror above the windscreen and work your way backwards along each side knocking it in as you go. Tricky to know how much to stretch it so you end up even in the middle at the rear.
sidepod
Super Poster
Lifetime VIP Member
- Messages
- 5,945
- Vehicle
- T4 PopTop
I’ve got to do mine when I get home. I have a tiny hole at the base of the front on one side. We had a biblical rain storm on Thursday and we woke to a small puddle in the forward roof.
mrcheesbrough
I’ve got to do mine when I get home. I have a tiny hole at the base of the front on one side. We had a biblical rain storm on Thursday and we woke to a small puddle in the forward roof.
All good fun. I’m looking forward to losing the gaffer tape go faster stripe across the back of ours. Brickwerks have them in stock. Same brand as Günzl, who have just got some fresh stock in. I got ours from Günzl as I was after a couple of other bits too.
Sent from my iPad using Tapatalk
sidepod
Super Poster
Lifetime VIP Member
- Messages
- 5,945
- Vehicle
- T4 PopTop
Last one I got was from Günzl. Top quality. It would probs stop an anti-tank round (Panzer obvs).
sidepod
Super Poster
Lifetime VIP Member
- Messages
- 5,945
- Vehicle
- T4 PopTop
You just don’t get this level of bants with a 6. Cant believe the Mrs wants to swap. I’m digging in.
mrcheesbrough
You just don’t get this level of bants with a 6. Cant believe the Mrs wants to swap. I’m digging in.
Ha ha. How’s your AdBlue consumption and EGR valve? Mine are just dandy. And my leisure battery has finally given up - only managed to wring 18 years out of it.
Sent from my iPhone using Tapatalk
Padraic
Lifetime VIP Member
All good advice so far on the canvas replacement. I did also notice that the screws on the top we screwed through the original canvas. I found the hardest part was to get the last corner pulled in to place. Otherwise its just a fiddly job that can take a little while.
Davor Butkovic
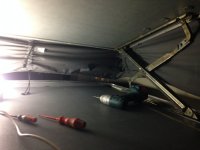
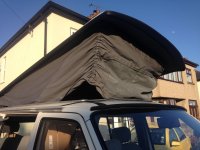
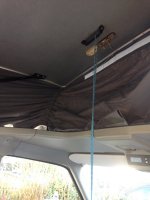
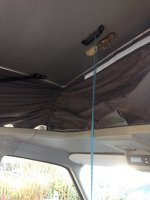
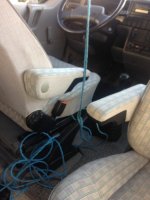
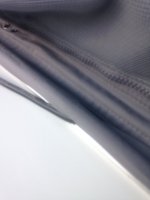
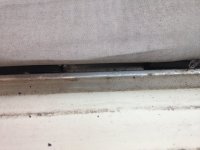
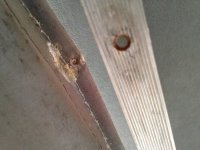
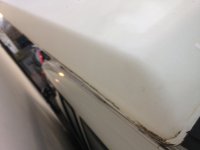
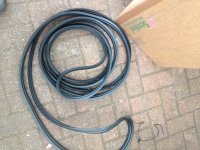
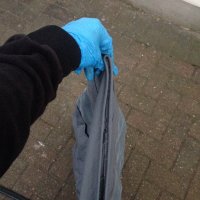
Got some pictures if not too lateAll good advice so far on the canvas replacement. I did also notice that the screws on the top we screwed through the original canvas. I found the hardest part was to get the last corner pulled in to place. Otherwise its just a fiddly job that can take a little while.
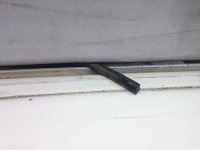
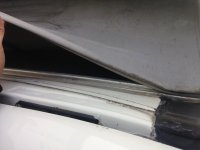
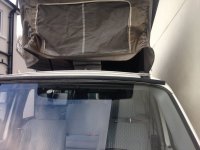
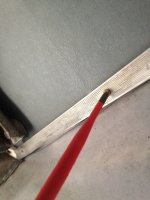
Similar threads
W
- Replies
- 7
- Views
- 2K
About us
The VW California Club is the worlds largest resource for all owners and enthusiasts of VW California campervans.


