I just got round to fitting the cabinet lighting and thought I’d post some info in case anyone else wants something similar.
I had most of the parts and led strip already so this was a cheap project just needing a bit of time to fit.
I cut 2 lengths of led strip, soldered ‘tails’ onto the strip with connectors so i can disconnect or remove easily if needed (maybe if need to replace the led at some point in future).
I used these ’tails’ from eBay
View attachment 58993
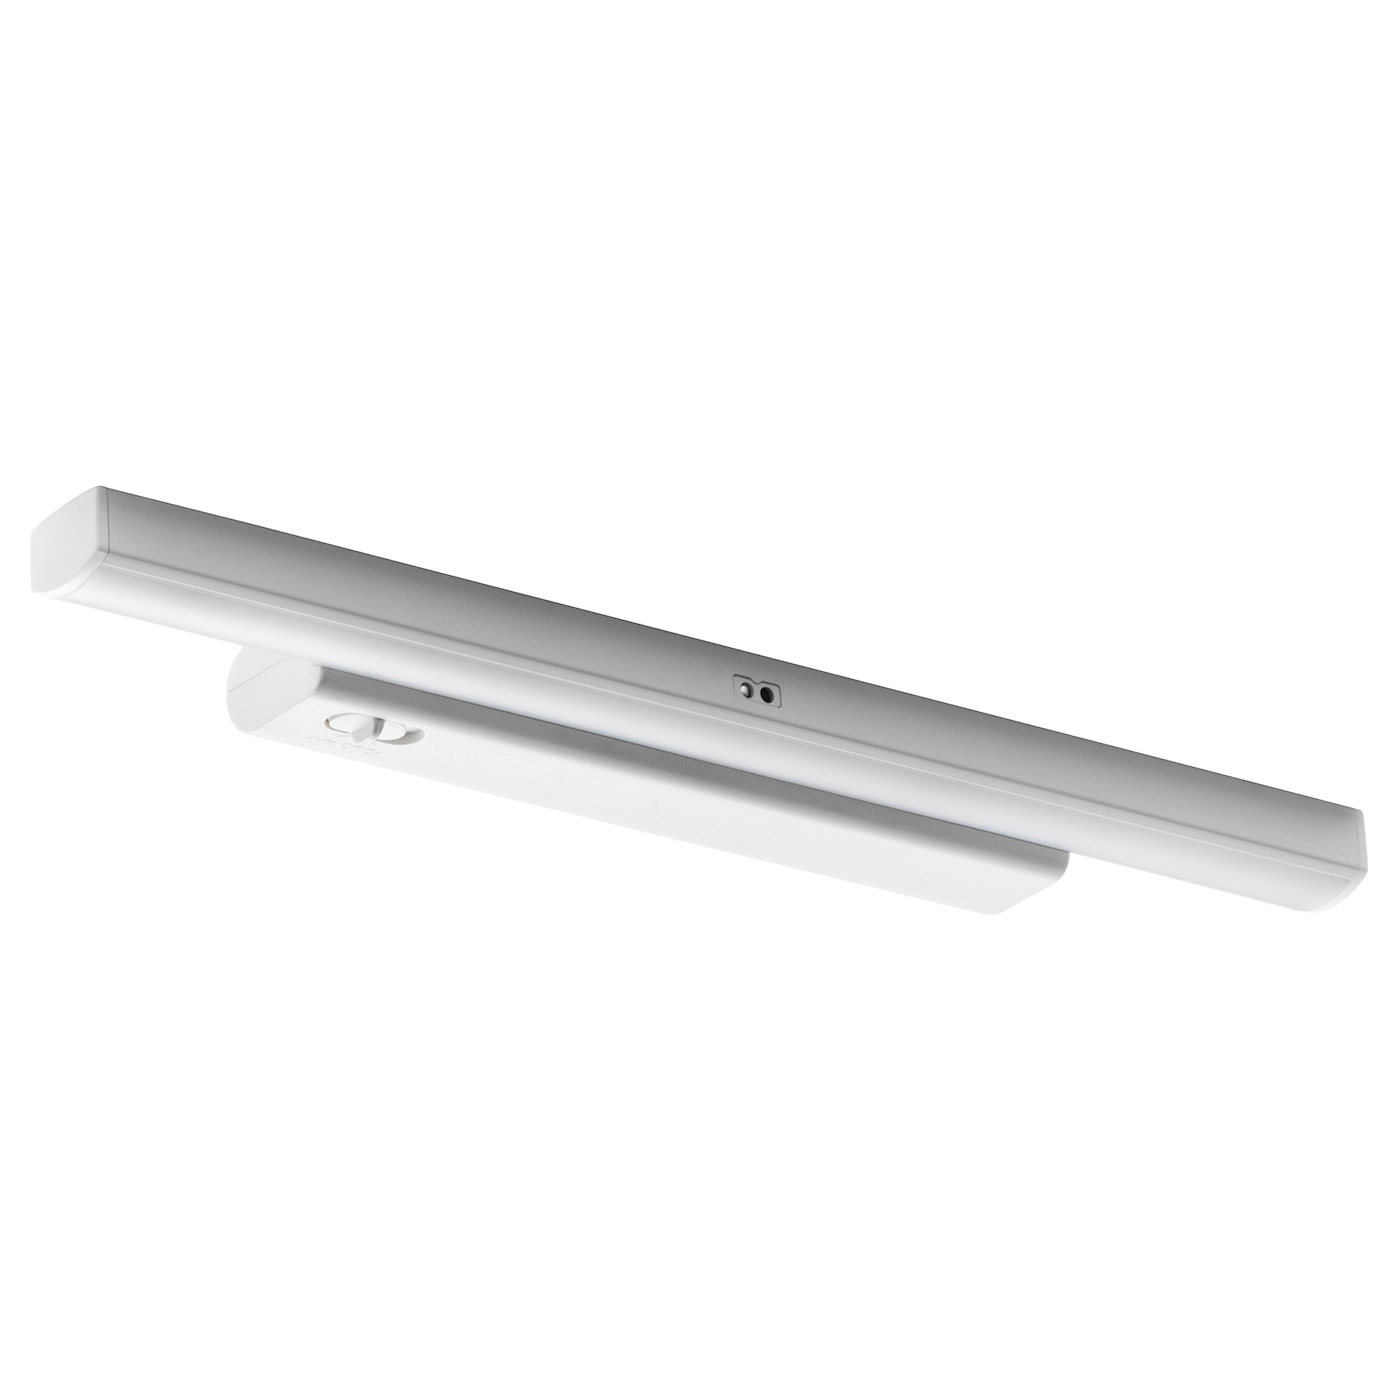
Plus i bought a small switch to mount in the side of the cabinet to control the lights. Again pretty cheap from eBay.
i wanted an easily accessible switch and a more ‘permanent’ install, plus we have now had our Cali over 8 years so i was slightly less concerned at drilling a hole in the side of the cabinet.
View attachment 58992
I already had some single core cable of the right size to match both the ‘tails’ for the led strips and the wiring inside the Cali. It’s a simple case of linking the live and neutrals and picking up a live 12V ‘feed’ somewhere accessible.
I soldered and heat shrink most of the connections, those on the back of the switch use crimp spade connectors and i added heat shrink to make a tidy job. I also added heat shrink around whole of the live connector on the back of the switch as the cabinet is metal so i didnt want to short anything out as i put the switch in (I hadn’t isolated the 12V supply whilst installing - ok at 12V as long as you don’t short anything out and blow the fuse, do not attempt with 230V!)
I used a crimp type connector to make the live and neutral connections that i took from the back of the 12V DC socket on the side of the cabinet. If i ever remove the lighting and connections i can put some insulating tape round the very small area of bare wire that would remain. I didn’t want to be cutting too many wires and making new connections so this was the simplest solution. The wires to the 12V socket also seemed quite short protruding from the cabinet so i didn’t want to be dealing with new connections there.
These are the connectors used at the back of the socket - again cheap on eBay
View attachment 58995
View attachment 58996
Led strips fitted either side of the cabinet partition, seems to be plenty of light available. Tie wrapped the wiring below the sink to tidy. I also had some 3M double sided tape that i used to fit the led strips.
View attachment 58997
View attachment 58998
The switch requires a 20mm hole, so i used a step drill once i had done a smaller pilot hole.
View attachment 58999
One word of caution - where i positioned my switch, behind it inside the cabinet is the earth tag between the cabinet and the metal sink. It’s visible when you look inside the cabinet (with drawer removed), so caution needed when drilling holes that you do not damage it. It looks impossible to access without removing the sink so you really don’t want to damage it!
Plenty of other led lighting options around that might be less permanent and don’t require drilling, its only the switch i chose to drill and fit. I’m happy with my install and the switch arrangement.