Buy all your VW California Accessories at the Club Shop Visit Shop

Front Internal Door Handle Not Working.

John

John

VIP Member
Messages
1,117
Location
West Sussex
We have just got back from a week away in our Cali when on the first day the drivers door internal door handle stopped working. The external door handle still operated correctly so every time I needed to open the door I had to lower the window, which was a bit of a pain as most days it was raining. :rain

Back home and to rectify the problem I had to first remove the drivers door card and here is the post of how this was done.

viewtopic.php?f=45&t=3975&p=34566#p34566

I found that the silver door handle is connected to the locking mechinizum by a bowden cable. The outer being attached to a plastic bracket which was broken and is, unfortunately, part of the door card. So unless I could fix it I would be faced with a large bill for a replacement door card.

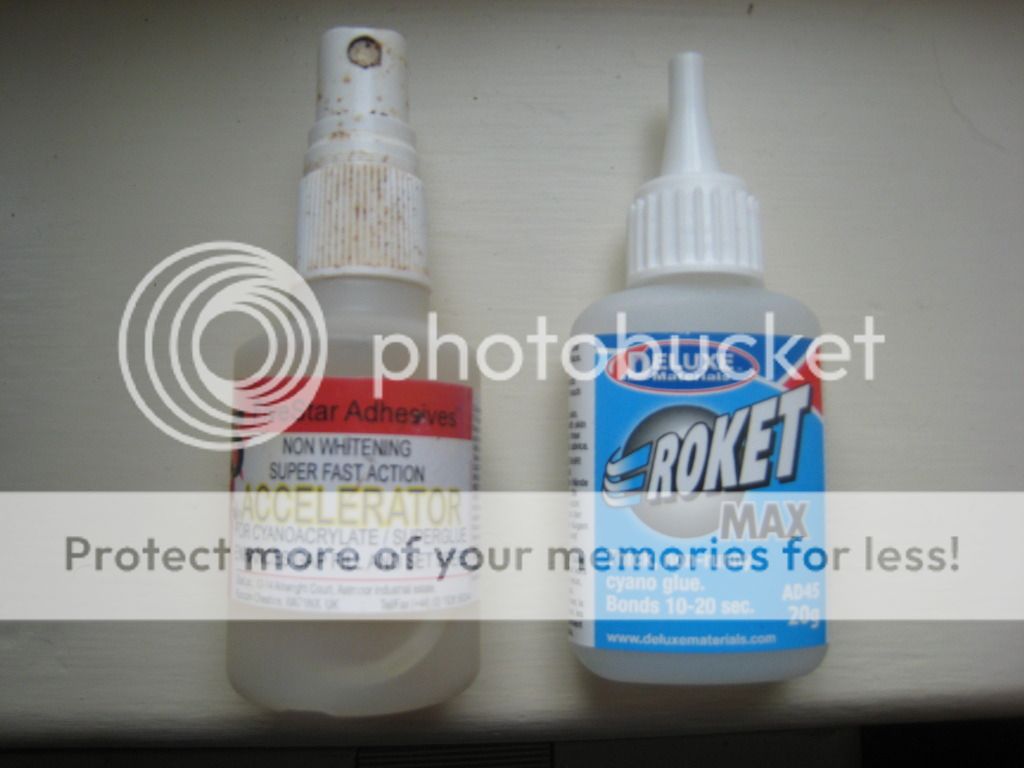
Luckily I have some very good quality thick Cyanoacylate (Super glue) and Accelerator. Accelerator not only reduces the setting time it also enhances the glue and its gap filling. I have found this the only adhesive that works on this type of plastic and only if used with Accelerator.

Here is the glue made by Deluxe Materials it is called Rocket Max Thick non runny Cyano glue and it is popular because of its great properties. You do need to use it with accelerator which you spray on when you have the two half’s of the item you are joining together and in place.

IMG_4721.jpg


Finally here is the end result. The repaired plastic bracket is in the centre of the picture with the slot for the bowden cable. The back of the silver door handle is on the right. :D

0022.jpg


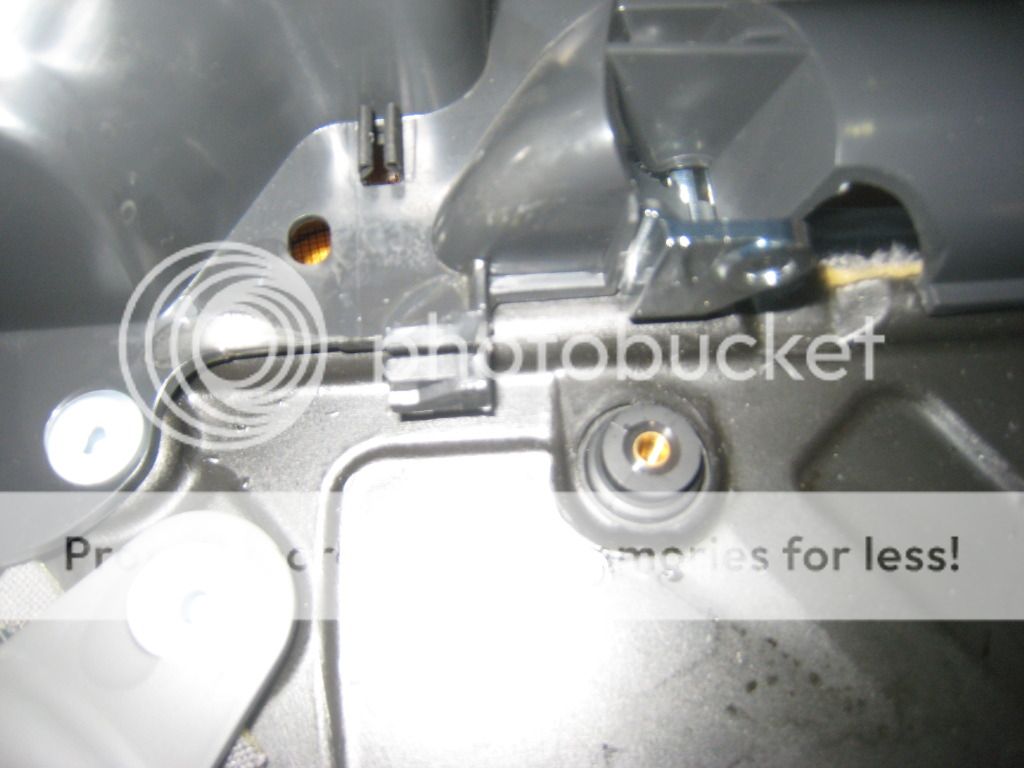
With everything reassembled the door handle is now working. :thumb

John
 
STOP THE PRESS

Unfortunately yesterday the internal door handle went again. I heard a pop as I pulled the handle to open the door so the fixing for the bowden cable has obviously broken again.

Will have to start again and remove the driver door card and have a re think about how to fix the plastic bracket as the super glue and accelerator did not work.

Have no idea what to try next and I know that epoxy glue (araldite) will not work on plastic and I guess to make a joint work both sides need to be bonded.

Has any one any ideas or experience with bonding together plastics when there is only a tiny area to bond and the joint needs to be very strong.

The alternative a new door card would be a expensive option.

John
 
Give Alex a shout. VW often do repair kits for this type of thing.
 
Stu said:
Give Alex a shout. VW often do repair kits for this type of thing.

Thanks Stu sent Alex a PM yesterday and he recommended a new door card so will try and explore a fix a bit more before committing to the cost of a new door card.

Found this when searching for bonding plastic on Google.

The type of glue you need is dependant on what type of plastic you are
trying to repair. One glue that works great with, for example,
styrene, may work only marginally with PVC. Therefore, without
knowing what type of plastic the item is made of we would have no idea
what glue would be the best for the application.

So what type of plastic is used on internal automotive fittings ?

According to Wikipedia Polycarbonate/Acrylonitrile Butadiene Styrene (PC/ABS) – A blend of PC and ABS that creates a stronger plastic. Used in car interior and exterior parts, and mobile phone bodies.

So what do you use for Adhesive and Solvent Bonding PC/ABS ?

I found this; http://thiqaruni.org/gnr26/1.pdf

Which shows Acrylics being the strongest option.
 
Being without a working internal drivers door handle is a pain so I recently got a quote from Steve at SMG for a new drivers door trim. Special order from Germany it would be £256 80 so I decided to research the internet for glues to attempt another repair.

I decided to try some Gorilla Glue as it had some very good reviews on Amazon and it is claimed that it will glue hard to glue materials and once something is glued it will not come undone. Gorilla Glue is a polyurethane glue. When exposed to moisture the adhesive reacts and creates a foaming action that fills voids as it cures. Gorilla Glue has an open working time of 20 minutes the repair needs to be clamped for 2 hours and the glue is fully set in 24 hours. The glue is brown in colour, but dries a tan colour. Owned by a family company and manufactured by the Gorilla Glue Company of Cincinnati, Ohio it is very popular in the States.

I also decided to try some Gorilla Super glue as it has a additive making it less brittle than conventional super glue.

028-1_zpsb47aa2b0.jpg

Here are the tools and glues I used to repair the broken Bowden cable retainer on the door trim.

027_zps128b3f02.jpg

To increase the bonding area and increase the strength of the repair I first fabricated a small, wedge shaped, wood block to sit between the retainer and the door trim,

I started the repair by using a Dremel drill with a abrasive bit to roughing up all the surfaces to be Gorilla glued to give the glue a chance to key, The door trim is made of PVC which is very smooth and particularly difficult to glue, The wooden block was brushed with water then given a coat of Gorilla glue before being clamped and weighted down in position on the door trim. It is important to get this right as gorilla glue expands to several times its volume, After two hours the clamps and weight was removed. I found the bond so good that the wood block could not be moved.

Next the top of the wood block was brushed with water and the bottom of the bowden cable retainer coated with Gorilla glue. The retainer was then glued back in position with the Super glue, this along with weighting it down, held it in the correct place while the Gorilla glue was expanding whilst it set.

Finally I used gorilla glue around the sides of the retainer as a fillet to improve the strength of the repair. (The ends of the retainer need to be kept clear to allow the bowden cable clip to fit).

Here is the final repair which I feel more confident about.

026-1_zps0ccdb917.jpg

John
 
Hi John - the same thing has just happened to us. We're off to France for 3 weeks at the end of this month so it would be great to sort before then.

Could you give us an update? If your repair didn't work and you had to splash out on the new door card that could at least save me the bother of trying the repair option.

Many thanks in anticipation

Ian
 
Hi Ian....

I had this problem and forgot about it as I was not using the van. Took van to Kwik Fit for an MOT and of course they said it would fail because of this. They got their tech guy to strip it down and glue it and all it cost was £30.... And they said it will likely be stronger than new.

Maybe worth a try..........
 
Hi BerndRos - thank you so much for that! Definitely worth a try - could you say which branch of Kwikfit it was? I guess branches may vary in their willingness/abilities - also how long has the repair held up?

Ian
 
Plymouth ....Alexandra Road....took van in for MOT on a Saturday...asked if the broken internal drivers handle would impact on the MOT...they delayed MOT and repaired handle and I collected van on the Monday....
 
Oh and to answer your other Q....last winter and used the van a few times since. Am NOT careful with the handle and it seems just fine.
 
Ian my repair is still good. I am now a fan of Gorilla Glue as I have used it many times since this repair on all sorts of jobs. :thumb

Good luck with your door handle.

John
 
Thanks for that John - I'm actually letting a local trusted garage have a look at it tomorrow - sadly I don't consider myself competent to diy. I will advise him of your experience though

Ian

(BerndRos - thanks again for the Kwikfit idea, but I have no knowledge of them in Kendal whereas the garage I'm dealing with is known to us and has considerable T5 experience)
 
Well, it's glued together and working! We'll see how long it lasts. Definitely worth a try, the chap I used actually used windscreen glue, saying it's pretty strong stuff.

Thanks again for the input

Ian
 
Thanks West Sussex John for the guide and Briwy for the tube idea.


I know it's a late reply but it might help someone if I add my experience of this.


In my case, a 2006 175 LHD, replacing the door card was not an option, and not just on the cost issue. Apparently the card hasn't been available since 2016. Strict 10 year product support by VW? Hooray for built in obsolescence. You know what VW? We can't all just pop out and buy a new one.


I won't just duplicate all the excellent advice on this job. If your van has the same problem you will no doubt have read it all, along with the half dozen or so youtube videos available.


I found these tweaks helped the job go smoothly.


Remove the electric window and mirror switch first, it's a lot easier to see and detach the connectors. Push a flat non scratchy implement under the lip at the front which releases a plastic catch and lever it upwards, then pull it slightly forward to release the rear clip then upwards to release it. Now you can see the three connectors clearly. They all have a small clip which is easy to release with a small flat bladed screwdriver. I tied a metre length of string to them 'just in case' to help locate them on reassembly.


The next bit I found quite scary. Levering off the top trim parts. This is well covered in various youtubes, but the force required is worrying. I used a trim tool and a flat bladed screwdriver, both wrapped in insulation tape to avoid scratches.


The two large posi screws at the top of the door, and three torx screws at the bottom are easy to find, but the fourth torx fairly high up in the centre was not so easy. Mine was under the base trim in the top door cubbyhole. The torx on some vans are t25, mine were t20. Try the larger size first. You really don't want to wreck the heads by using a loose fitting t20 in a t25 head.


Use a trim tool to release the panel clips along the front and back, starting at the bottom. Again, my trim tool was tape wrapped and this part was pretty easy, as was lifting the panel off the locating groove at the top.


Take the panel off slowly. Although the bowden cable clip on the door card is probably broken - the most likely cause of a failed handle, the hook will need releasing from the handle itself. Easy, but there's not much room for manoeuvre.


Release the alarm light lead at the bottom end, using the same method as the window switches. There is plenty of length in this lead. Now squeeze the small clips under the lock indicator surround and lift it out. On reassembly it is far easier to guide the button through the hole and then refit the surrounding. A piece of thin tube over the lock indicator takes the pain out of relocating it.


Now the panel is free you can take a really good look at it. Various bodges have been used to reattach the bowden cable to the panel. Mine was to use a gap filling superglue by Gorilla supported with some superglued thin ply. Not pretty but who's looking? An old beer crate on its side was the perfect height to rest the panel while the glue set. I left it for a UK standard tea and bikkies break before continuing.


Reassembly - stay slow and measured, you really don't want to stress the cable you've just mended, and there is not much spare movement. A glamorous assistant to keep the panel steady on the beer crate worked well while I tentatively tested the handle operation. Phew!


Reattach the alarm indicator lead, feed the rubber tube up through its hole, and take up the slack in the window wiring string. Carefully lift the panel and drop it loosely into place, taking up the slack in the string and wiggling your tubing. Although wiggling my tubing has caused considerable misunderstanding in the past, it was necessary in this context.


Refitting the trim was way less scary, assuming you remembered to reset the six door clips by levering them apart! A judicious hand slap reattached everything with way less force than dismantling. I sprayed some GT85 silicone spray on all the clips to aid future dismantling, and contact cleaner on the electrical connectors.


Realistically the bodge is not going to last the life of the van, but I have been left with no choice by our VW Overlords.
 
Back
Top