t4_lad
Its not easy being green...
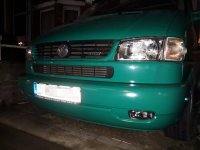
So, finally got around to adding the front fogs kit I bought about a year ago!
Job is fairly straight forward (VWT4Forum was a good source of info for getting the lowdown on how to do), although undertaking in near freezing conditions is a killer on the fingers this time of year!
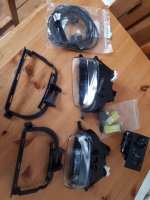
The kit I bought was made up of original and OEM replica parts (the mounting brackets and new double-pull headlamp switch being original VW parts. The lamps themselves and wiring loom being replicas of OEM).
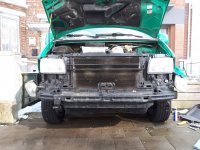
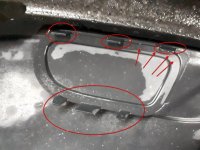
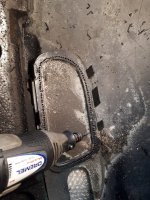
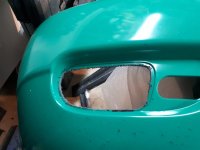
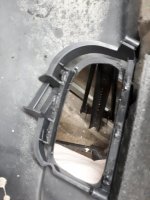
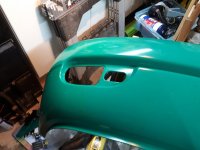
I cut the bumper's fog light apertures with a dremel (drilling a series of small holes and then sawing round with a hacksaw blade), the cutting line is represented on the interior of the bumper by a series of dots and the tabs for mounting the brackets are present.
Once the holes were cleaned up, the brackets simply fit over the tabs - i added a bit of Sikaflex 221 to hold them in place and then melted the tabs with a gas soldering iron to lock them in place.
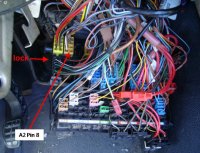
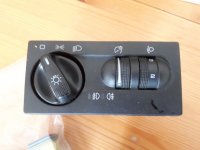
The kit i bought assumes you will replace the headlamp switch unit with an original double-pull version (so when you pull the headlamp turn-switch, first pull position turns on the front fogs, second pull position, the rear fog light). The fiddliest part of this job was to get the live switch cable to the back of the relay/fuse box under the steering wheel - note i spent ages battling with trying to pull plug A2 from the back of the relay board, only to discover there's locking mechanism that needs to slide to release the plugs - Doh! moment... Maybe its general knowledge, but if you take this on the I maybe saved you raw fingers and 30mins of expletives!!
The wiring loom comes pre-plugged to add the connector to position 8 on A2 on the back of the relay board. Then there's a relay to plug in position 10 on the board and bob's your father (as he is in my case)...
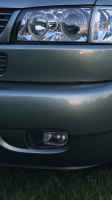
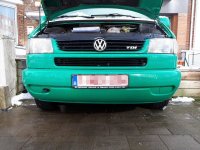
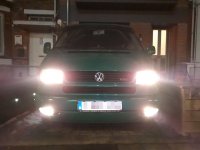
Very happy with the results, adds a little "je ne sais quoi" to the little green camping machine...


