Almost bought a california
It’s that time of year again when a bit of insulation or some vent covers can make life a little more comfortable – especially when you have to get out of bed on these frosty mornings.
OK a little background first, I have had the van, an Ocean, for just over a year now using it regularly for 2-3 night trips with a few longer holidays in all weathers on my own, with my partner and with/without the dog. Last winter I made a liner for the pop-top using silvered bubble insulation with 3D printed hangers that clipped in around the edge of the head liner, this had a lot of use and was very effective and so I thought it would be nice to make something a bit posher!
After a great deal of thought and rejected ideas I think I have come up with a smart looking and easily installed solution and so thought I would share in case it’s of help to anyone else contemplating something similar.
I have used a quilted material this time, not cheap but sold for camper van and caravan insulation amongst other things, available in lots of colours but I went for the silver and grey to match the standard trim. I have used 4 panels and tent type toggles to secure them to the ceiling and each other (with the exception of the rear panel that is secured at the top with Velcro and can be left in place the whole time.
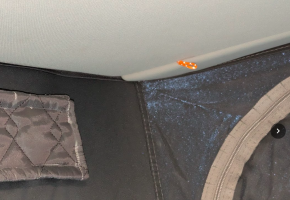
I printed some wedges with 2mm cord inserts that can be inserted at either end of the head lining and slid along to the required position using a simple printed tool – it should be noted that my head lining does not sit perfectly centrally and so I had to make a couple of different thicknesses of the wedges to accommodate this.
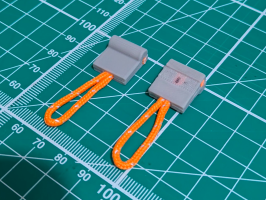
The insulated sides are simply attached using the toggles, I have added button holes to the panes and used double ended toggles as this gave me the possibility to adjust the height of the panel and seemed to be neater than sewing the banding directly to the panels.
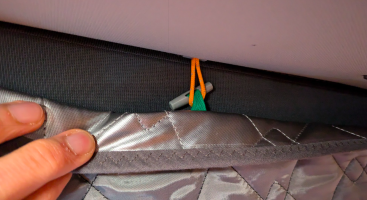

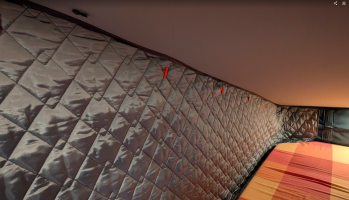
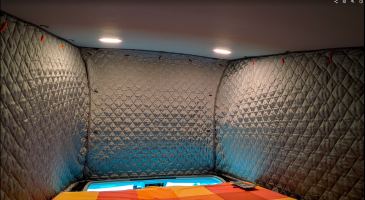
We use the windows regularly and so I added a couple of additional button holes so that the front panel can be rolled up to give access to the window.
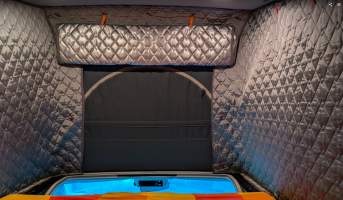
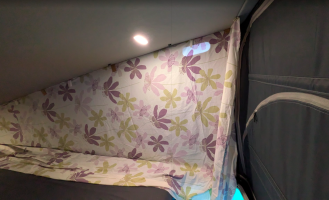
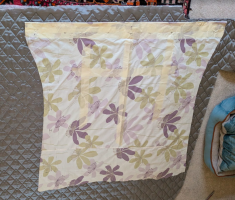
The templates for the panels were made by tucking an old duvet cover into the roof lining, the bad news is that there’s not a straight line in the whole setup!
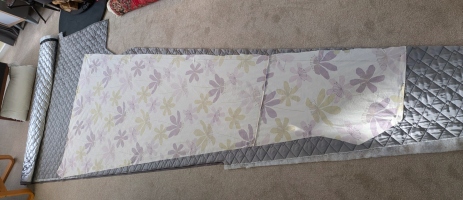
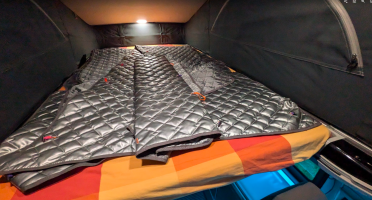
I did try laying the panels out on the top mattress and lowering the roof but chickened out before it was completely down, it might have been OK but I didn’t want to chance it!
OK a little background first, I have had the van, an Ocean, for just over a year now using it regularly for 2-3 night trips with a few longer holidays in all weathers on my own, with my partner and with/without the dog. Last winter I made a liner for the pop-top using silvered bubble insulation with 3D printed hangers that clipped in around the edge of the head liner, this had a lot of use and was very effective and so I thought it would be nice to make something a bit posher!
After a great deal of thought and rejected ideas I think I have come up with a smart looking and easily installed solution and so thought I would share in case it’s of help to anyone else contemplating something similar.
I have used a quilted material this time, not cheap but sold for camper van and caravan insulation amongst other things, available in lots of colours but I went for the silver and grey to match the standard trim. I have used 4 panels and tent type toggles to secure them to the ceiling and each other (with the exception of the rear panel that is secured at the top with Velcro and can be left in place the whole time.
I printed some wedges with 2mm cord inserts that can be inserted at either end of the head lining and slid along to the required position using a simple printed tool – it should be noted that my head lining does not sit perfectly centrally and so I had to make a couple of different thicknesses of the wedges to accommodate this.

The insulated sides are simply attached using the toggles, I have added button holes to the panes and used double ended toggles as this gave me the possibility to adjust the height of the panel and seemed to be neater than sewing the banding directly to the panels.


We use the windows regularly and so I added a couple of additional button holes so that the front panel can be rolled up to give access to the window.

The templates for the panels were made by tucking an old duvet cover into the roof lining, the bad news is that there’s not a straight line in the whole setup!


I did try laying the panels out on the top mattress and lowering the roof but chickened out before it was completely down, it might have been OK but I didn’t want to chance it!


