alter
I'm trying motors
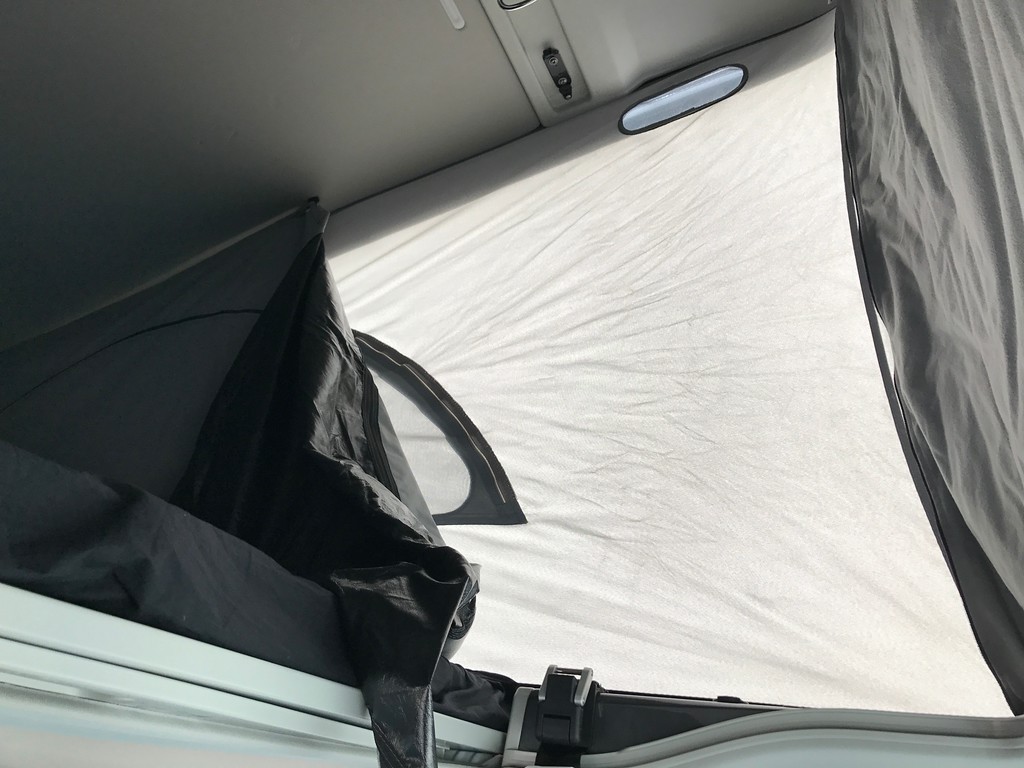
Today I have dedicated myself to the adhesive Velcro mount and the Velcro accessories that are fastened on the roof lining. I thought the whole thing was more complicated, but I did! I do not understand 'cause you have to wait two days to fix the' isotop..l 'sticker seemed tenacious ... sara' the bureaucracy of the European Union? hahaha A barbeque spatula steel thread the Velcro pieces blacks helped me much more than my wife ..... my belly and 'a little complained of fatigue but I quickly consoled with a cold beer.!