T
T6 VCO
Did you buy them from a VW Dealer?
Yes


Did you buy them from a VW Dealer?
") Surely there must be another part number then?
Surely there must be another part number then?I am ready
These items are VW parts but presumably supplied as an after market accessory, they are not the same type fitted to Caravels/California's on a factory chrome pack order. As said previously those trims are Acrylic/plastic "chrome" with a raised profile and are narrower than these polished stainless steel items.Is it possible the VW Parts part is different to a COPY being sold on eBAy?
I bought the factory trims and they are peel off backing line up and stick on pressing hard for a minute or so. They stick hard so get it right first time. Don't bother with aftermarket rubbish it will look rubbish, tarnish then fall off....
Hi,I bought the factory trims and they are peel off backing line up and stick on pressing hard for a minute or so. They stick hard so get it right first time. Don't bother with aftermarket rubbish it will look rubbish, tarnish then fall off....
Glenn I don’t think gazellio roams these corridors anymore. Ditched us for a great white.Hi,
How much did you pay for the factory set if you don't mind me asking?
Hello Glenn,Hi,
How much did you pay for the factory set if you don't mind me asking?


Thank you for taking the time to give a really informative answer. Much appreciated.Hello Glenn,
I may be able to help here. I have just taken delivery of a new T6 Beach. Anyway I felt it was crying out for some jewelry so I ordered the Chrome Pack parts individually from our dealer SMG Tonbridge. Chris, the parts chap was very helpful and gave me 10% discount on everything. It was a shame that I couldn't order the Chrome Pack on the Beach as it would have been a lot cheaper as a factory order. Anyway here is a snap of the receipt for the parts. It should give you an idea of the cost, excluding the dreaded VAT. It shows the list price and also the discounted price in the right hand column. Unfortunately, I purchased chrome trim for the front lower grill and rear tailgate as well as both sides and I just don't know which of the part numbers refers to which part. Chris should be able to through some light on the matter.
View attachment 53140
I think the items marked "strip" are the side and the rear tailgate mouldings.
As for fitting them, well that's a little bit tricky. I asked a hugely respected locally based accident repair company, AB Crush for their advice. They deal with the repair of mainly new VW Audi group vehicles through out the UK. A very nice chap invited me to a demonstration on how to apply these trims properly. First he produced these two spray tins:
View attachment 53149
He advised me to offer up the strips and stick them temporarily in position using masking tape. When eyed up and satisfied that they are in the right position, straight along the vehicles length and the right way up, mask around them precisely and then remove the trim.
NOTE: To ensure that they were straight and running parallel to the sill I cut a small oblong cardboard gauge that I stood on the seem that sticks out at the bottom of the body side panel. Once you are satisfied that the trim is sitting in the right place cut the cardboard gauge to the right height so that it corresponds to the lower edge of the trim piece. Then just keep moving the gauge along the length of the side of the van ensuring the trim is at the same height throughout. The trim should sit on the top edge of the cardboard gauge if you have used thick enough cardboard.
Once happy with the positioning, use the VW cleaning solution spray (silver tin) on the exposed paint surface within the masked off area. VW product code D 009 401 04. Use a clean dry cloth to clean thoroughly then leave to dry. Then having ensured you have masked off enough to avoid overspray on surrounding paintwork, lightly spray both the exposed body work within the masked off area and the adhesive strip on the back of the trim with the Polyolefin Adhesive Promoter , (white tin). This is a 3M product number 05917. To do this you will obviously have to remove the protective film. You then need to let the adhesive spray dry on both the bodywork and the trim piece.
Whilst the adhesive is drying on both sufaces remove all of the masking tape and after about 10 minutes you can apply the trim to the bodywork. This is the tricky bit. Once stuck down its there for good so get it right the first time. Using your cardboard gauge carefully position one end of the peice of trim strip correctly whilst holding the other end away from the bodywork. When happy, use the gauge on the other end and carefully press home to fix in place. Repeat the process with all other trim strips. When finished apply some medium heat with a hair dryer along the whole length of the strip for about 15 - 20 minutes to help cure the adhesive. The whole job should really be done when the weather is warm or in a heated workshop. However the chap did say that you can help the curing process by using a hair dryer as that's what they do. I picked a rare warmish sunny winters day a few weeks ago and I'm happy to report that they haven't fallen off yet. Just leave then for a week or two before going near them with a jet washer.
To help with getting the gaps correct between the trim strips I would suggest the following fitting sequence:
N/S
1. Fit the small trim peice under the fuel cap first using your gauge. Ensure the gap is equidistant at both ends.
2. Fit the rear most strip next using your gauge. Ensure the gap adjacent to the filler cap trim is the same as in 1 above.
3. Then fit the front N/S door trim in the same manor.
O/S
4. Fit the front N/S door trim in the same manor being sure to adopt the same gap.
5. Fit the sliding door trim in the same manner.
This is all rather a faff I know but the end result is very smart. I'll bet they use jigs in the factory and its all done in seconds. Here is the finished result:
View attachment 53146View attachment 53147View attachment 53148
Good luck.
Hi GazellioCan you please tell us where you ordered this set from and how much they cost?
HiMine are 3.5cms factory fit and part of chrome pack.
Mike
Wow....ain’t she perdy! Thinking of retro fitting factory set as well but may have to suck up the fitting cost given time constraints ...I assume the chrome pack comes with the front lower grill strip and the rear tailgate edge protector as well Borris?Hello Glenn,
I may be able to help here. I have just taken delivery of a new T6 Beach. Anyway I felt it was crying out for some jewelry so I ordered the Chrome Pack parts individually from our dealer SMG Tonbridge. Chris, the parts chap was very helpful and gave me 10% discount on everything. It was a shame that I couldn't order the Chrome Pack on the Beach as it would have been a lot cheaper as a factory order. Anyway here is a snap of the receipt for the parts. It should give you an idea of the cost, excluding the dreaded VAT. It shows the list price and also the discounted price in the right hand column. Unfortunately, I purchased chrome trim for the front lower grill and rear tailgate as well as both sides and I just don't know which of the part numbers refers to which part. Chris should be able to through some light on the matter.
View attachment 53140
I think the items marked "strip" are the side and the rear tailgate mouldings.
As for fitting them, well that's a little bit tricky. I asked a hugely respected locally based accident repair company, AB Crush for their advice. They deal with the repair of mainly new VW Audi group vehicles through out the UK. A very nice chap invited me to a demonstration on how to apply these trims properly. First he produced these two spray tins:
View attachment 53149
He advised me to offer up the strips and stick them temporarily in position using masking tape. When eyed up and satisfied that they are in the right position, straight along the vehicles length and the right way up, mask around them precisely and then remove the trim.
NOTE: To ensure that they were straight and running parallel to the sill I cut a small oblong cardboard gauge that I stood on the seem that sticks out at the bottom of the body side panel. Once you are satisfied that the trim is sitting in the right place cut the cardboard gauge to the right height so that it corresponds to the lower edge of the trim piece. Then just keep moving the gauge along the length of the side of the van ensuring the trim is at the same height throughout. The trim should sit on the top edge of the cardboard gauge if you have used thick enough cardboard.
Once happy with the positioning, use the VW cleaning solution spray (silver tin) on the exposed paint surface within the masked off area. VW product code D 009 401 04. Use a clean dry cloth to clean thoroughly then leave to dry. Then having ensured you have masked off enough to avoid overspray on surrounding paintwork, lightly spray both the exposed body work within the masked off area and the adhesive strip on the back of the trim with the Polyolefin Adhesive Promoter , (white tin). This is a 3M product number 05917. To do this you will obviously have to remove the protective film. You then need to let the adhesive spray dry on both the bodywork and the trim piece.
Whilst the adhesive is drying on both surfaces, remove all of the masking tape and after about 10 minutes you can apply the trim to the bodywork. This is the tricky bit. Once stuck down its there for good so get it right the first time. Using the cardboard gauge carefully position one end of the peice of trim strip correctly whilst holding the other end away from the bodywork. When happy, use the gauge on the other end and carefully press home to fix in place. Then apply pressure to the whole length of the trim piece to ensure it's properly in contact all along. Repeat the process with all other trim strips. When finished apply some medium heat with a hair dryer along the whole length of the trim for about 15 - 20 minutes to help cure the adhesive. The whole job should really be done when the weather is warm or in a heated workshop. However the chap did say that you can help the curing process by using a hair dryer as that's what they do. I picked a rare warmish sunny winters day a few weeks ago and I'm happy to report that they haven't fallen off yet. Just leave then for a week or two before going near them with a jet washer.
To help with getting the gaps correct between the trim strips I would suggest the following fitting sequence:
N/S
1. Fit the small trim peice under the fuel cap first using your gauge. Ensure the gap is equidistant at both ends.
2. Fit the rear most strip next using your gauge. Ensure the gap adjacent to the filler cap trim is the same as in 1 above.
3. Then fit the front N/S door trim in the same manor.
O/S
4. Fit the front N/S door trim in the same manor being sure to adopt the same gap.
5. Fit the sliding door trim in the same manner.
This is all rather a faff I know but the end result is very smart. I'll bet they use jigs in the factory and its all done in seconds. Here is the finished result:
View attachment 53146View attachment 53147View attachment 53148
Good luck.
Hi Taf,Wow....ain’t she perdy! Thinking of retro fitting factory set as well but may have to suck up the fitting cost given time constraints ...I assume the chrome pack comes with the front lower grill strip and the rear tailgate edge protector as well Borris?
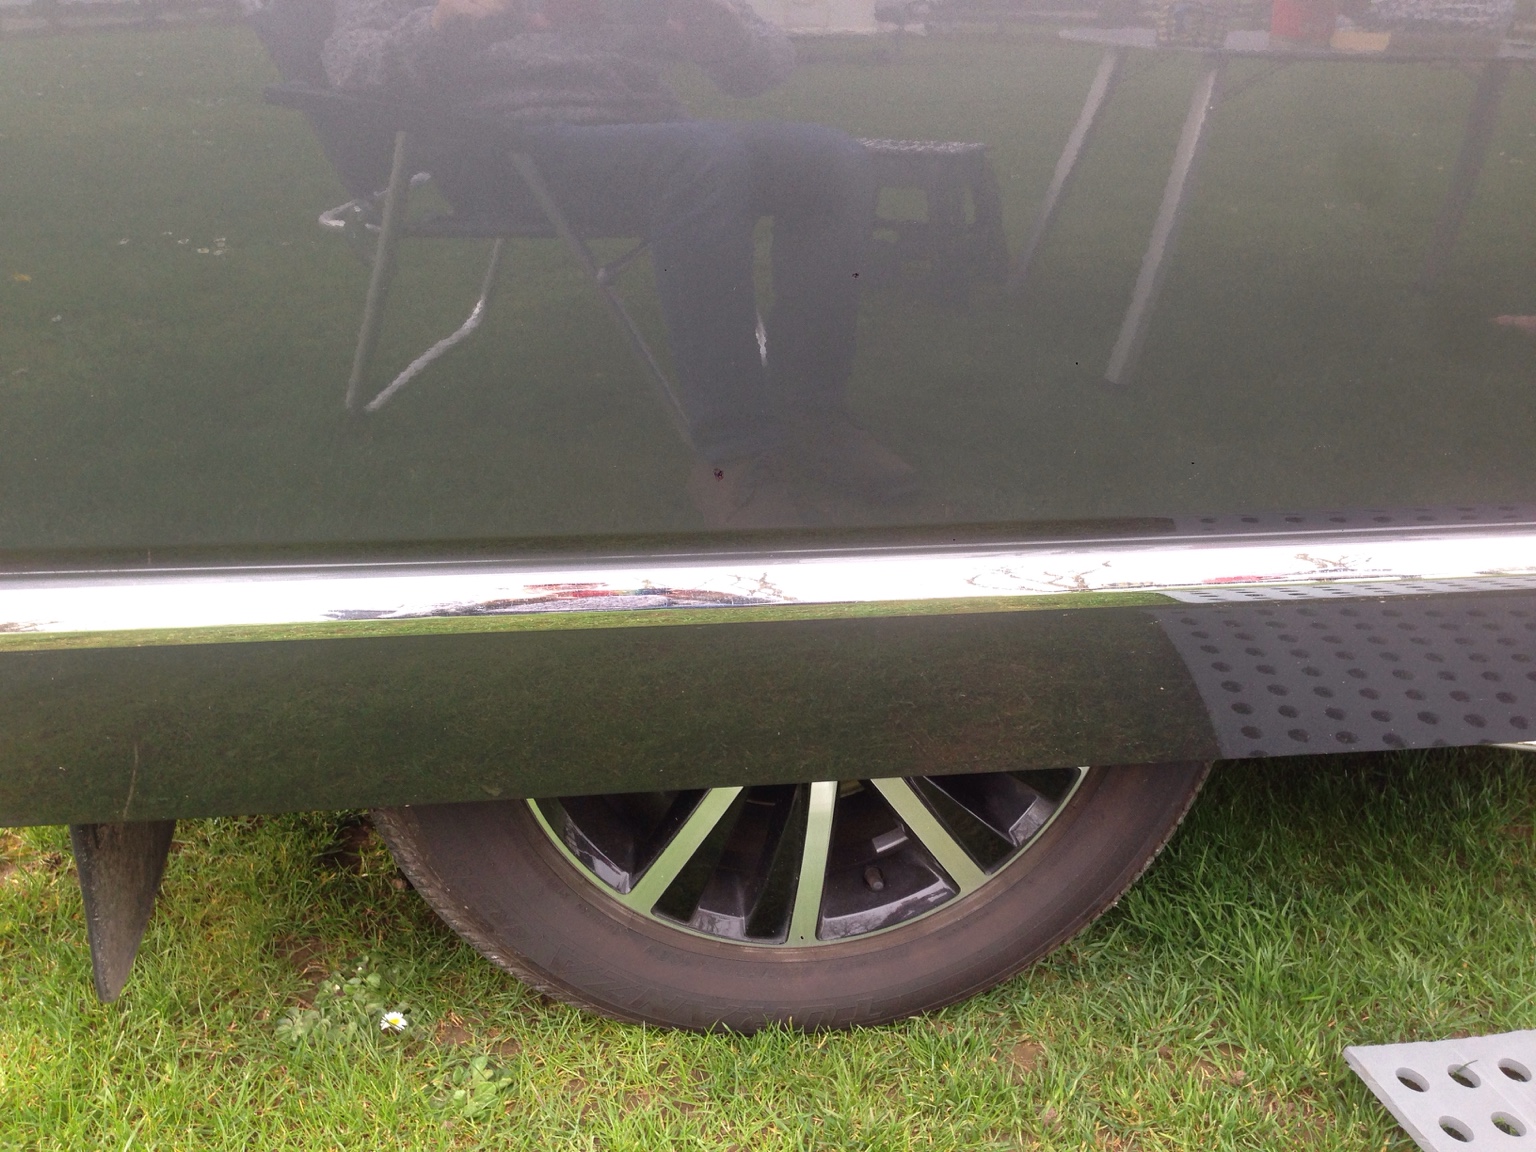
What wheels are they also?, my Cali currently has 17” Devonports but would like to upgrade at some point
Cheers
Taf
Agreed but on quizzing the can centre guy he confirmed they ain’t plastic but metal ...even so, eye watering£600 for some plastic strips? VW parts pricing is beyond ridiculous.
Thanks Borris ...we might have swapped as mine are unblemished could you confirm though if the mouldings are proper metal or merely metal effect plastic ?Hi Taf,
If you are retro fitting the chrome pack then I'm afraid you'll have to order all the components separately.
The wheels are 17" diamond turned Anthracite Cascavels. I've since sold them as I prefer the 17" Devonports.
Please read post #37 as it explains all.
I believe that they are polished aluminium with a protective film. They are of excellent quality. Personally I wouldn't entertain fitting anything but the genuine VW parts.Thanks Borris ...we might have swapped as mine are unblemished could you confirm though if the mouldings are proper metal or merely metal effect plastic ?
Thanks
Taff T
Be aware that some dealers will sell you stainless steel trims and imply they are genuine VW parts, they are deeper and are completely different from the parts fitted in the factory to Cali'sI believe that they are polished aluminium with a protective film. They are of excellent quality. Personally I wouldn't entertain fitting anything but the genuine VW parts.
I should just add that when I said polished aluminium, the genuine parts could also be stainless steel. I don't know which for certain but SS would make more sense. They definitely aren't chrome effect plastic though.Be aware that some dealers will sell you stainless steel trims and imply they are genuine VW parts, they are deeper and are completely different from the parts fitted in the factory to Cali's


The VW California Club is the worlds largest resource for all owners and enthusiasts of VW California campervans.


