ThomasHJ
Top Poster
Lifetime VIP Member
After having experienced midges for the first time in my life, in Scotland recently I didn't need much convincing that we needed to midge-proof the Cali for our upcoming trip to Sweden (although so far we've not yet ran into midges over there). Paying 50 pound for shop bought screens seemed a bit ridiculous to me and I like a good DIY. Looked at 3D-printing but that was quite a hassle. There were some models but they weren't great. Looked at making my own screens with ABS sheeting and midge netting but that to seemed a lot of work. In the end I decided just to stick midge netting over the existing screens. I got some netting and adhesive velcro, but the velcro turned out to be too thick, so in the end I went for the easiest solution and it turned out quite ok.
Materials:
- Midge netting (from Totally Herby of Scotland) (Which was cheaper to get from Scotland then to buy here in The Netherlands even with Brexit)
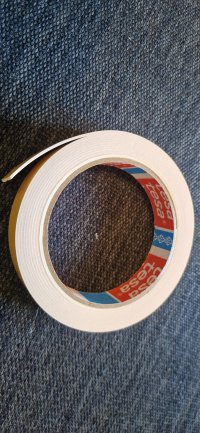
- Tesa double sided tape (transparent if you can find it)
Tools:
- Scissors
- craft knife
- ruler
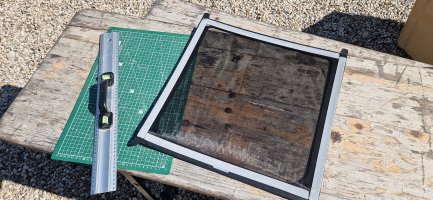
I cut roughly cut the midge netting to size. Applied the double sided tape to the original insect screen and stuck the midge netting to the tape. Make sure to make it nice and tight, but don't overstretch it. After that I used the ruler and the craft knife to cut the excess midge netting. This will lead to some loose thread on all sides, which you can magically make disappear by running a lighter past it. So in the end a really simple job which you can do in 15 minutes. The screen now fits in the sliding window a bit more tight then before, which in our case is a good thing, since it was always a bit loose. If you ever want to remove the midge netting, the double sided tape will come off easily without leaving traces on the original screen. Pictures below.
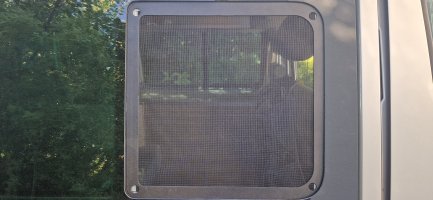
You can't really see anything on the outside. Although I could have kept he tape away from the small round holes.
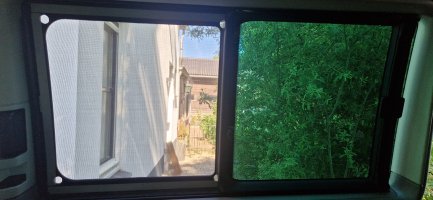
This is what it looks like on the inside. You can see the tape but it doesn't bother me. Next time I would choose transparent tape, but this is what I had lying around.
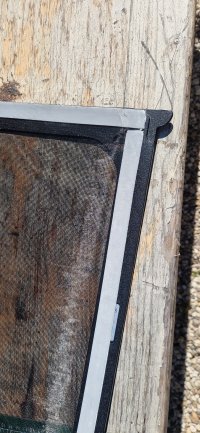
This is the tape with the midge netting already stuck onto it.
Now on to the ventilation holes in the poptop. Read about some good ideas on the forum so will copy those.
Materials:
- Midge netting (from Totally Herby of Scotland) (Which was cheaper to get from Scotland then to buy here in The Netherlands even with Brexit)
- Tesa double sided tape (transparent if you can find it)
Tools:
- Scissors
- craft knife
- ruler
I cut roughly cut the midge netting to size. Applied the double sided tape to the original insect screen and stuck the midge netting to the tape. Make sure to make it nice and tight, but don't overstretch it. After that I used the ruler and the craft knife to cut the excess midge netting. This will lead to some loose thread on all sides, which you can magically make disappear by running a lighter past it. So in the end a really simple job which you can do in 15 minutes. The screen now fits in the sliding window a bit more tight then before, which in our case is a good thing, since it was always a bit loose. If you ever want to remove the midge netting, the double sided tape will come off easily without leaving traces on the original screen. Pictures below.


You can't really see anything on the outside. Although I could have kept he tape away from the small round holes.

This is what it looks like on the inside. You can see the tape but it doesn't bother me. Next time I would choose transparent tape, but this is what I had lying around.

This is the tape with the midge netting already stuck onto it.

Now on to the ventilation holes in the poptop. Read about some good ideas on the forum so will copy those.


