dspuk
Dave
Super Poster
Lifetime VIP Member
Part 1.
After deciding to buy one of the @Roger Donoghue kits I thought it could be of benefit to any others with my specific spec to see how I did it. Everything is more or less in Rogers instructions, but I did find them a challenge to understand due to how they seem to have evolved over time with addendums etc. The Bed Bus video was also helpful, but not an Ocean so in fact a reasonable amount different. There are a LOT of images in this thread, 28 to be exact, but I have shrunk them to keep the page loading optimised. If anyone wants a larger size, LMK. For info I am an ex-Army mechanic and used to work in Nissan, so a reasonable knowledge of the topic. I was still a little bewildered at first but eventually realised there are just three steps:
1 - Install a MPPT charger.
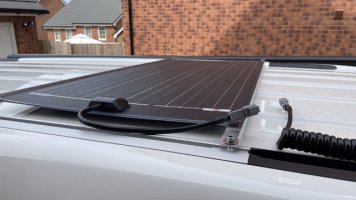
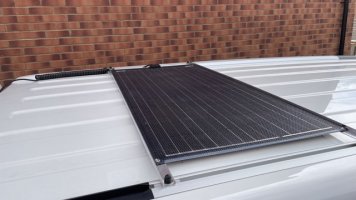
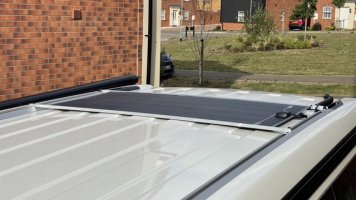
2 - Put a panel on the roof and wire it to the MPPT charger.
3 - Put a cable on the battery and attach that to the MPPT charger.
Everything else in between is making it look neat.
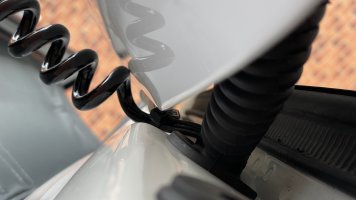
Ok - After reading the instructions a dozen times and surveying the van, I decided to install from the battery first. It made sense to me to start at the bottom and work up. Tools I used for the job - 10mm and 13mm sockets, phillips screwdriver and electrical screwdriver. I also used loom tape to tidy and make neat and have ordered some helicopter tape to go under the curly cable. Less for protection and more to reduce friction. everything else you need is in Rogers jiffy.
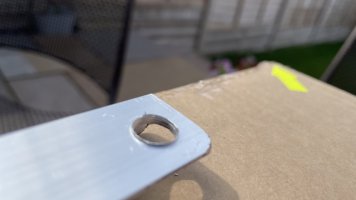
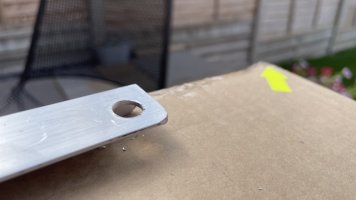
Fiirst though I got everything out. There were some burrs on the holes for the panel caddy to decided to make them right first - deburred with a large drill bit (13mm).
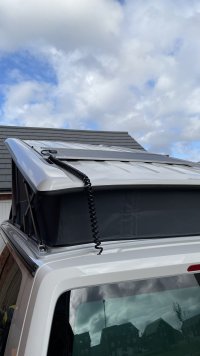
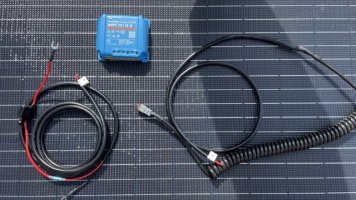
Then I laid it all out to have a look. Here we have the panel, MPPT charger and the two cables. Curly is from panel to MPPT, the straight with a red wire is battery to MPPT.
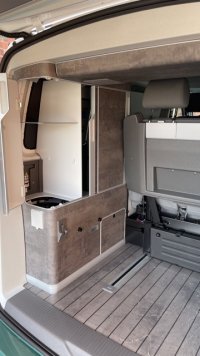
Next step was to prep the back. This involved removing all shelves and the whole rear unit. It's easy enough - release the catches, slide and then tilt the right side up and walk backwards slowly.
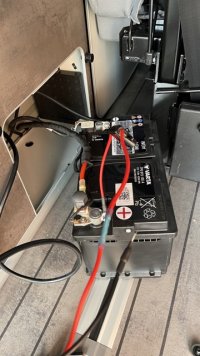
Then take off the battery cover and remove the battery. To do this you need a 13mm socket to remove the battery foot clamp, slide the battery towards the rear of the van (there is a 10 mm gap to do this) and then tilt the front up and slide slowly out. Keep it tilted as the space is tight and there is something above the battery.
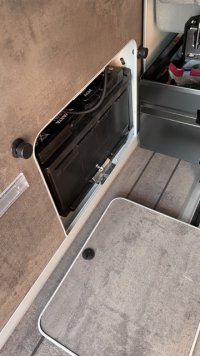
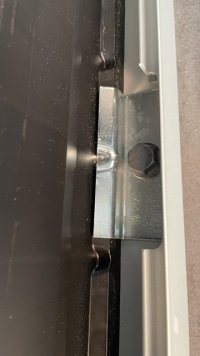
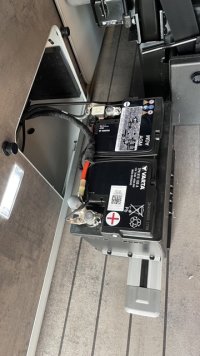
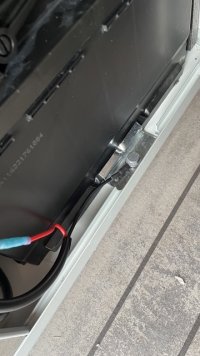
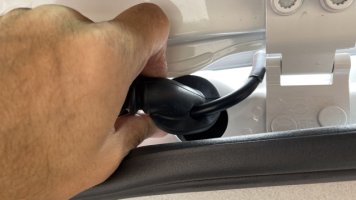
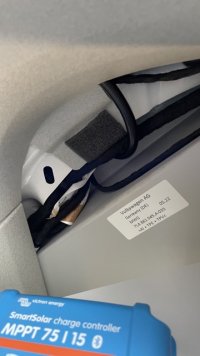
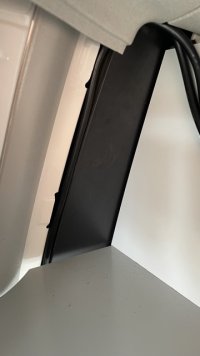
Then drop a piece of string as shown down the side of the breaker fuse unit and push the end of the battery MPPT cable though the battery hatch until it comes out near the gas canister. It's the same gap as comes from the breaker unit, so easy enough to find. Then attach to the string and pull though as shown. I tried without the string and in the end the string was quicker.
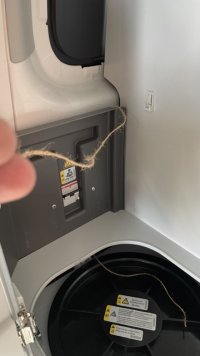
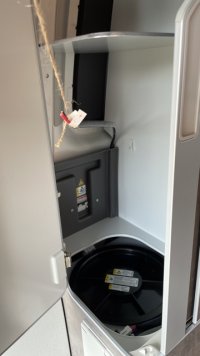
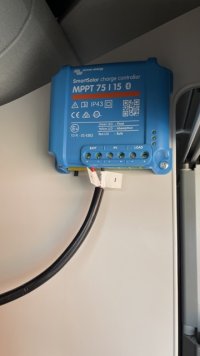
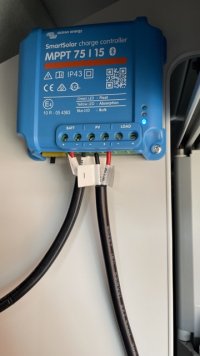
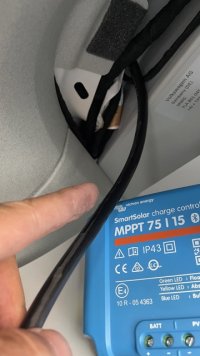
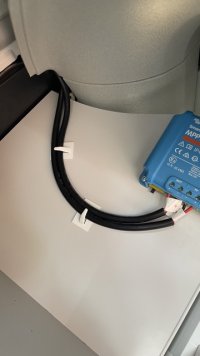
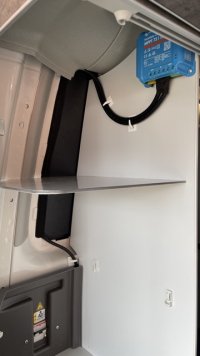
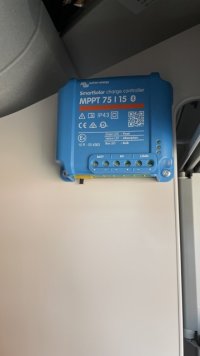
Then I put the MPPT on. I was going to put this in with the battery but there is no room and the cables are not the right length for that. It was also best to put here in case of future maintenance and access. I used the short screws supplied with a little pressure and just screwed into the rear shelf panel. Easier than it looked. Tight space for the top two, use a stubby if you can but possible if not.
See next post for part 2 (10 file insert limit).
After deciding to buy one of the @Roger Donoghue kits I thought it could be of benefit to any others with my specific spec to see how I did it. Everything is more or less in Rogers instructions, but I did find them a challenge to understand due to how they seem to have evolved over time with addendums etc. The Bed Bus video was also helpful, but not an Ocean so in fact a reasonable amount different. There are a LOT of images in this thread, 28 to be exact, but I have shrunk them to keep the page loading optimised. If anyone wants a larger size, LMK. For info I am an ex-Army mechanic and used to work in Nissan, so a reasonable knowledge of the topic. I was still a little bewildered at first but eventually realised there are just three steps:
1 - Install a MPPT charger.
2 - Put a panel on the roof and wire it to the MPPT charger.
3 - Put a cable on the battery and attach that to the MPPT charger.
Everything else in between is making it look neat.
Ok - After reading the instructions a dozen times and surveying the van, I decided to install from the battery first. It made sense to me to start at the bottom and work up. Tools I used for the job - 10mm and 13mm sockets, phillips screwdriver and electrical screwdriver. I also used loom tape to tidy and make neat and have ordered some helicopter tape to go under the curly cable. Less for protection and more to reduce friction. everything else you need is in Rogers jiffy.
Fiirst though I got everything out. There were some burrs on the holes for the panel caddy to decided to make them right first - deburred with a large drill bit (13mm).


Then I laid it all out to have a look. Here we have the panel, MPPT charger and the two cables. Curly is from panel to MPPT, the straight with a red wire is battery to MPPT.

Next step was to prep the back. This involved removing all shelves and the whole rear unit. It's easy enough - release the catches, slide and then tilt the right side up and walk backwards slowly.

Then take off the battery cover and remove the battery. To do this you need a 13mm socket to remove the battery foot clamp, slide the battery towards the rear of the van (there is a 10 mm gap to do this) and then tilt the front up and slide slowly out. Keep it tilted as the space is tight and there is something above the battery.


Then drop a piece of string as shown down the side of the breaker fuse unit and push the end of the battery MPPT cable though the battery hatch until it comes out near the gas canister. It's the same gap as comes from the breaker unit, so easy enough to find. Then attach to the string and pull though as shown. I tried without the string and in the end the string was quicker.


Then I put the MPPT on. I was going to put this in with the battery but there is no room and the cables are not the right length for that. It was also best to put here in case of future maintenance and access. I used the short screws supplied with a little pressure and just screwed into the rear shelf panel. Easier than it looked. Tight space for the top two, use a stubby if you can but possible if not.

See next post for part 2 (10 file insert limit).
Last edited:


