


sidepod
Super Poster
Lifetime VIP Member
- Messages
- 6,949
- Vehicle
- T4 PopTop
So finally I found time to do this little project. It’s based on my late 4 but the principle is the same for a 5, possibly a 6 also.
On the 4 it’s a bit of a pain to access the tank drain valve. It’s buried inside the rear cupboard beneath a metal flap. Not ideal.
I never leave water in the tank so it’s on of the things I do when returning from a mission. If I could do this in flight it would be that much easier.
Strap in.
So here’s the existing drain valve, handraulic.
It’s the small blue thing, red handle just behind.


So the plan is to install a motorised ball valve in line with the existing hand valve. The hand valve can then remain open and the emptying duty controlled by the motorised valve.
Obvs this needs to open and close on demand. The valve I used is powered open and powered closed.
I’ve used a timer relay (rear screen de mist relay, 10 mins) triggered by a momentary switch. Once triggered the relay will reset after 10 mins or, if the momentary switch is pressed again, it with reset.
The timed signal from the relay drives another change over relay which switches a power supply to the valve, either open or close.
When the tank needs draining, push the momentary switch, this fires the timer relay and then opens the change over relay which powers up the valve to open.
After the timed period the change over relay closes agin and powers the valve shut.
10 mins is more than adequate to empty the tank.
The whole system is powered via the ignition ACC so can only be operated whilst the ignition is on, saves emptying the tank when you’re pitched up and rummaging around in the van.
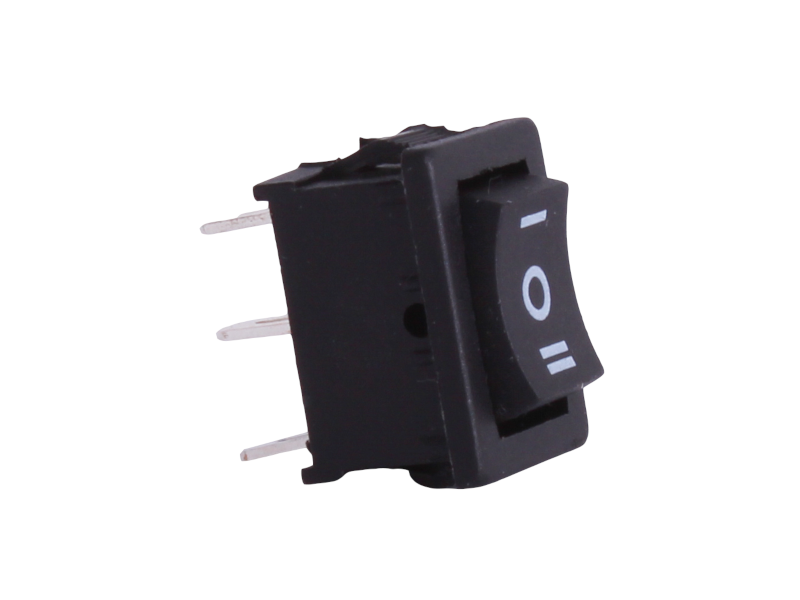
I’ve yet to locate a correct switch so I’ve fitted a temporary one down in the steering colum cowl. It’s a window switch. Once I find the correct dash switch I can move it.
The valve.

It is full bore when open.

Fit one of these in each end, standard plumbing male coupling.

Valve it situ. Drain pipe is easy to cut, male fittings are a nice neat fit. I had to resort to jubilee clips as I didn’t have the correct Oteker clips to hand.

Relays wired.....


Lashed in place. I made up a bracket to hold it all in place. It’s not perfect , I’ll probably move the valve further down stream, under the fridge.

Battery back in place.

So cabling was routed behind the kitchen units, down via drivers footstep and up past the fuse box to the dash/steering column.
TBC.
On the 4 it’s a bit of a pain to access the tank drain valve. It’s buried inside the rear cupboard beneath a metal flap. Not ideal.
I never leave water in the tank so it’s on of the things I do when returning from a mission. If I could do this in flight it would be that much easier.
Strap in.
So here’s the existing drain valve, handraulic.
It’s the small blue thing, red handle just behind.
So the plan is to install a motorised ball valve in line with the existing hand valve. The hand valve can then remain open and the emptying duty controlled by the motorised valve.
Obvs this needs to open and close on demand. The valve I used is powered open and powered closed.
I’ve used a timer relay (rear screen de mist relay, 10 mins) triggered by a momentary switch. Once triggered the relay will reset after 10 mins or, if the momentary switch is pressed again, it with reset.
The timed signal from the relay drives another change over relay which switches a power supply to the valve, either open or close.
When the tank needs draining, push the momentary switch, this fires the timer relay and then opens the change over relay which powers up the valve to open.
After the timed period the change over relay closes agin and powers the valve shut.
10 mins is more than adequate to empty the tank.
The whole system is powered via the ignition ACC so can only be operated whilst the ignition is on, saves emptying the tank when you’re pitched up and rummaging around in the van.
I’ve yet to locate a correct switch so I’ve fitted a temporary one down in the steering colum cowl. It’s a window switch. Once I find the correct dash switch I can move it.
The valve.
It is full bore when open.
Fit one of these in each end, standard plumbing male coupling.
Valve it situ. Drain pipe is easy to cut, male fittings are a nice neat fit. I had to resort to jubilee clips as I didn’t have the correct Oteker clips to hand.
Relays wired.....
Lashed in place. I made up a bracket to hold it all in place. It’s not perfect , I’ll probably move the valve further down stream, under the fridge.
Battery back in place.
So cabling was routed behind the kitchen units, down via drivers footstep and up past the fuse box to the dash/steering column.
TBC.


 I think where you put yours is the better bet - or external in the post above... Having this thing spring a leak where all the electrics are could be a costly affair!


