Horrible Sat Nav sockets

DavidofHook

DavidofHook

Top Poster
VIP Member
Messages
1,015
Location
Hampshire
Vehicle
T5 SE 140
In our Cali we have 4 12 volt sockets.
Three are in the back part of the van with only one on the dashboard. This is part of the cupholder and ashtray mechanism so we have to use it for the Sat Nav. And it is horrible because, to use it, you must have the ashtray sticking out, the wire hangs down and the Sat Nav plug only fits properly intermittently. So, driving through a critical road network in say, France, worried that you will miss the turning and then wham, the Sat Nav turns off. And you are stuck.

Why give us a socket in the boot when an individual socket in the front would be much better. Poor design, or have I missed something?

David
 
Thanks James,
Interesting.... looks a bit pricey though.
I must do some more research

David
 
David,
If you open the drivers door and pop off the large plastic panel on the end of the dash. (normally obscured by the door), you will see that there is plenty of room to hide an extra socket. I have wired up a double socket in this area to power my Sat Nav and Blackvue Camera.
Carefully use a round file to form a small notch in the top of the cover where it meets the window pillar. You can route the cables round the base of the pillar and tuck them behind the lining on the pillar. This gives a pretty neat solution with minimal cable clutter.
Cheers,
Bill
 
My mate did a very simple mod to his work T5. Simply pop out the panel on the top centre of the dash, drill a big hole in one of the side trays and mount a "cigarette lighter" socket in it. His was from a Mercedes CLC as it has a spring loaded cover on it. Then he just disconnected the socket in the ashtray and rerouted the cables to the new socket and reconnected it with the appropriate ends for the new unit. Got rid of all the trailing wires and looked very "OEM".
 
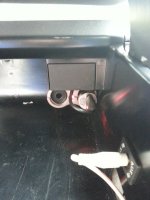
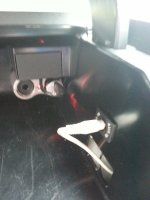
I fitted a double cigerette lighter socket in the glovebox where the blank square is at the back
I routed the cable through the back of the radio and nicked a little bit out of the dash tray the charging cable comes through that and into the sat nav not a cable in sight :thumb
 
You can retrofit the later model top tray above the radio that can house a 12 volt socket. We have done this for a California customer with a 12 plate vehicle without any issue before.

cheers
 
Calikev said:
I fitted a double cigerette lighter socket in the glovebox where the blank square is at the back
I routed the cable through the back of the radio and nicked a little bit out of the dash tray the charging cable comes through that and into the sat nav not a cable in sight :thumb

Where did you take the power feed from Kev?
The wires feeding the ciggy lighter seem to be the easiest to get at.

Just out of interest has anyone rewired the ciggy lighter and/or radio to run off the leisure battery? Wondering if the Canbus will throw a fit if I do it.
 
This is a brief description of how I did mine
First you will need to remove the clovebox by undoing the 5 torx screws 4 at the front 1at the back.you also need to pop out the aux socket and unplug it wire.
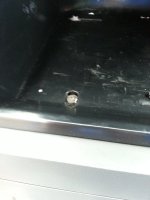
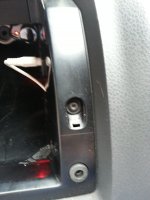
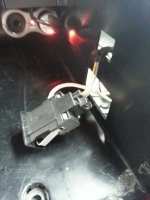
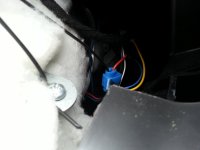
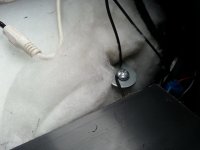
Then I found the plug that goes into the haxard lights and unpluged it I then checked for a live feed it was the red wire after that I used a blue scotch block and conected it to the red wire. I bought a double cigarette lighter socket and then cut off the plug I then connected an inline fuse to the wire that was black with a white stripe using a crimped connector.I then connected that to the other side of the scotch block I then connected the other black wire from the cigarette lighter socket to the screw in the picture
To earth it. Then i removed the dash tray it just lifts off and then fed my
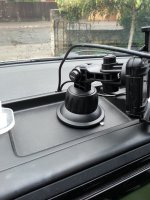
phone cable and aux cable through and into the clove box.as seen in the pictures. Please be aware if you are in any doubt get an auto electrition to do it I was happy to do it. I dont want the blame if you blow yourselves up

20131014_130917.jpg 20131014_130920.jpg 20131014_131118.jpg 20131014_131247.jpg 20131014_131306.jpg 20131014_130803.jpg 20131014_130826.jpg 20131014_130756.jpg
 
Back
Top