Hearny
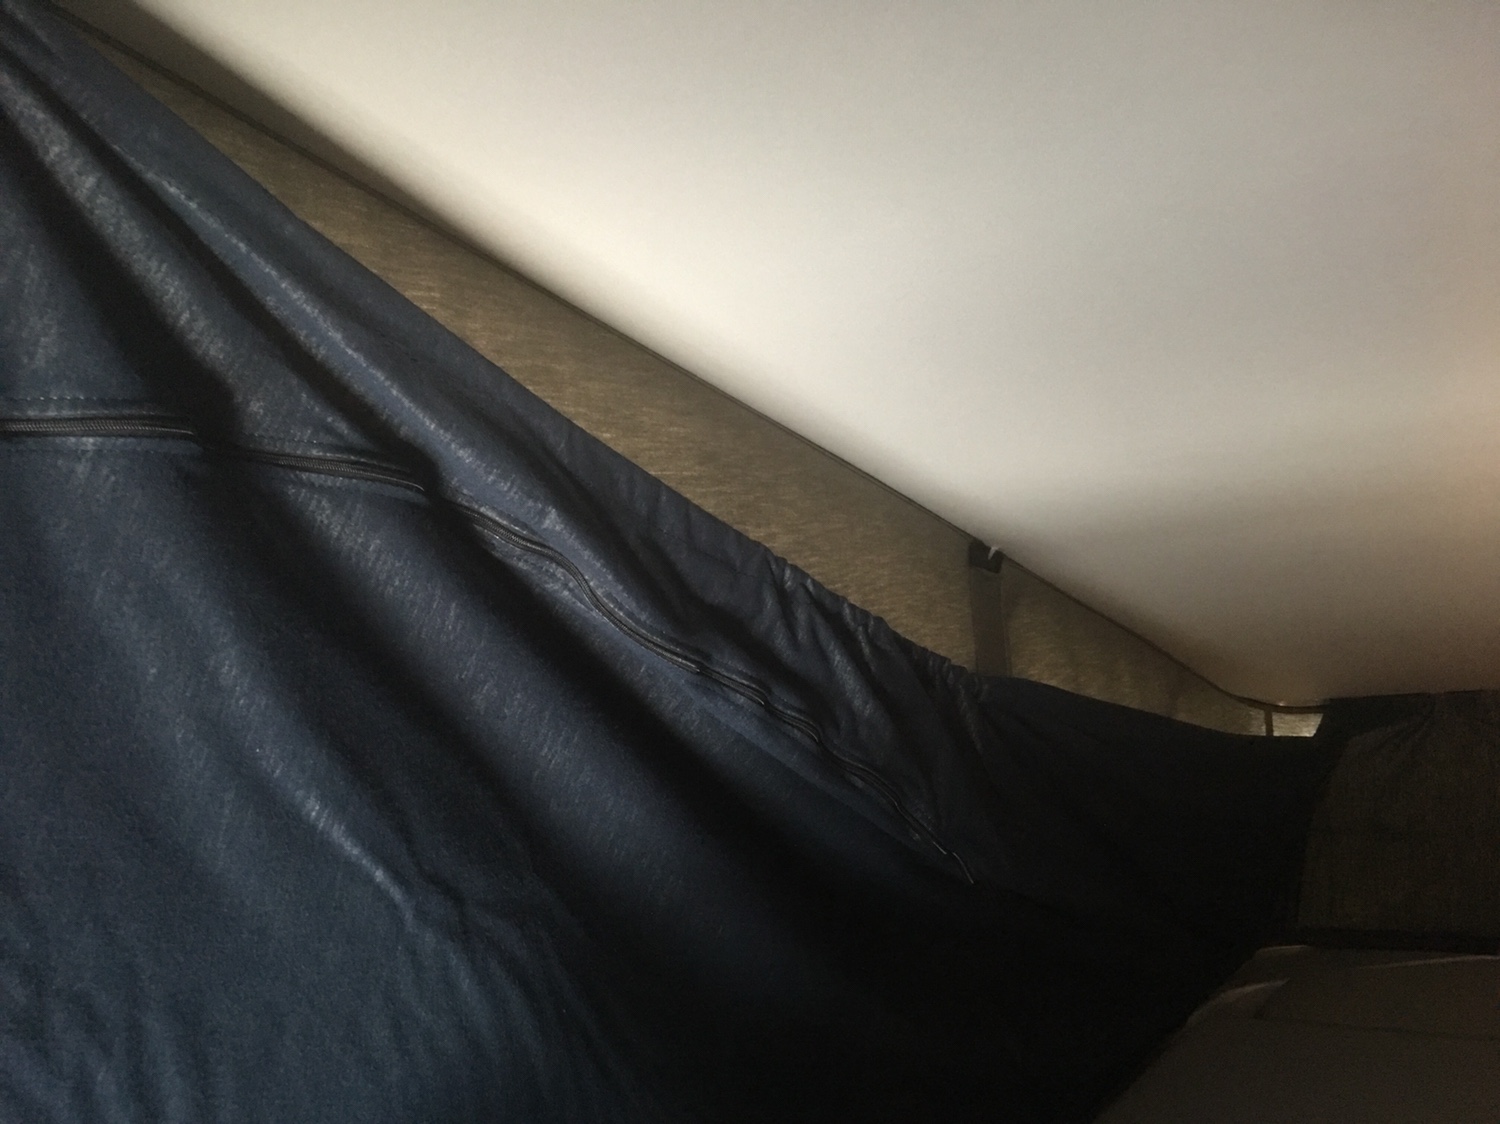
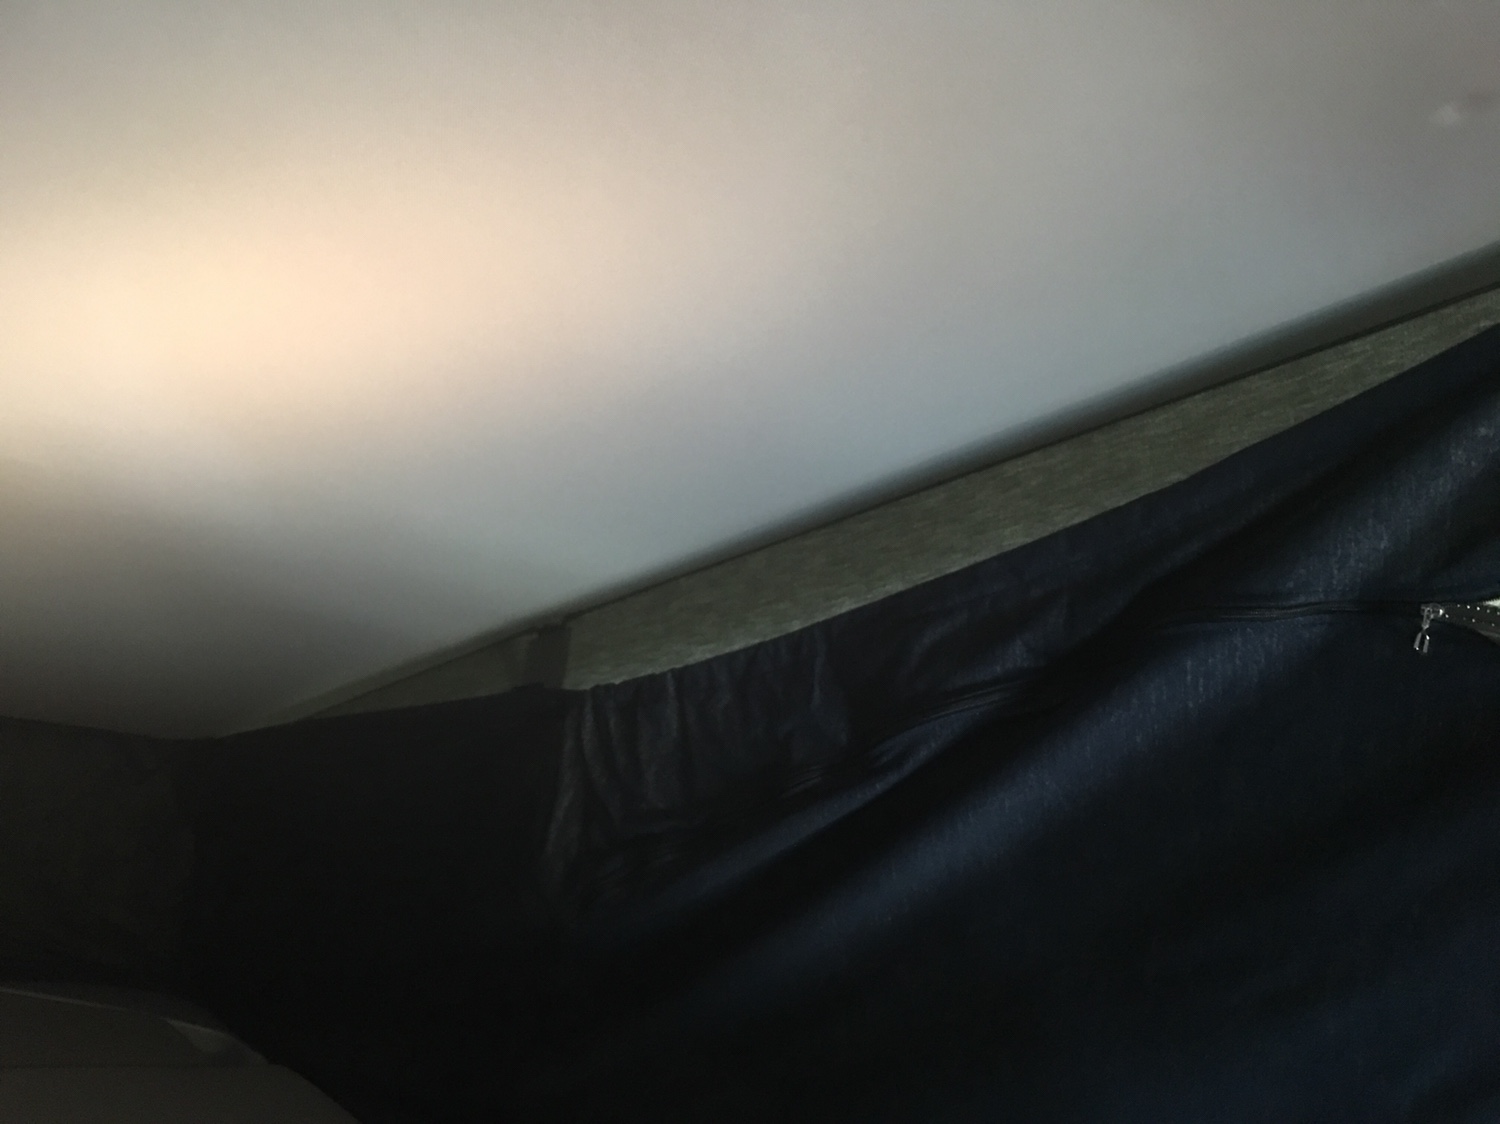
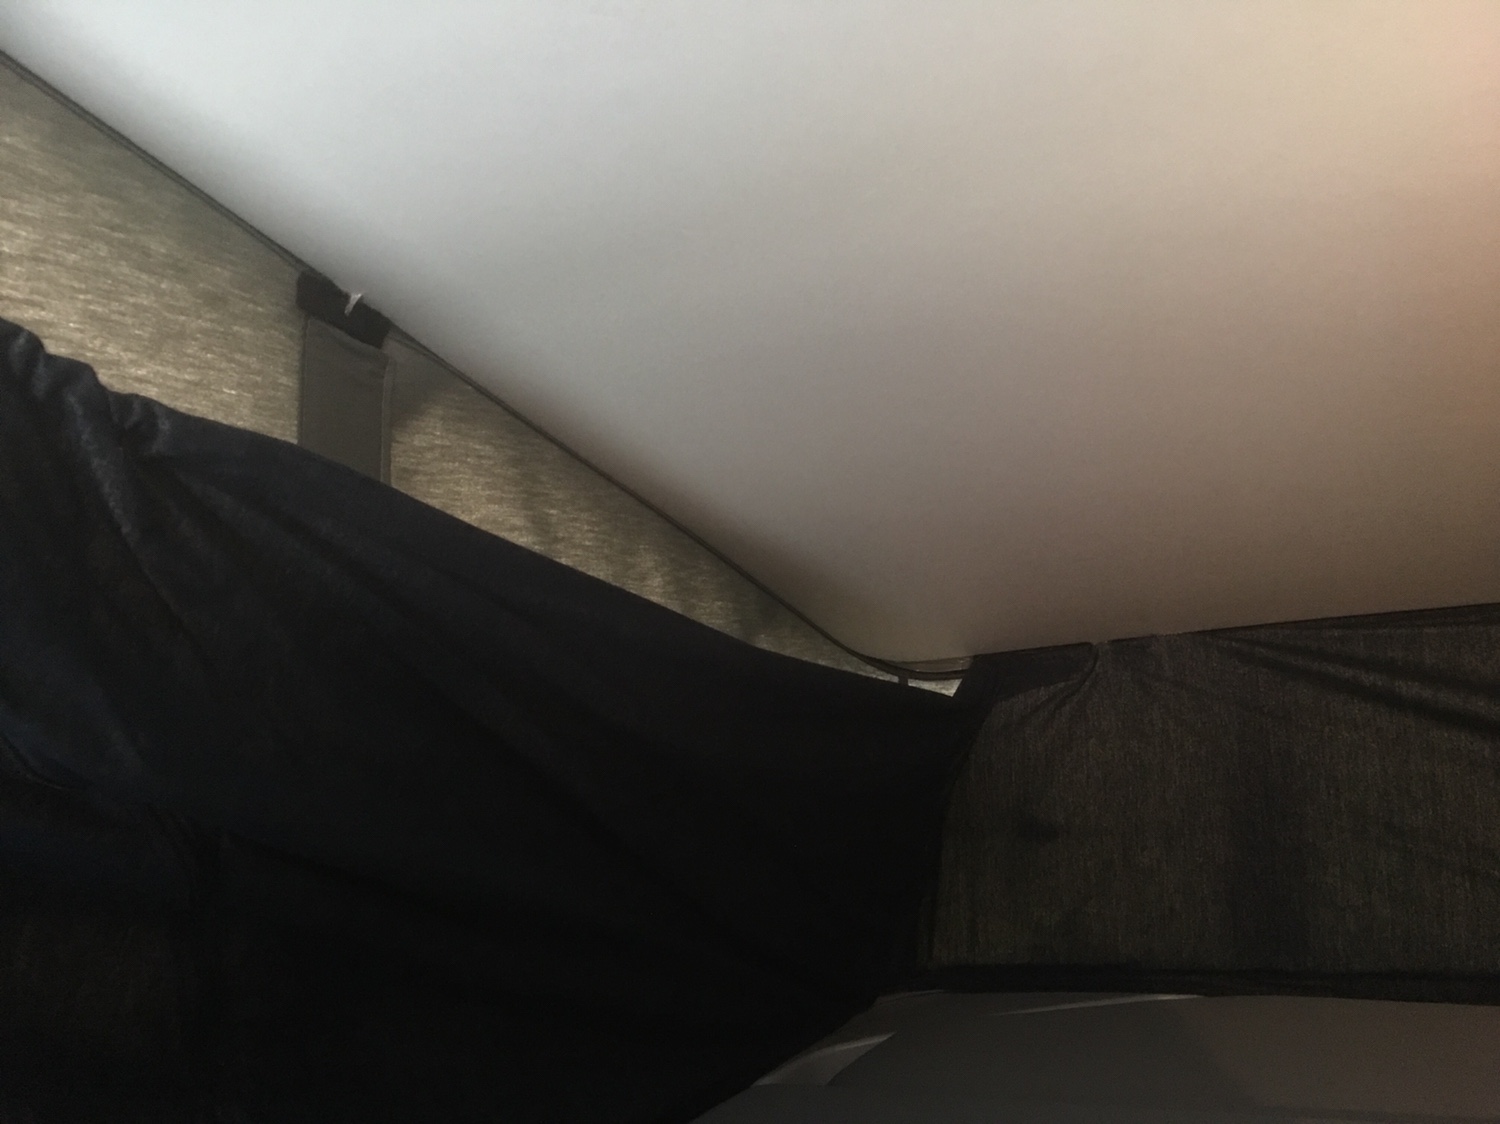
The van I have not long bought has the insulated liner fitted. It is hung by clips at the front but is coming away at the sides (see photos).
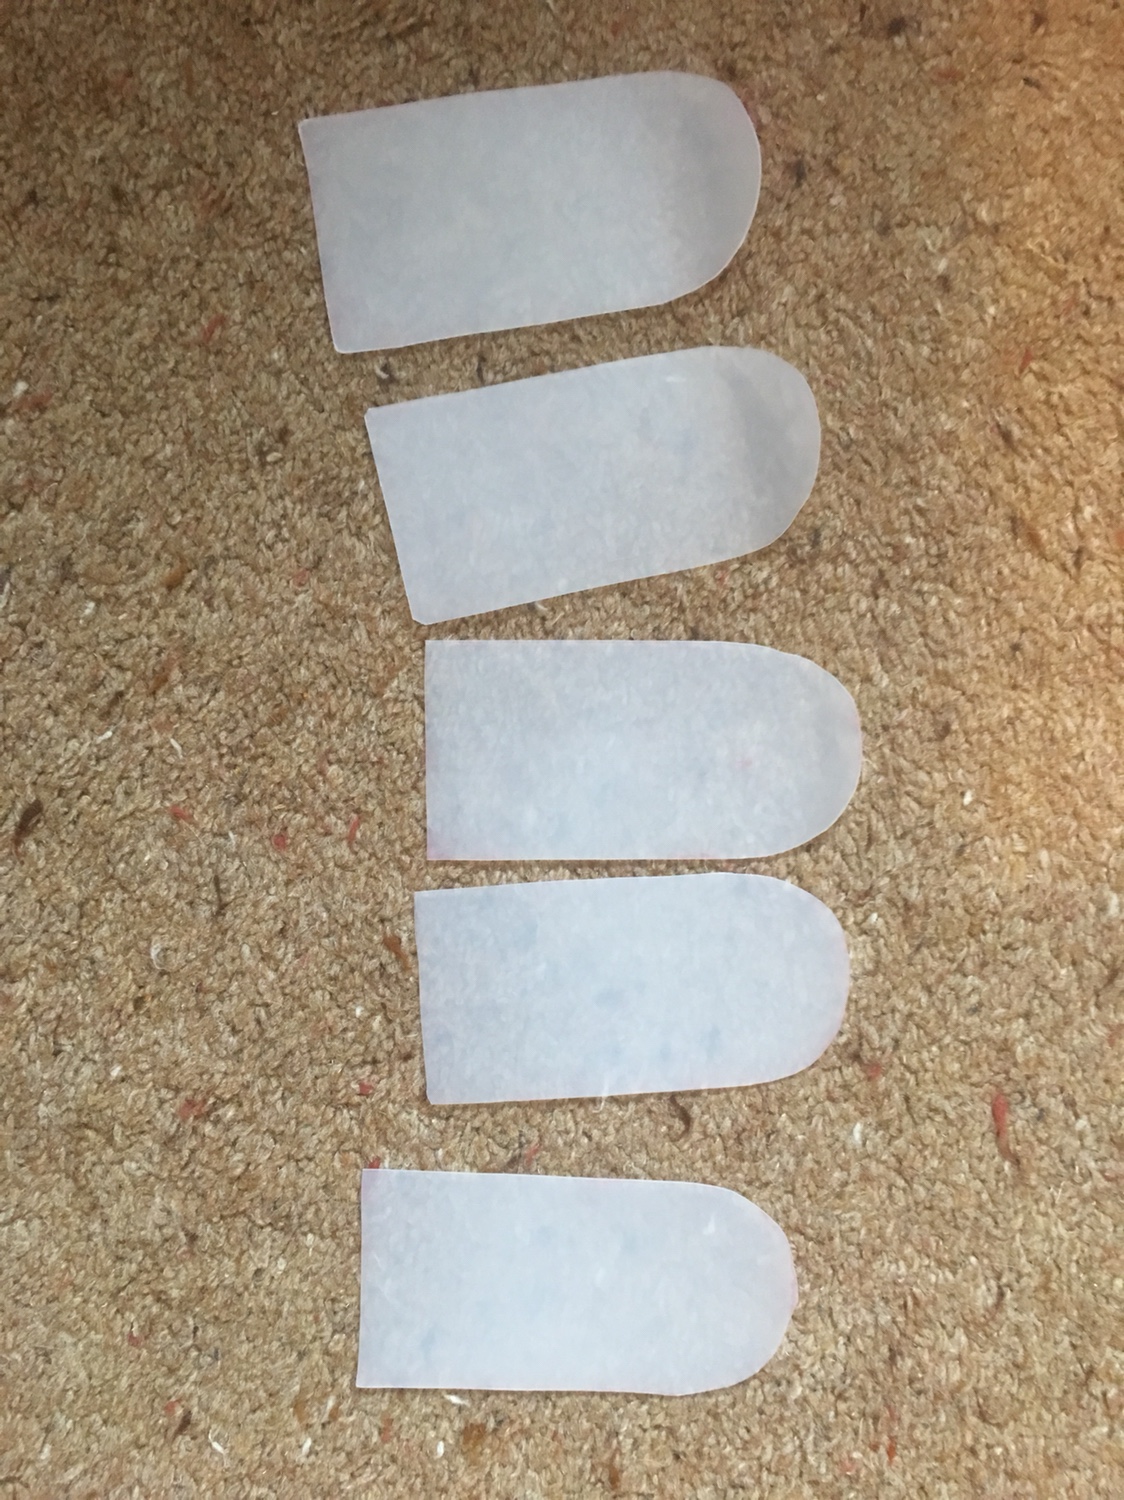
How are meant to be fixed at the sides, at present it has a two inch piece of Velcro holding up the full width.
Thanks Ian


Sent from my iPhone using Tapatalk
How are meant to be fixed at the sides, at present it has a two inch piece of Velcro holding up the full width.
Thanks Ian
Sent from my iPhone using Tapatalk