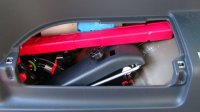
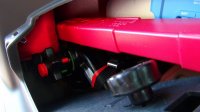
Removable drill free solar installation in a Beach.

Roger Donoghue

Roger Donoghue

VIP Trade Partner
Messages
450
Vehicle
T5 Beach
I fitted one of my kits in a Cali Beach today, and I know a few people have been asking for details of how to, and where to put the solar charger so here it is...

It actually turned out really easy.

1st thing is to pull back the rubber seal that runs round the boot on the top left, a bit along the top, and most of the way down.

Next up is removing the middle grey trim panel at the back. It is held on by two clips that can simply be pulled off. They are designed so the bottom releases if you slide the trim towards the front of the van, and then the top one if you push the panel up. However, I found, whilst levering the panel and looking inside, that the plastic pins pull straight out anyhow, with not too much resistance. The front edge of the panel slots into vertical retaining clips (you slide the front edge into these 1st when refitting the panel.

36064862896_4ddeac3b2f_b.jpg


You can then unplug the connector to the light to get the panel out of your way.

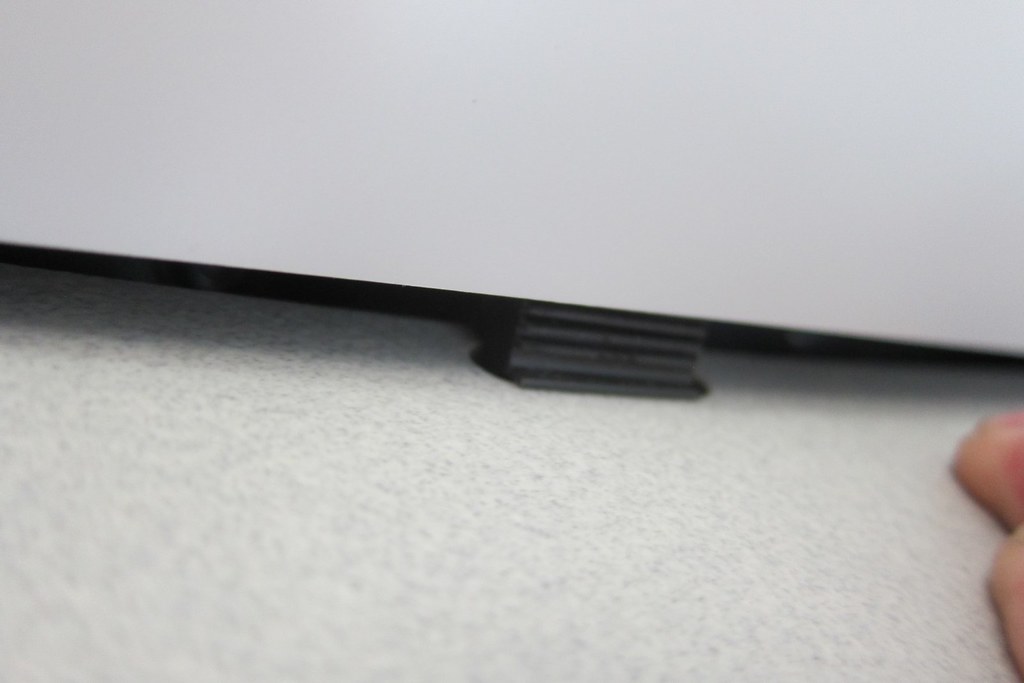
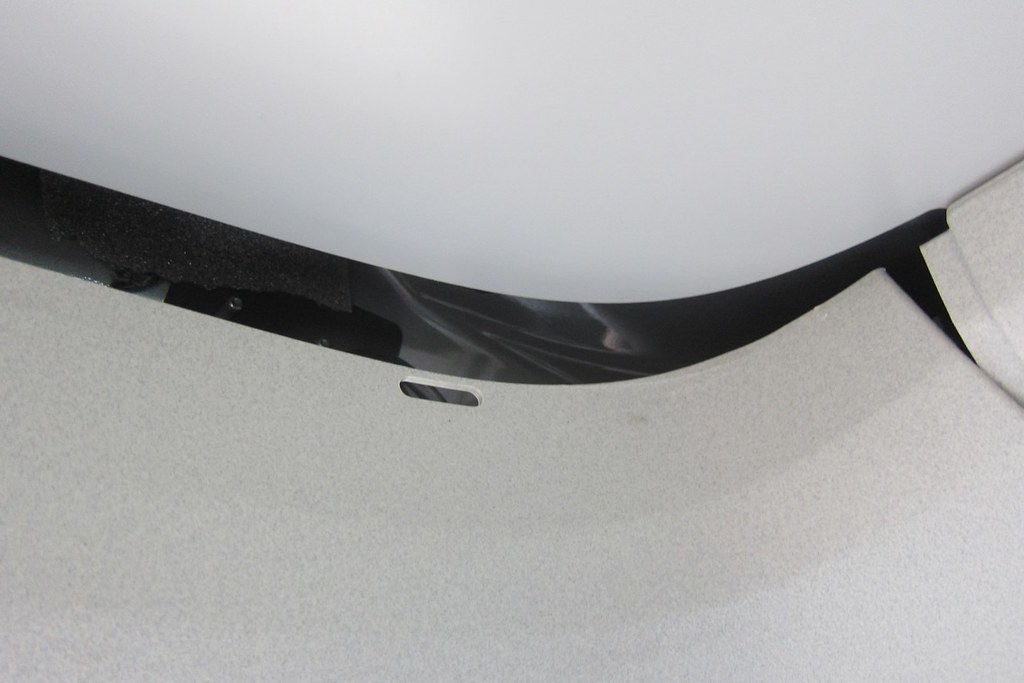
Next up is the panel above that runs the width of the roof at the back. We just need to release it enough to gain access to where the wire is going to to come in from outside via the rear upper tailgate grommet .

The panel is held in place with little rubber "thingies" that sit in slots in the panel and then rest on the roof panel above. All you have to do is push the panel in question where the rubber thingies are and they drop down (or you pull them out). You only need to do the left three or so.
35715850100_07edaba2ce_b.jpg


35298518473_07077147fd_b.jpg


This frees up the panel plenty enough.
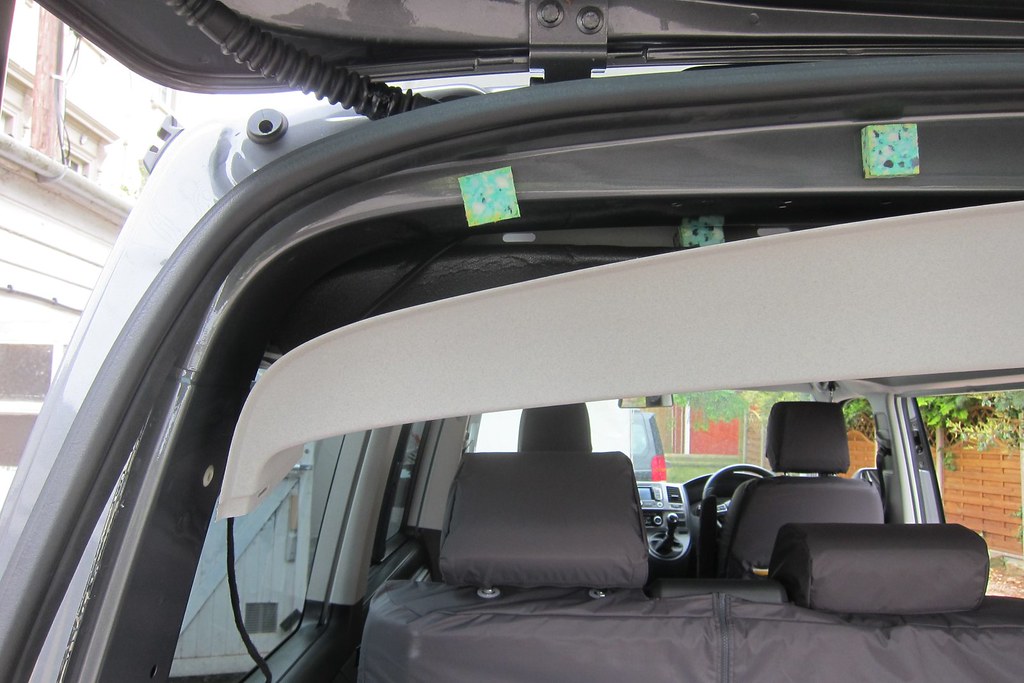
35937371792_5577dc6ff4_b.jpg


You can see in the pic above where the solar cable appears inside after being threaded through the outer grommet. Once you pull the grommet off, you can see straight inside the van. It's super easy.


Now you run the cable down, past the removed side panel, and push it down so it appears inside the area where the jack is stored. This is where I put the solar charger.

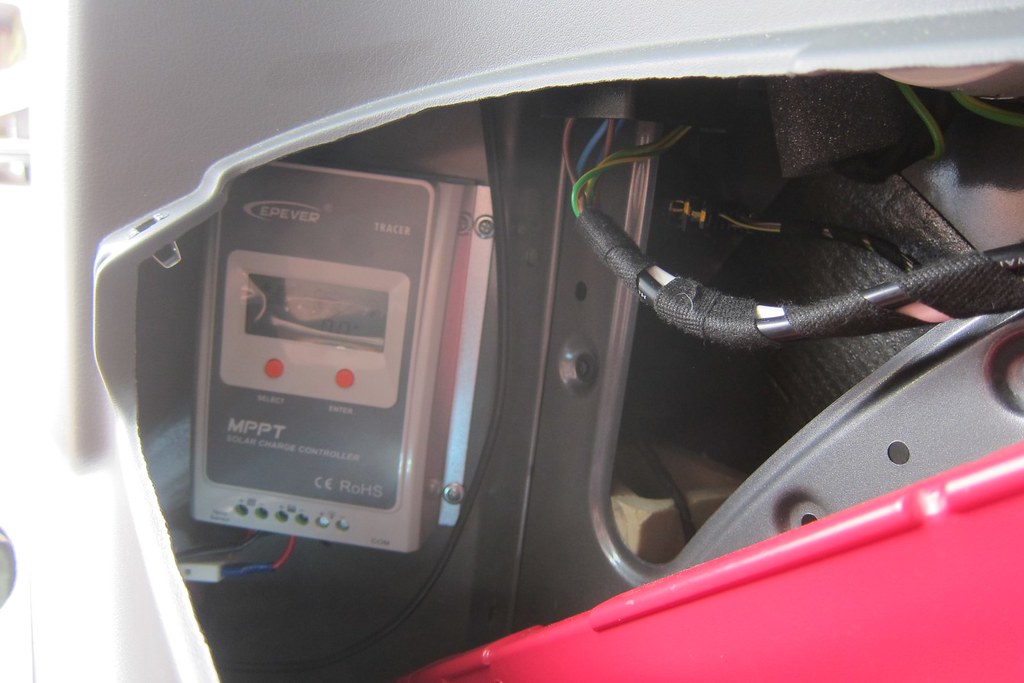
35937367842_a8a8a9703f_b.jpg


35937368562_238d6ea682_b.jpg


The last photo (above is actually a bit deceptive, the charger is actually fitted at the back of the jack storage area. The pic above it is more representative.It fits nicely and doesn't interfere with the jack.

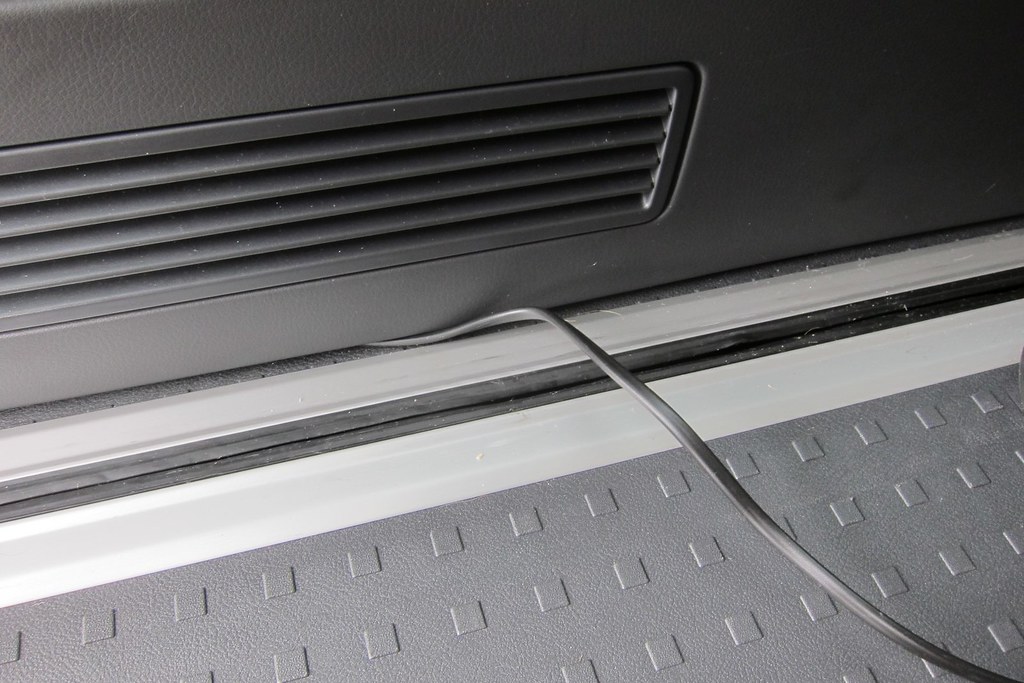
Then, I ran the battery cable from the solar charger to right by the side of the passenger seat by simply poking it under the plastic interior trim at floor level. Easy!
35937371082_829b5456de_b.jpg


Finally, I slid the passenger seat all the way forwards, pulled off the plastic trim at the back of the battery box (it just pulls off), pulled the rubber battery cover off, and bolted the connectors to the battery. (the cable goes from the side panel to the battery area, entering at the bottom where the plastic trim goes (underneath it) - this leaves a couple of cm of cable visible on the carpet at the side of the seat - you don't notice it)
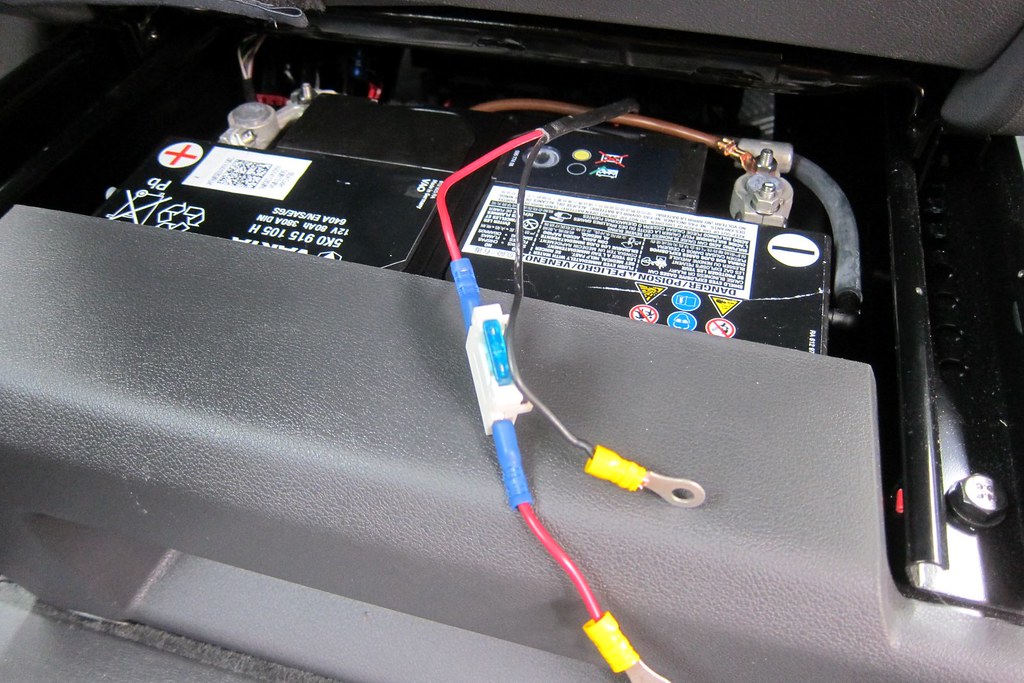
35937370282_3581aa427b_b.jpg


Hope that helps![/URL]

[RSVP=14349]Click here to RSVP[/RSVP]
 
Last edited:
Wow…I want it.


Inviato dal mio iPhone utilizzando Tapatalk
 
Great. But as i have already 2x audio cables running along that side of the van below the side wall (ordered my beach without rear speakers, then got them retrofitted) i would worry that the current from solar charging would introduce audio noise. Do you think it would be feasible to make a route from the invertor back via the top to the b pillar and down from there? Or is the resulting current not enough to cause audio noise to a nearby 2.5mm2 cable..?
 
There is no reason it would cause electrical noise (EFI) as the charging current is DC. It's AC that makes noise - i.e. your alternator.

The charger/regulator itself (it's not an inverter btw) creates some RF (radio frequency noise) but it's rarely a problem unless very close to a cheap radio. FR noise certainly won't affect your audio cables.
 
Roger, thanks for the step by step instructions. I've just finished installing a 100W panel on our van, I'll put the photos on another thread rather than hijack this one.

The only issues I had were getting the damn cover off the battery and getting it back on again. I found this quite a struggle. I had to actually undo the plate holding the battery in place so I could slide it further back under the seat to get better access. Still not easy!

And I know I should have looked before I undid them but I'm not sure I have the little rubber thingies back in the right way. Time will tell I guess but if anyone else is doing a diy install, can you take a photo of how they should be then I can check mine. Thx.
 
Can somebody explain a bit more on the wiring for Beach?
I really can't get how the charging wire gets to the battery in passenger seat (for the left-drive version)
Then, I ran the battery cable from the solar charger to right by the side of the passenger seat by simply poking it under the plastic interior trim at floor level. Easy!

35937371082_829b5456de_b.jpg

How does this wire gets around the door? Or if it wired on the left side, how does it jumps the gap between seats?

My Beach is not yet delivered, so I can't go and see myself, sorry...
 
From the roof, the cable enters the vehicle through the tailgate loom. This is the loom which takes power from the engine battery to the rear wipers and some internal lights.

Once in the van the cable is concealed under the trim to the rear tool bay. This is where the jack and other bits and bobs are located on the left side of the boot. The charger gets installed there. From the tool bay the cable can be poked under the trim at floor level and runs exposed for the very short distance from under the trim at the B pillar to under the front passenger seat.

It is all very neat and tidy. The only irreparable damage is a small incision in the tailgate loom.


Follow my blog: www.au-revoir.eu
 
One of the very few problems with a Beach is that the EHU circuit breaker is hidden up inside the tool storage compartment in the boot where you can't even see it. This is a difficult switch to get at especially if the Multiflex board is fitted and you regularly carry stuff in your boot. We also have a pull out boot tray which doesn't make this tool compartment any easier to access. This switch location is an appalling piece of vehicle design or as I should say lack of thought and VW should be ashamed with themselves.

My point is, placing the solar charger in there as well would be far from ideal. I'm not even sure it would work in that location if you have the removable tow bar option. I may well be wrong but I have a feeling that there wouldn't be the room if the tow bar is stowed away. In any case the point is it wouldn't be easy to check in that location.

IMO it would be far better to have this unit located where it could be checked without any hastle. If technically possible, I would suggest placing it on the near side (UK) B post trim behind the passengers seat. It could then be monitored with ease without pulling everything out of the boot.
 
Last edited:
One of the very few problems with a Beach is that the EHU circuit breaker is hidden up inside the tool storage compartment in the boot where you can't even see it. This is a difficult switch to get at especially if the Multiflex board is fitted and you regularly carry stuff in your boot. We also have a pull out boot tray which doesn't make this tool compartment any easier to access. This switch location is an appalling piece of vehicle design or as I should say lack of thought and VW should be ashamed with themselves.

My point is, placing the solar charger in there as well would be far from ideal. I'm not even sure it would work in that location if you have the removable tow bar option. I may well be wrong but I have a feeling that there wouldn't be the room if the tow bar is stowed away. In any case the point is it wouldn't be easy to check in that location.

IMO it would be far better to have this unit located where it could be checked without any hastle. If technically possible, I would suggest placing it on the near side (UK) B post trim behind the passengers seat. It could then be monitored with ease without pulling everything out of the boot.
Solar panels, including charger, is a fit and forget device. Unless things go wrong, there is no need to monitor the charger. We have ~30 cm excess cable on the supply and feed cables to the charger, so it’s simple enough to pull out to look at.

The removable tow bar we have fitted. It give us a little extra protection against a careless parallel parking, or us reversing into a bollard. I agree - it would be very difficult/impossible to stow the charger in the tool box with the tow bar. If you don’t want to fit the tow bar it could go in the cavity under the driver’s seat.


Follow my blog: www.au-revoir.eu
 
Solar panels, including charger, is a fit and forget device.
Agree entirely. And if you got the Victron inverter then you can access all the info via Bluetooth.
 
Can somebody explain a bit more on the wiring for Beach?
I really can't get how the charging wire gets to the battery in passenger seat (for the left-drive version)


How does this wire gets around the door? Or if it wired on the left side, how does it jumps the gap between seats?

My Beach is not yet delivered, so I can't go and see myself, sorry...
I’m not 100% sure, only 99%, but I don’t think it matters whether you have a LHD or RHD Vehicle. The Leisure Battery is beneath the Left hand seat, the Drivers seat in a LHD version and the Passenger Seat in a RHD version.:thumb
 
Just about every beach owner I sell a kit to goes for the Victron Bluetooth charger, partly for the above reasons.

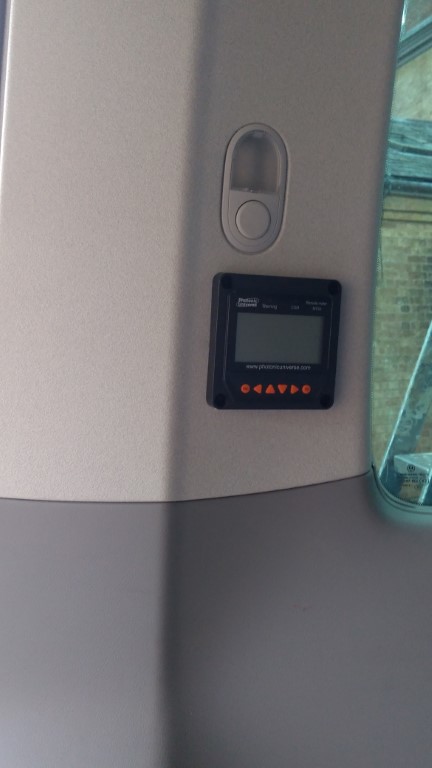
I did install a "normal" MPPT charger in one the other day. I'll put a pic up later. The owner chose to have the remote display and I installed it in thw rearmost plastic pillar trim.
 
The Leisure Battery is beneath the Left hand seat, the Drivers seat in a LHD version and the Passenger Seat in a RHD version.:thumb
Thanks, that explains a lot! Even better for me, because then the wire will be hidden behind the kitchen module which will be installed behind left (driver's) seat.
 
Thanks, that explains a lot! Even better for me, because then the wire will be hidden behind the kitchen module which will be installed behind left (driver's) seat.
The only difference between LHD & RHD models is the Driving controls and Dashboard + instruments and some vehicle lights at the rear. The Habitation/Camping side of things is the same.
 
One of the very few problems with a Beach is that the EHU circuit breaker is hidden up inside the tool storage compartment in the boot where you can't even see it. This is a difficult switch to get at especially if the Multiflex board is fitted and you regularly carry stuff in your boot. We also have a pull out boot tray which doesn't make this tool compartment any easier to access. This switch location is an appalling piece of vehicle design or as I should say lack of thought and VW should be ashamed with themselves.

My point is, placing the solar charger in there as well would be far from ideal. I'm not even sure it would work in that location if you have the removable tow bar option. I may well be wrong but I have a feeling that there wouldn't be the room if the tow bar is stowed away. In any case the point is it wouldn't be easy to check in that location.

IMO it would be far better to have this unit located where it could be checked without any hastle. If technically possible, I would suggest placing it on the near side (UK) B post trim behind the passengers seat. It could then be monitored with ease without pulling everything out of the boot.
 
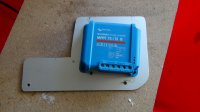
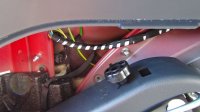
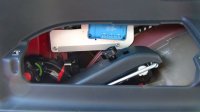
It's quite possible to fit the Victron charger in the toolbox. I made a simple bracket that bolts onto existing holes in the bodywork. This allows access to the jack, detachable towbar etc.
Victron1.JPG Victron2.JPG Victron3.JPG Victron4.JPG Victron5.JPG
 
Taking advantage of the sale last weekend and some great advice from Roger (thanks Roger!), I did my install yesterday

I ordered one panel, with curly cord and the Victron 100/20 charger ( I went for the 100/20 just in case I added another panel at some point as I do use the van as my mobile office on occasion)

Followed the included instructions on this thread but came unstuck positioning the charger - we also have the stowed tow bar and jack. Was planning to do as Mike did above but the 100/20 is 20mm deeper that the 75/15 and will no go in that position. So we found a space back in the corner of that recess but the only option to get fixings onto it was to take the inside panel off. Lots of googling, praying and pulling and we got the panel off

Mounted on some 6mm ply, the charger is fixed so you can access the lower screws to remove it if needed (top screws just being slotted into the ply) to hold it firm.

All panels and trim refitted without issue and all seems to be running ok

full


full
 

Similar threads

Back
Top