- Home
- Forums
- VW California T5 T6 & T6.1 Specific Sections
- VW California T5,T6 & T6.1 Specific Sections
- Solar Panels
You are using an out of date browser. It may not display this or other websites correctly.
You should upgrade or use an alternative browser.
You should upgrade or use an alternative browser.
I
Ian Reynolds
How does one go about the installation on a twin slider ? Namely the routing of the wiring to the leisure battery??
Roger Donoghue
VIP Trade Partner
- Messages
- 465
- Vehicle
- T5 Beach
With the twin slider you just push the wire under the step's plastic floor trim - super easy - it simply pushes under and drops into the recess below.
L
Leopold_Stuff
Hi there! I have a question regarding the "max-charging" feature in the California t6.1 and the solar panel connection. As far as I understand, this feature charge the battery to 100%, while normally vw charging unit keeps 80%. How it works together with PV? Doesn't the PV controller keeps the battery level on 100% and the feature become useless? Can I connect the controller directly do the battery without any issues like interruption with this max-charge feature?
WelshGas
Retired after 42 yrs and enjoying Life.
Super Poster
Lifetime VIP Member
Yes. In summer the panel, depending on the power draw from the Leisure Battery, will probably keep up. In winter, however, the panel may struggle so the Maximum Charge Function will still be available.Hi there! I have a question regarding the "max-charging" feature in the California t6.1 and the solar panel connection. As far as I understand, this feature charge the battery to 100%, while normally vw charging unit keeps 80%. How it works together with PV? Doesn't the PV controller keeps the battery level on 100% and the feature become useless? Can I connect the controller directly do the battery without any issues like interruption with this max-charge feature?
P
Paddyjv
I fitted one of my kits in a Cali Beach today, and I know a few people have been asking for details of how to, and where to put the solar charger so here it is...
It actually turned out really easy.
1st thing is to pull back the rubber seal that runs round the boot on the top left, a bit along the top, and most of the way down.
Next up is removing the middle grey trim panel at the back. It is held on by two clips that can simply be pulled off. They are designed so the bottom releases if you slide the trim towards the front of the van, and then the top one if you push the panel up. However, I found, whilst levering the panel and looking inside, that the plastic pins pull straight out anyhow, with not too much resistance. The front edge of the panel slots into vertical retaining clips (you slide the front edge into these 1st when refitting the panel.

You can then unplug the connector to the light to get the panel out of your way.
Next up is the panel above that runs the width of the roof at the back. We just need to release it enough to gain access to where the wire is going to to come in from outside via the rear upper tailgate grommet .
The panel is held in place with little rubber "thingies" that sit in slots in the panel and then rest on the roof panel above. All you have to do is push the panel in question where the rubber thingies are and they drop down (or you pull them out). You only need to do the left three or so.
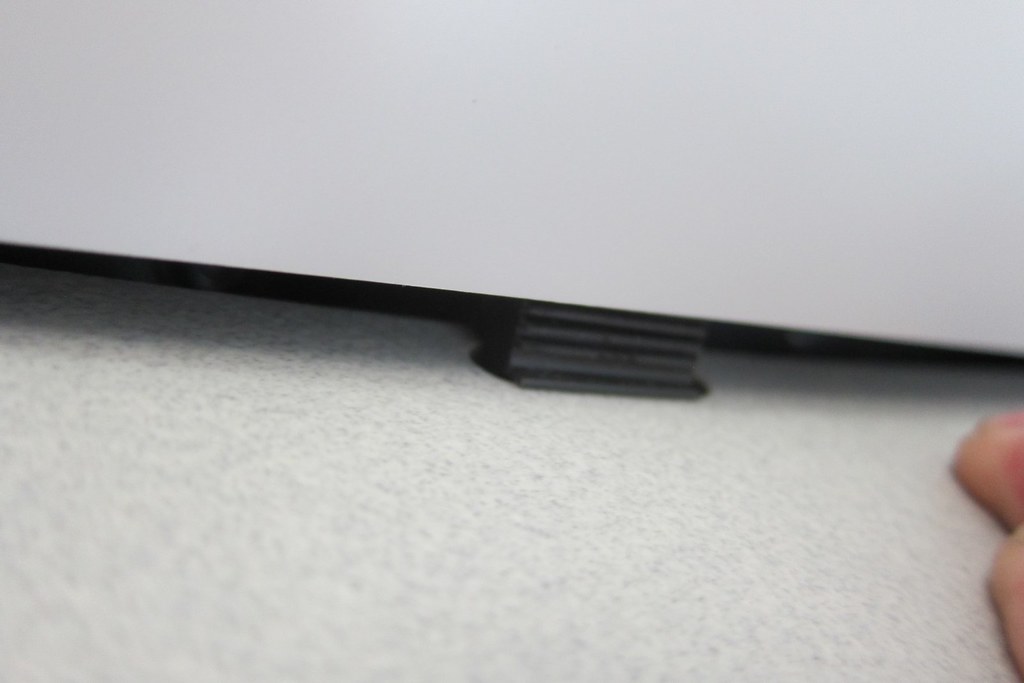
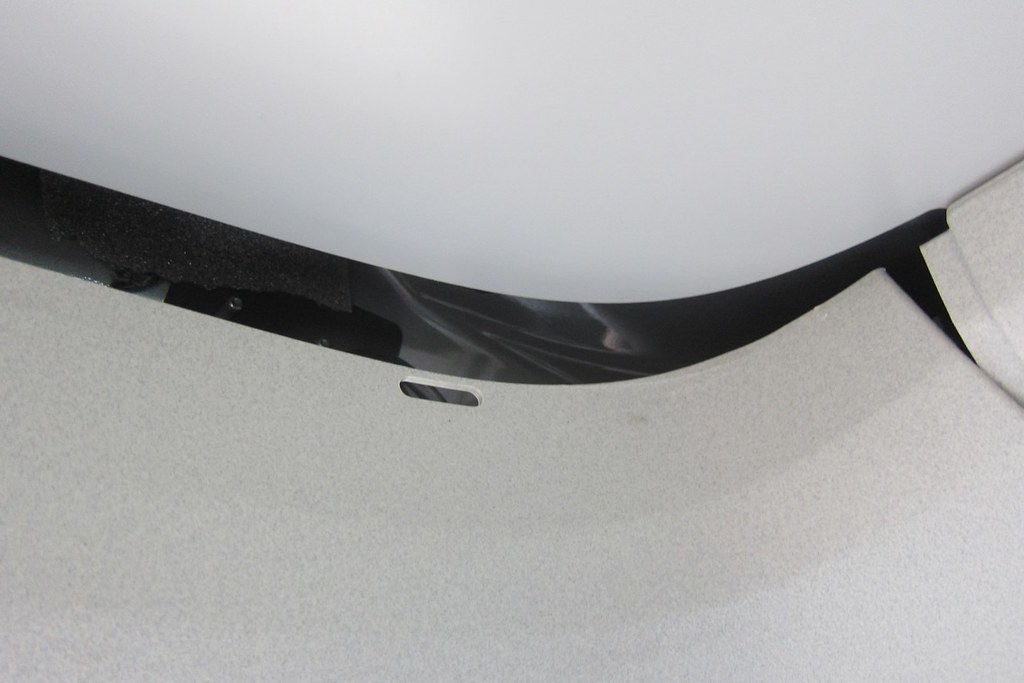
This frees up the panel plenty enough.
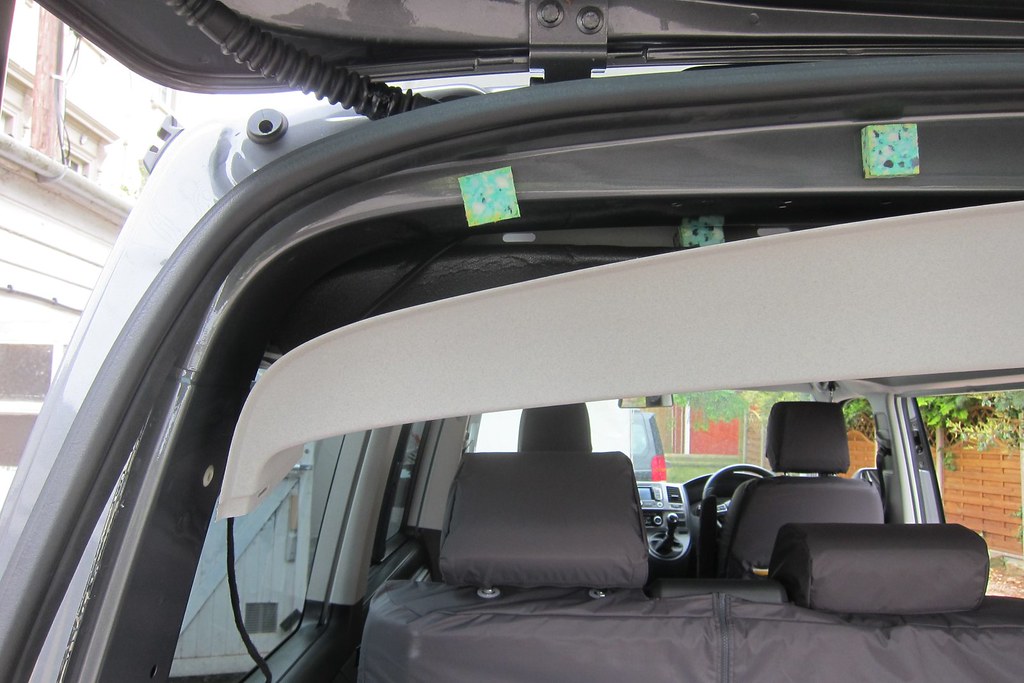
You can see in the pic above where the solar cable appears inside after being threaded through the outer grommet. Once you pull the grommet off, you can see straight inside the van. It's super easy.
Now you run the cable down, past the removed side panel, and push it down so it appears inside the area where the jack is stored. This is where I put the solar charger.

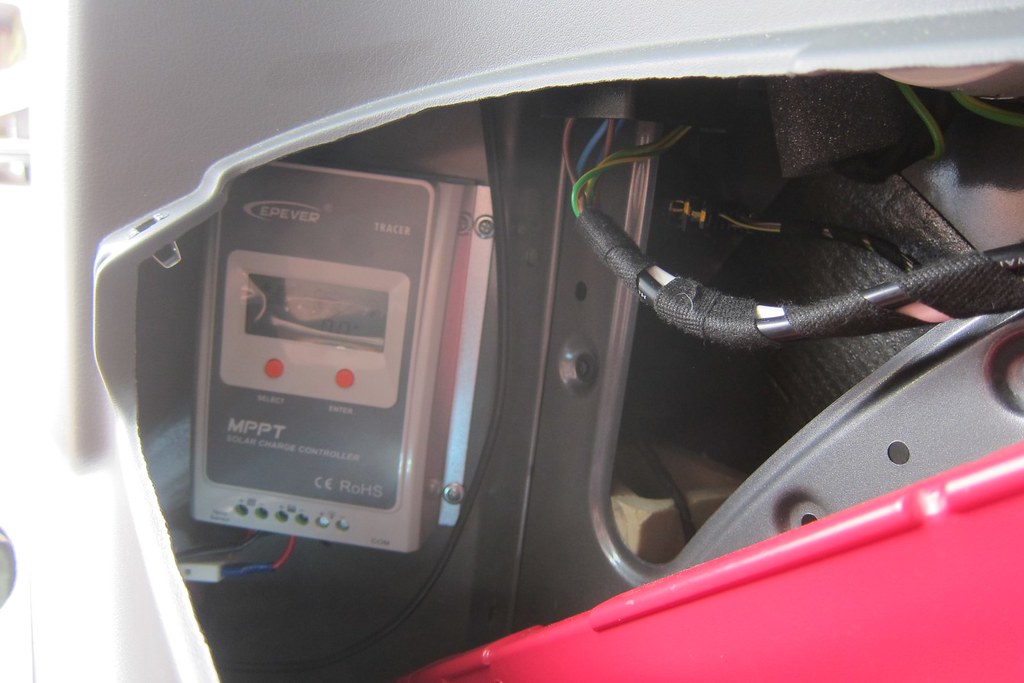
The last photo (above is actually a bit deceptive, the charger is actually fitted at the back of the jack storage area. The pic above it is more representative.It fits nicely and doesn't interfere with the jack.
Then, I ran the battery cable from the solar charger to right by the side of the passenger seat by simply poking it under the plastic interior trim at floor level. Easy!
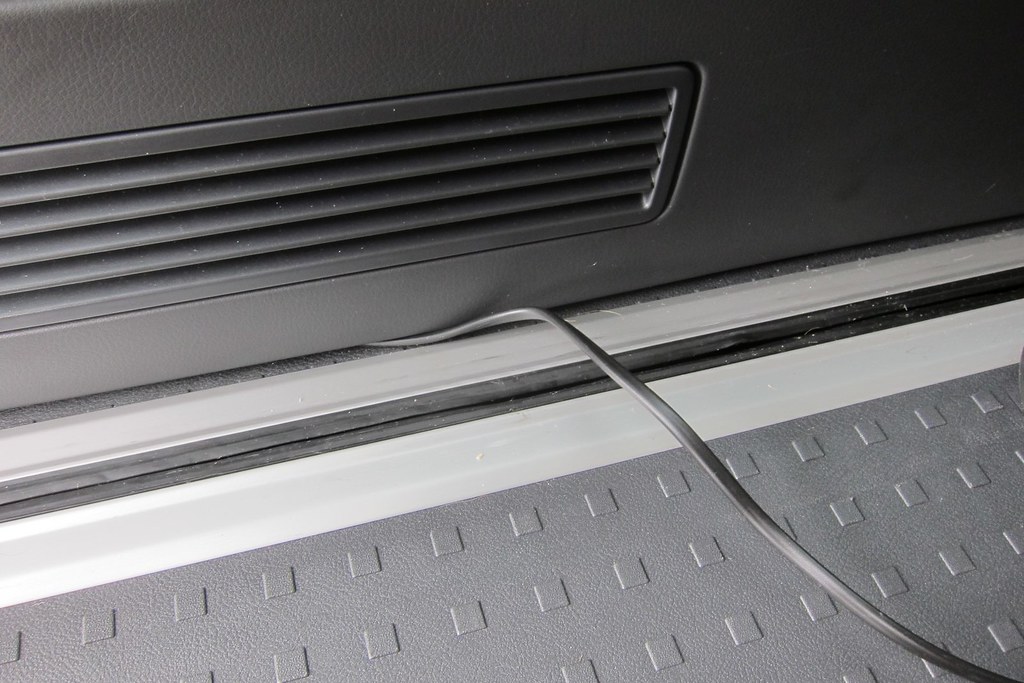
Finally, I slid the passenger seat all the way forwards, pulled off the plastic trim at the back of the battery box (it just pulls off), pulled the rubber battery cover off, and bolted the connectors to the battery. (the cable goes from the side panel to the battery area, entering at the bottom where the plastic trim goes (underneath it) - this leaves a couple of cm of cable visible on the carpet at the side of the seat - you don't notice it)
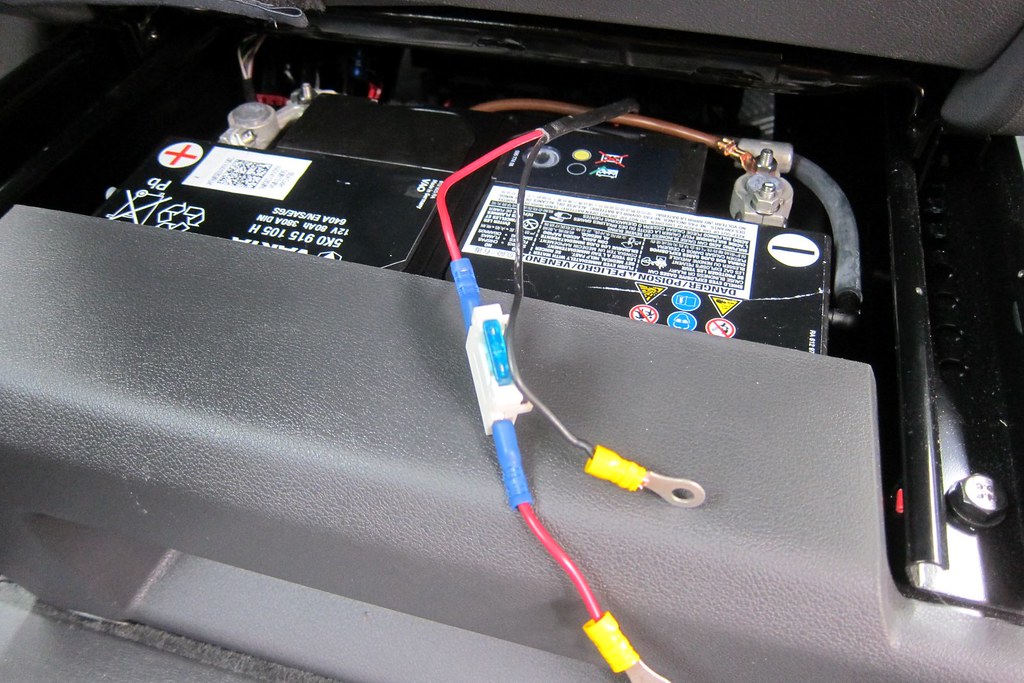
Hope that helps![/URL]
[RSVP=14349]Click here to RSVP[/RSVP]
P
Paddyjv
What gauge wire do you need from the charge to the battery, it the charger is where the jack is?Solar panels, including charger, is a fit and forget device. Unless things go wrong, there is no need to monitor the charger. We have ~30 cm excess cable on the supply and feed cables to the charger, so it’s simple enough to pull out to look at.
The removable tow bar we have fitted. It give us a little extra protection against a careless parallel parking, or us reversing into a bollard. I agree - it would be very difficult/impossible to stow the charger in the tool box with the tow bar. If you don’t want to fit the tow bar it could go in the cavity under the driver’s seat.
Follow my blog: www.au-revoir.eu
Similar threads
- Replies
- 16
- Views
- 5K
D
- Home
- Forums
- VW California T5 T6 & T6.1 Specific Sections
- VW California T5,T6 & T6.1 Specific Sections
- Solar Panels

About us
The VW California Club is the worlds largest resource for all owners and enthusiasts of VW California campervans.


