B
Baylinerjersey
Hi All,
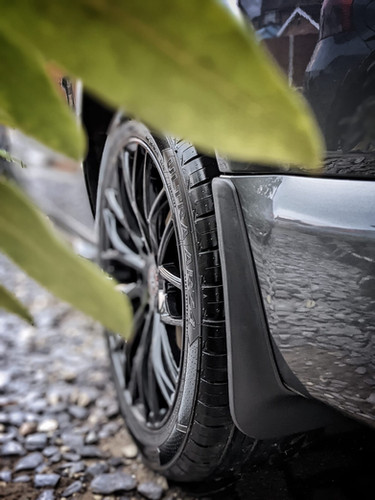
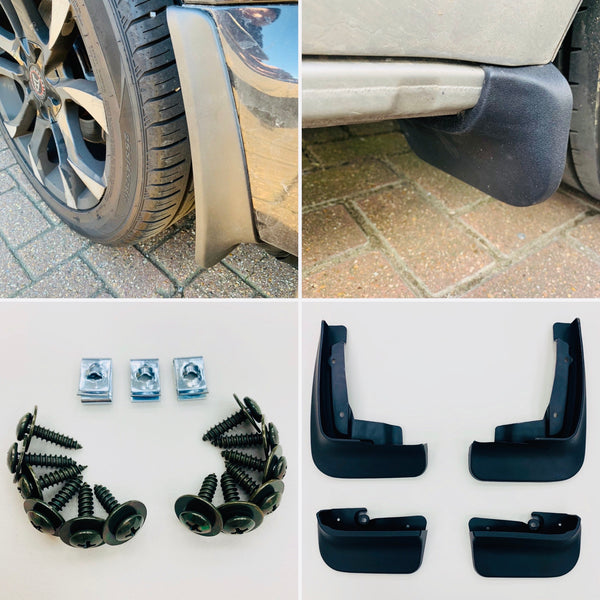
I have purchased some after marker mudflaps from Vanstyle and wondering if anyone has fitted these before. It seems they need to be drilled and screwed into the bumper on the sides which I am not to keen on doing.Its a brand Cali and if later down the line I don’t like them I will be left with some holes.
Looking at some original mudflaps at my local dealer they seem different and are not screwed in. Just wondering how they hold up on the sides.
Vanstyle also do original Vw mudflaps but these also look like they have to be screwed in so a little confused to the different versions there are
thanks in advance
paolo