R
Resfeber
VIP Member
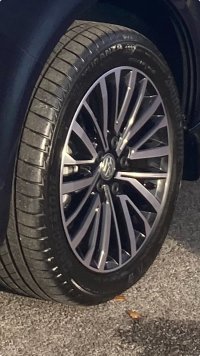
Also watch out for the security bolt.I am due to tour Scotland for a month from next week in my Cali, and having read the advice in this thread I spoke with an independent garage on the subject of wheel removal. They thought it would be a good idea to potentially make my life a bit easier in the event of a puncture. So today they cleaned the hubs and wheel centres with a wire wheel drill attachment, greased the hubs with high temperature grease and re-fitted wheels. My Cali is 3 years old and the mechanic said I would have had zero chance of getting the wheels off on the road side. They reckon they where some of the hardest wheels they've ever had to remove! So I am pleased I got the work done. Furthermore, they also recommended getting a breaker bar, as the tool in the VW tool kit just isn't going to do the job.
Unless you maintain the bar holding the socket and key at 90 degrees to the wheel, the soft metal in the VW key rounds off and the key slips off the bolt and then it needs a specialist tool to remove the security bolt.
Quite likely if it has been tightened to 180 Nm.!!!
Best to ditch the security bolt and replace with standard. If someone wants your alloy wheel they come prepared, as the security bolt is not on show.


