H
haydnw2
As someone who has never done anything electrical with a vehicle before (as in, never even disconnected a battery or had to jump start anything), I successfully fitted a solar panel at the weekend and now seem to think that I'm on some kind of a roll. I'd like to do a permanent install of awning LEDs, including power from the rear leisure battery. After reading lots of threads on here, I have developed a plan but it could do with being critiqued by someone with more knowledge and expertise please!
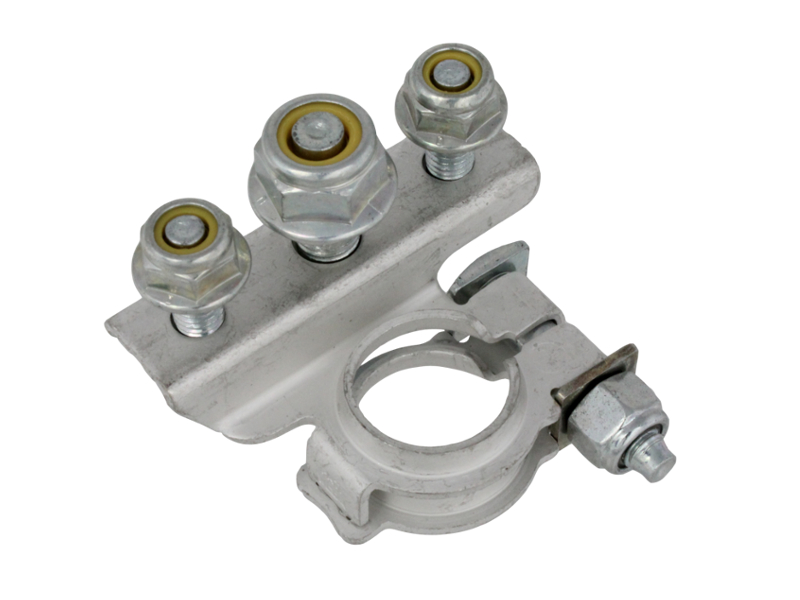
At the moment I'm looking at 8mm and 10mm ring terminals to the negative and positive terminals, respectively, of the rear leisure battery. Then 4mm^2 cable to an inline 2A blade fuse near the battery on the positive wire, and a rocker switch somewhere on the negative. Run the cables out through the wardrobe/wiring grommet and then to the awning case. A waterproof connector of some description to then connect them to the LED strip, but also giving me the option of external power if I need it for the bike wash, etc. The only two questions I have are:
1) Is 4mm^2 cable suitable? I read reference to it being sufficient to prevent too much voltage drop, but if I''m only going from rear battery to awning is that really considered a 'long' cable run? Thinner cable would be easier to route and would let me get away with a physically smaller fuse holder instead of the "maxi" version required for 4mm^2.
2) What are my options for waterproof connectors? I can't find any Anderson connectors which are waterproof by default, and it's not clear just how waterproof these boots are. These Deutsch ones look good but are quite expensive.
Any input into the above would be greatly appreciated, since this is all new to me. I may have made incredibly elementary mistakes, but am keen to learn of those or any more subtle flaws in the plan. Thanks!