Daniel French
I love a good bit of storage, and always thought there could be a few more drawers in the cupboard of the T6 Ocean... So having a look round on this forum, I stumbled upon a link to Calicap and their solution to adding some more drawers:-
https://shop.vwcamper.de/moebelzubehoer/213/schubladenerweiterung-t6
I can read German (for my sins) but if you can't, google translate within Chrome is handy for navigating their site, and making sense of what is written on there... I placed my order on Monday for the drawer units and also two chair covers...
Having taken delivery of the goods today (three days later!), I wanted to get the drawers fitted ASAP, but the fitting instructions are in german, so thought it'd be handy to others to have a step by step (albeit it's a pretty straight forward install) guide:-
First take out the existing drawer, shelf (and shelf brackets), and then give the panels a wipe down with methylated spirits to remove any grease or contaminants:-
View media item 1296
Then get the shelf runners out of the pack (one of mine was a touch 'wonky' as pictured below) but I think this was a bit of transit damage... A bit of force and it levered back into alignment:-
View media item 1298
Mark out the right hand side first - this side has the larger brackets... Also ensure the 'hooks' on the runners are at the back, and the front of the upright lines up with the front of the existing shelf runner, as per the picture below, and mark with a pencil - DO NOT REMOVE STICKY TAPE...
View media item 1302
Repeat for the left - again DO REMOVE STICKY TAPE
View media item 1297
Once you are happy with the alignment, remove sticky tape (it's worth warming the tape a little to get it nice and tacky) and then carefully 'stick' the runners to the line that you've marked out. Once they are stuck into place, you can start inserting the drawers.
Take note that the 'hook' on the back of the runner needs to be pushed into the hole of the back of the drawers:-
View media item 1299
I then tightened up the screws in the drawers, and the first drawer was in:-
View media item 1294
Same again for drawer two:-
View media item 1301
Same again for drawer three:-
View media item 1300
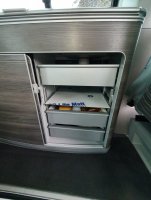
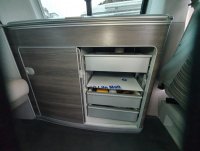
And then finally refit the original drawer, and it should look something like this:-
View media item 1293
And best of all - the cupboard door closes perfectly. However, the tolerances are tight, so make sure you line everything up before you stick any of the drawer runners down.
View media item 1295
As the drawers are OEM VW, the fit and finish looks like it came straight out of the factory like this, and I think it's a great upgrade. The total fitting time was about 45 minutes, including unpacking and repacking all of the cupboard / new shelves
Last edited:


