Buy all your VW California Accessories at the Club Shop Visit Shop

DIY Plywood Table Extension

That method is certainly what my father-in-law would describe as the ‘right way’. Are you going to paint or varnish? And will you be applying the VW logo with a heated brand, or marquetry for a professional job?
Sorry for the edit: I was using one hand to try to keep my shorts dry!
Can I also ask what glue was used to bond the two sheets? I might make a smaller (590x1220) version, next time I have some 6mm ply leftover.

E1CE2BBA-FA67-417F-82FB-83CCCC5DA699.jpeg
 
How stable is the top if someone inadvertently leans on 1 edge?

The maximum overhang is 23cm, so it feels pretty stable.

As part of my off-beat style of home schooling, I’ll get Jack to devise a “tipping point” experiment with buckets perched on the edge being gradually filled with water for a more empirical answer than “pretty stable”. (1 of 90 Year 1 pupils has tested positive for C19, so all Y1 pupils are home for 10 days.)
 
That method is certainly what my father-in-law would describe as the ‘right way’. Are you going to paint or varnish? And will you be applying the VW logo with a heated brand, or marquetry for a professional job?

High gloss varnish. Many coats. Sadly no logo.

Your question about the adhesive is too technical for me. The only thing I can tell you is that it took ~24 hours to dry.
 
High gloss varnish. Many coats. Sadly no logo.

Your question about the adhesive is too technical for me. The only thing I can tell you is that it took ~24 hours to dry.
Okay. The answer may just be ‘wood glue’ but I thought maybe that’s not sufficiently flexible. Unlike physics, carpentry isn’t a strong subject for me. I’ll look it up.
 
First stability test:-

c54d34ecaae409eb8787e27223532d1a.jpg
 
Third stability test
e582e8533e0f3100a167ce0b7ea0b70c.jpg


6 litres of water in the bucket plus 2 single litres in the bottles. It will tip with one more bottle.
Static load test. I think it should be Dynamic. Use one of the children and invoke a temper tantrum whilst sat at the table.
 
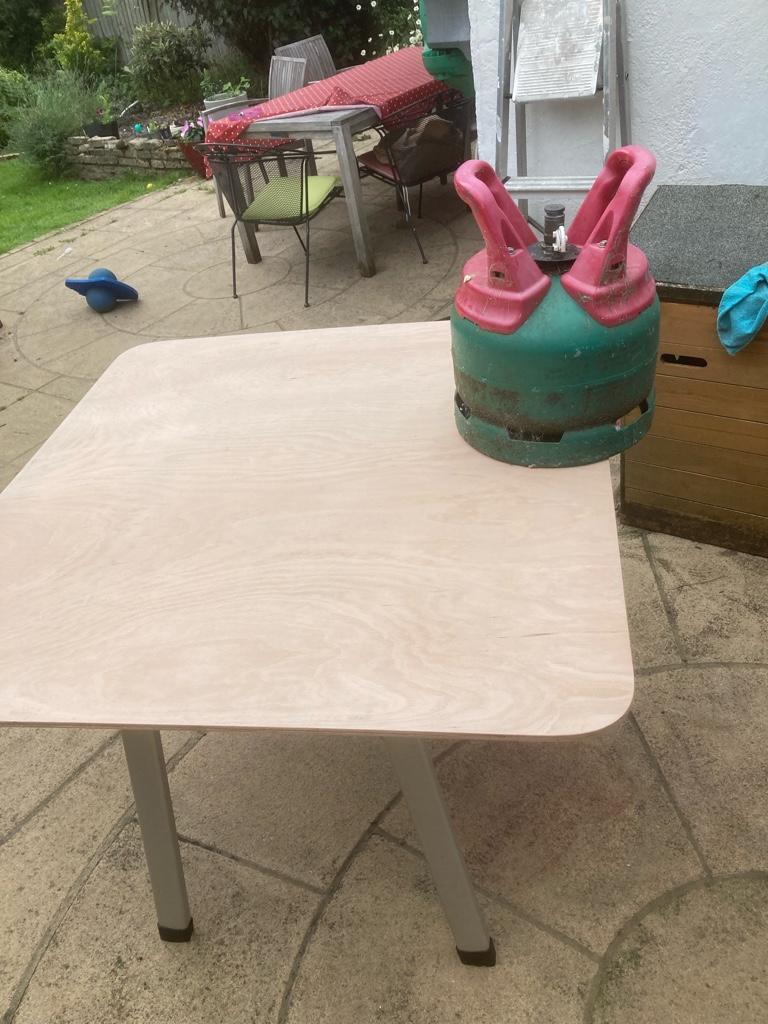
View attachment 80775
The picnic table

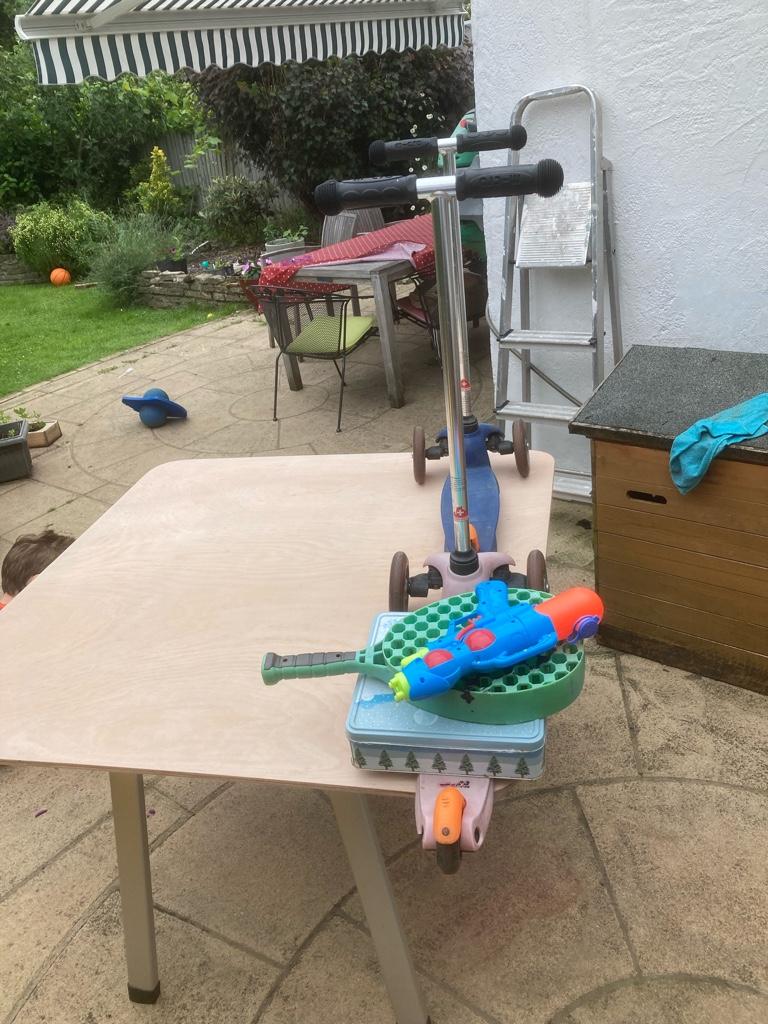
View attachment 80776
Stowage option #1 of the table top.

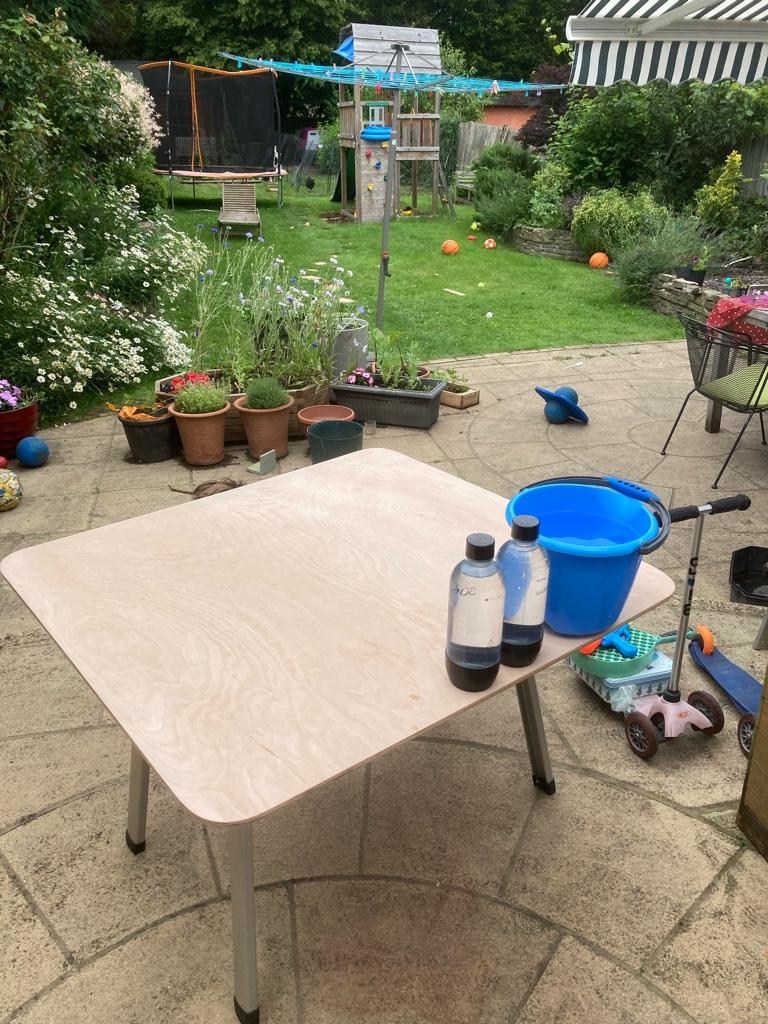
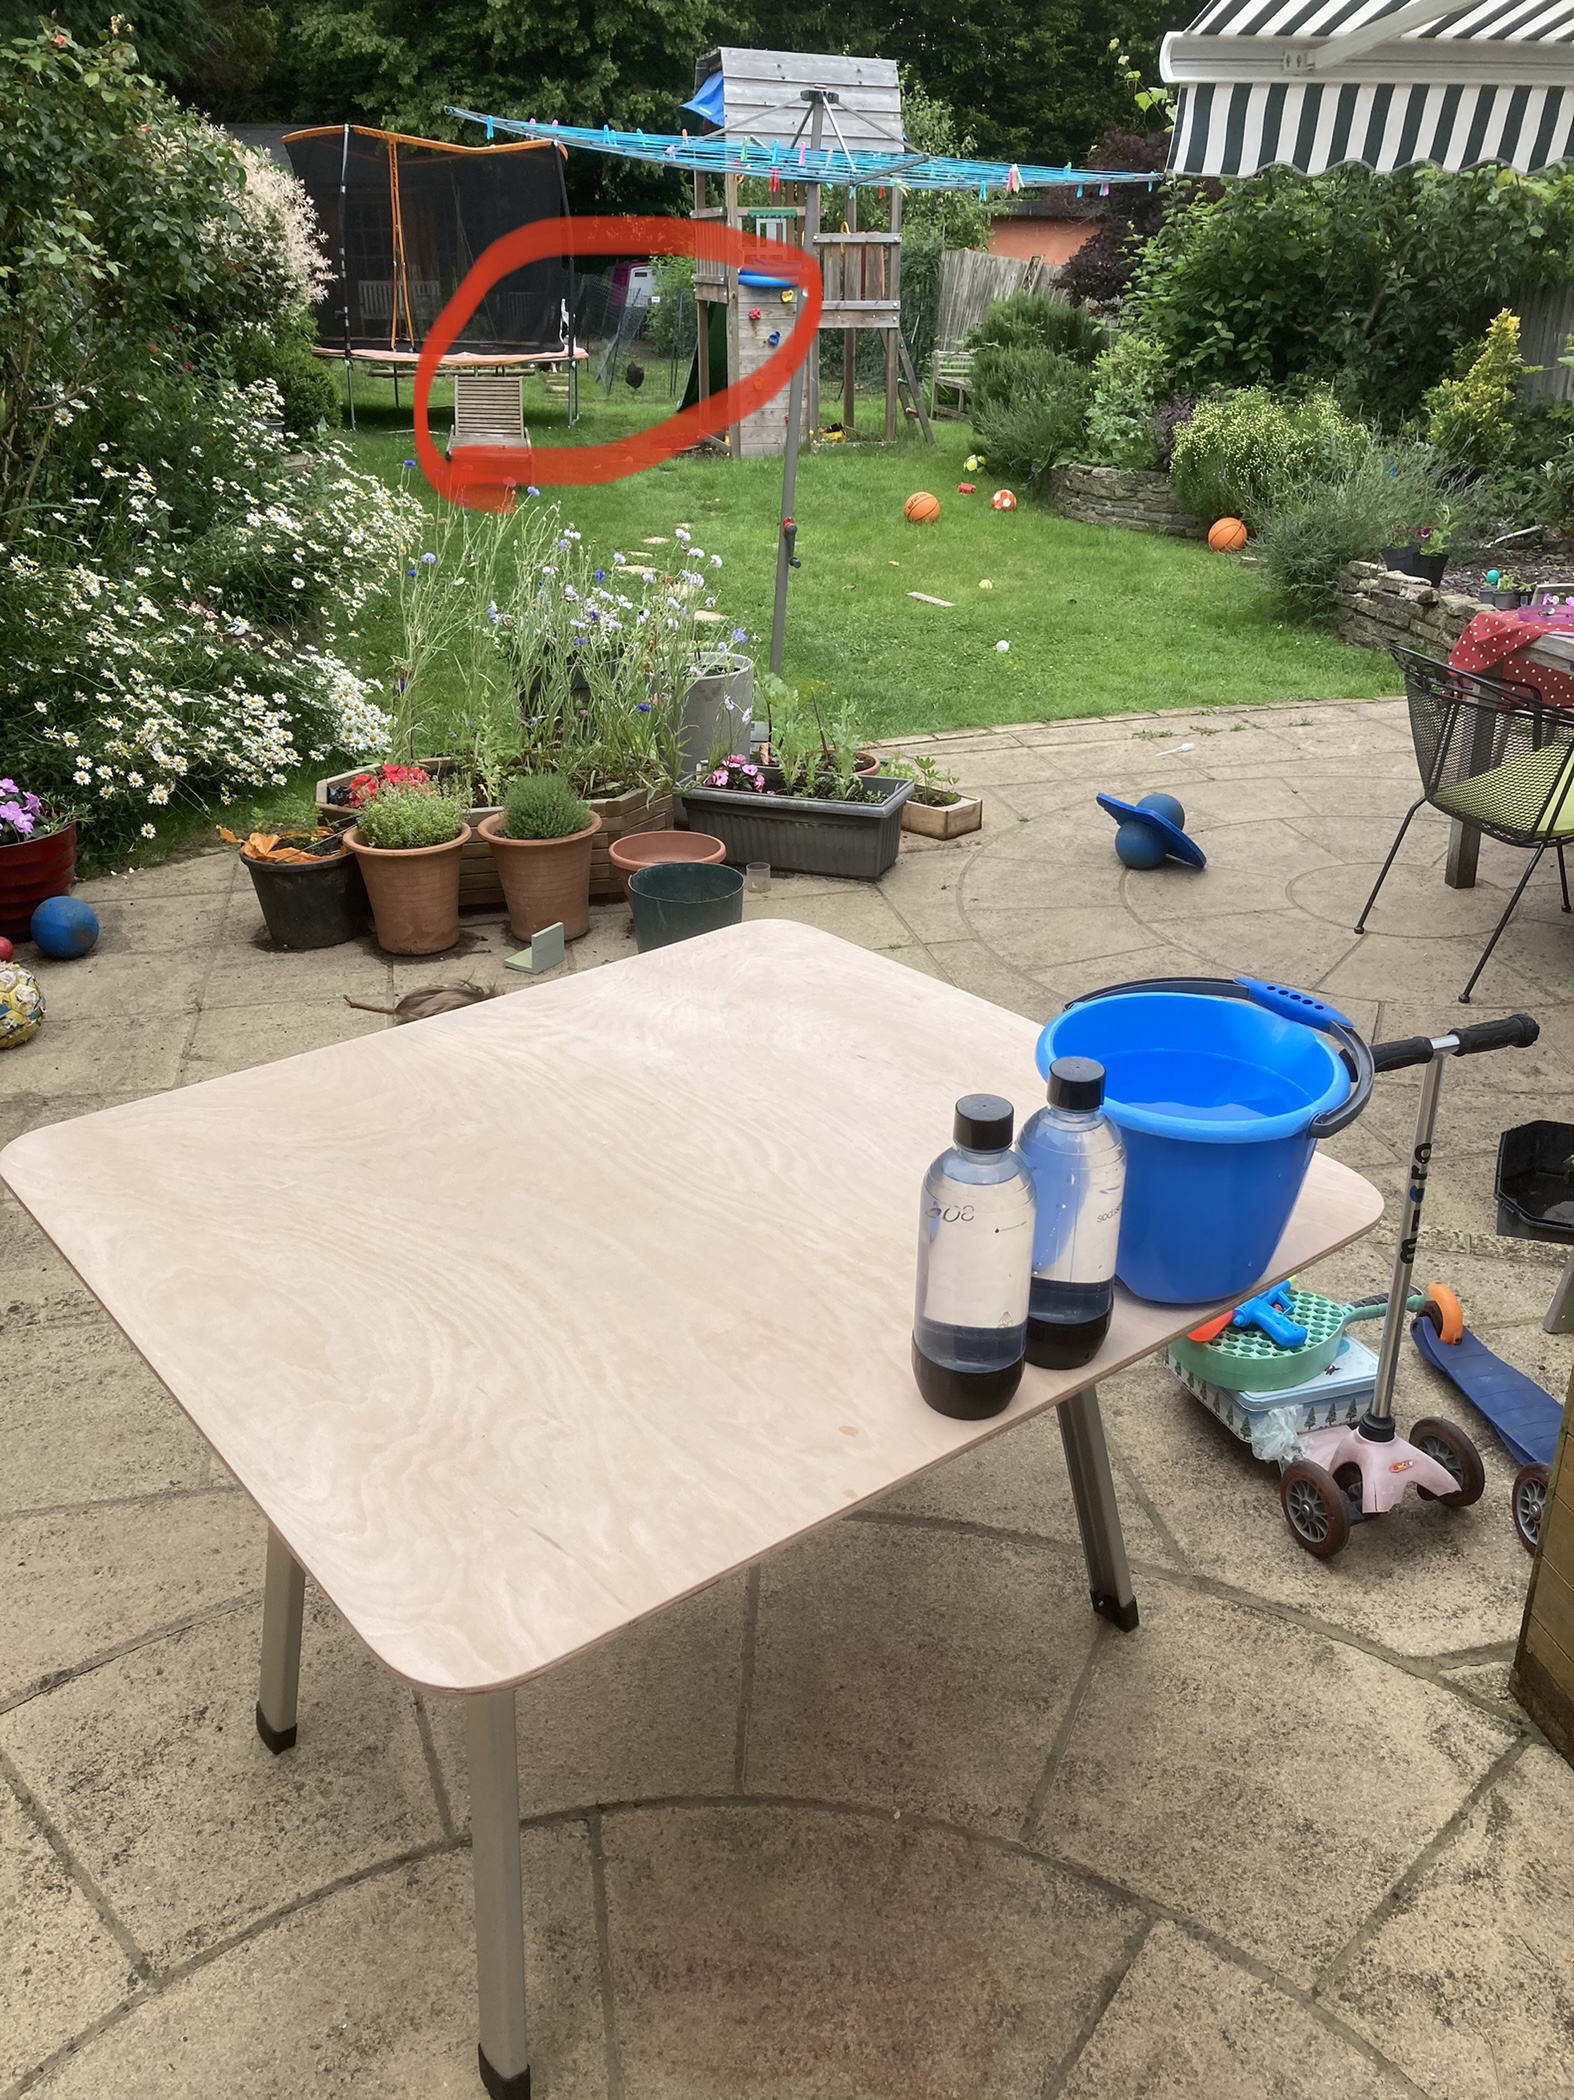
View attachment 80779
Stowage option #2 of the table top.


View attachment 80777
Table top upside down

View attachment 80778
Table top fitted

Method:-
1. Find a friend who happens to be a kitchen fitter and has a woodworking workshop in his garage.
2. Invite the friend and his children over for a walk and BBQ.
3. After a very happy walk with four children getting muddy and splashing in a woodland stream, return home for the BBQ.
4. Ply friend and his children with sausages, salads and scintillating conversation, and discuss plans for a table top.
5. Give friend and his children a parting gift of six freshly laid eggs.
6. Hey presto! Three days later the table top is delivered.

Cost:-
£24 for a single sheet of 6mm plywood
£2 for a pack of Toulouse sausages
£FREE for half a dozen freshly laid eggs

Notes:-
The table top is made from two pieces of 1.0m x 965mm x 6mm ply.
The maximum width to fit the Beach boot would be 1.25m, but, in practice, 1.22m for a standard size plywood sheet.
The table top is about 2.2 times larger than the original.
Nice, but where do you keep it when making the bed? I guess it cant be stored under the lowered bench anymore?
 
Nice, but where do you keep it when making the bed? I guess it cant be stored under the lowered bench anymore?
The gap between the Multiflex feet is 110cm, so it can be stowed under the bed. More usually, I expect it will be on the picnic table in our driveaway awning, or left outside in fine weather.

The biggest annoyance is that the picnic table legs are in an awkward place for people sitting at the ends of the enlarged table.
 
Back
Top