Apologies - I thought everyone knew how to use google translate. You lose the pictures but not difficult to follow. The translation is flawed, but it works well enough if you also have the original version with the pictures alongside it.
http://translate.google.com/transla...pf_2.pdf&hl=en&langpair=auto|en&tbb=1&ie=null
Page 1
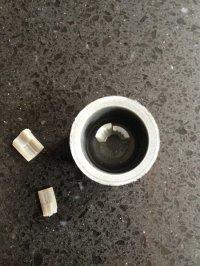
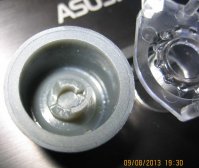
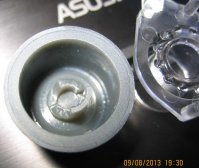
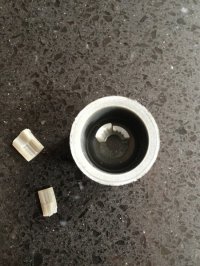
Quick Guide: Knob exchange VW T5 Camper Unit The following tutorial is designed to help the knob to operate the unit of campers VW T5 California exchange. If you follow the following steps should be no problem Be the camper unit without further defect and install again. It is for each themselves whether to follow the steps. Figure 1: Rendered CAD - Picture of the replacement knob Since my CU-knob inside the tooth was broken and these buttons individually are not offered to me but a new CU (about 450 €) was too expensive I have self-help and possible to manufacture a suitable button in rapid prototyping. The button SLS was prepared in a method which leads to a slightly rough surface. Through the laser treatment you can see pores on the surface, as shown below. Figure 2: SLS manufactured knob The material is very strong and absolutely reliable. The buttons were after production cleaned and painted. The button can be plugged directly into the original wave of the CU and is fully functional. Those interested in having a button (I have any left) I can be happy with
[email protected] contact. The knob could also be in a other RP processes are made (if anyone is interested), but that the Drives up production costs, but offers a finer surface. A button as shown in Figure 2, I could offer for a fee of € 16.
Page 2
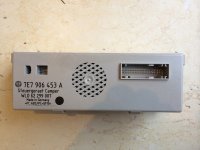
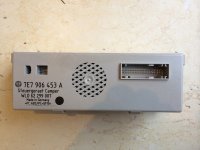
Step by step description for installing a replacement knob in the CU of the T5 California. Move Image Description 1 This is the CU (a broken) Original button! 2 To remove the instructions in Follow the manual ... here however To demonstrate it. Open compartment for glasses. 3 Through the Openings the Light switch panel with fingers push down 4 then looks like this. 5 And keep it up. Can the cable hang!
Page 3
6 Then the CU with the sides Relief one Screwdriver unclipped (left and right) 7 Then the CU easy with Fingers pushed outward will ... 8 ... And withdrawn. 9 Now the CU depends only on Cable. 10th This is now defined. Purple Tab Unclip and then during removal of the plug folded to the left.
Page 4
11th Normally, the CU is now. Thereby the clock and the date Resets. My dealer told me Asserts' that nothing further is deleted (was for me never the case clock needs to Replacement will be provided new) of course I am not Warranty / liability for any Defective / deletions! 12th CU has now developed are opened. It requires a small Screwdriver, a T5 Torx and possibly a sharp knife. 13th Now the warranty seal is cut or as in my case removed. So that void the dealer warranty. Would be the case of a warranty defect you'd have to not read it here, so a problem. Is out of Cali fairly new, then talk again with the Kind. 14th The CU clipped. There are up and two clips below, right and left a. This step is somewhat fiddly. The clips careful and simultaneously press the Pull apart the two shells. 15th Then it is done.
Page 5
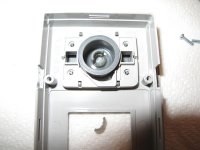
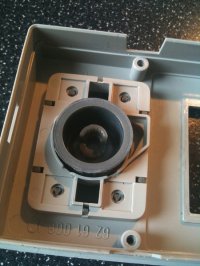
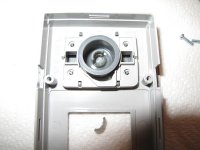
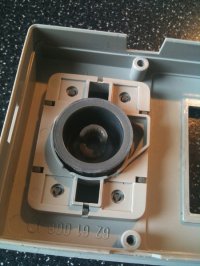
16th Now the front board with the will T5 Torx expanded (four screws). 17th Front Shell careful decrease. Now the button is exposed. 18th Remove the defective button (if it is not already fallen off.) It is in this condition, the CU also reassemble without incorporate a button and the Unit by Screwdriver use! 19th Spare button to stop the Slide the shaft!
Page 6
20th Check that the button actually fits. (I assume that all Knob shafts are the same). Turn the knob you can feel the individual steps of the knob. Press the button you hear and feel the click. 21, Front shell and back on it with the four Torx Screw screw. And then backward again Install. Zuclipsen unit In Cali plug back on it, Close purple clips back (See step 10) Insert CU light switch panel Slide Close goggle pocket Finished!! That CU to make and Setting the time / date. Then really finished. I hope the guide could help! Regards, Groby 2012
Original German text:
Die folgende Kurzanleitung soll helfen den Drehknopf zur Bedienung der Camper Unit des
Contribute a better translation


