Buy all your VW California Accessories at the Club Shop Visit Shop

solar panel (removable) on T5 facelift (waiting roof rot work)

I think I would have put the display inside the cupboard as well as the controller (?). Just watched a campervanculture.com video and it seems the same display is available in white if it's best situated 'in view'.

white.JPG
 
Last edited:
Noooooo. On Display. Screen is not that bright so difficult to see in cupboard unless lit up. Also may have to empty items to visualise easily.
Mines on the back of the rear wardrobe in dead space between wardrobe and rear tailgate. Can barely see it through privacy glass and have to open tailgate to read screen.
 
This is clearly a more sophisticated set-up than mine. Do you have to do anything with the display (those buttons), or is it just for interest?
 
The box inside is the basic controller . The MPPT controller works with that control unit to make the whole system more efficient.
I know you can get cheaper systems and buy cheaper components, but you won't get a more efficient system.
 
I was aware of the MPPT efficiency gain vs. cheapo Chinese, but didn't know that they required two meaty boxes.
 
The MPPT is not that big a box, but is usually surface mounted because of the Ethernet plug in the back. If you drill a hole for the cable/plug then it has the dimensions of a standard light switch, as you can then dispense with the spacer.
 
You dont need two boxes to get an mppt controller
if you have a look at the thread i mentioned earlier the blue box mounted in the wardrobe is the mppt unit. I guess a display is nice to see what is going on is nice but its not essential. I just check the lights on the control box when the cupboard is opened to make sure everything is working ok
 
The box in the cupboard is the mppt charger.
 
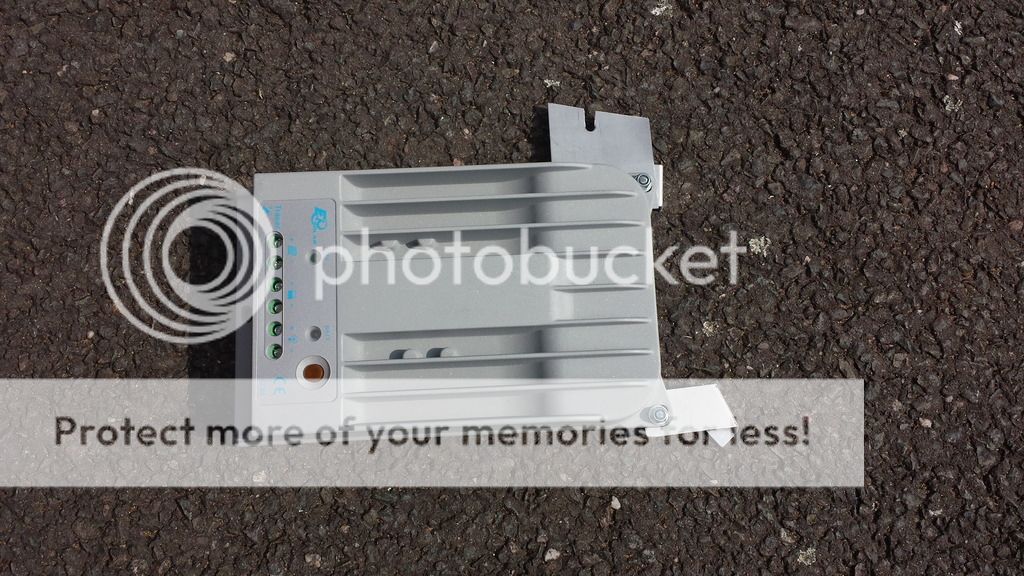
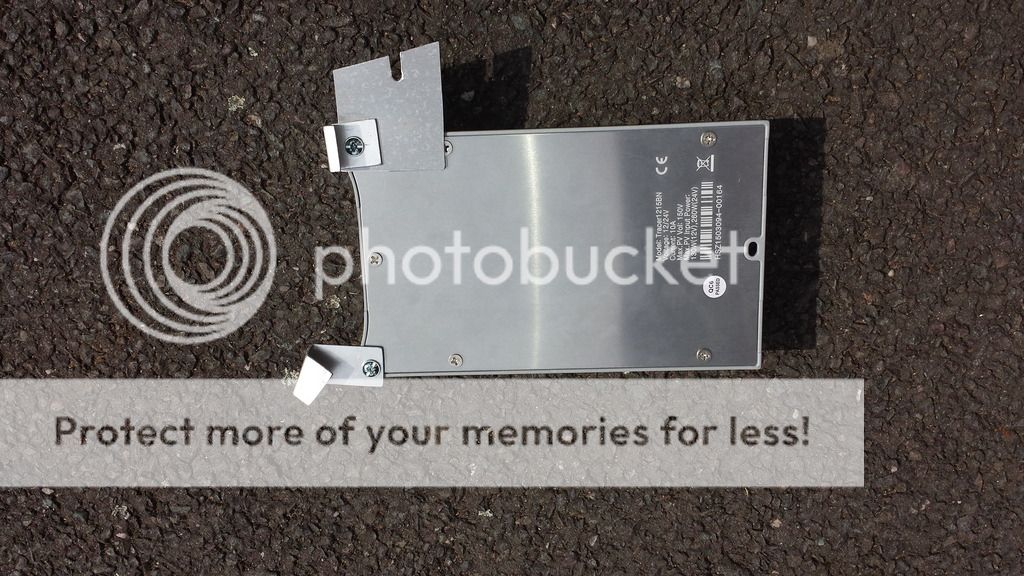
Yep the silver box is the actual MPPt charger, the display unit does a few things:
- Shows current solar power, battery level, and load (if used)
- Lets you switch the load on and off (if used)
- Shows cumulative figures for energy generated and used
- Allows programming of battery type and size

You can cut a hole and mount the display unit flush (as I aways do on customer installations). This means making a large hole in the mounting surface. I mark the hole with the inside of a roll of sticky tape as the template (masking tape), then drill multiple linked holes, then file clean with a rasp. Takes a few minutes but is a big hole to cut if you are nervous.
 
Quick question on the panel (and the brackets) does the panel touch the roof at all? Do the bars I see in the photos keep it away from the roof or does it touch the roof?

I appreciate the panels are flexible and having an air gap is good for cooling them but I guess like many its just the risk of scratching I am most interested in.

I love the solar on my other camper and its definitely tempting for the Cali.
 
Sorry about misleading you. I'm not an auto electrician. :sorry
I just surface mounted the control unit with some Gorilla double sided tape.
 
Quick question on the panel (and the brackets) does the panel touch the roof at all? Do the bars I see in the photos keep it away from the roof or does it touch the roof?

I appreciate the panels are flexible and having an air gap is good for cooling them but I guess like many its just the risk of scratching I am most interested in.

I love the solar on my other camper and its definitely tempting for the Cali.

On my installation (which I think is basically the same as Roger's) only the angle supports touch the roof in the centre where it is highest.
I put helicopter tape under the angle to prevent any damage to the roof.
I checked the roof for scratches when I changed the panel recently and nothing at all. I think that as the supports are held down tightly on the roof it won't scratch as there is no movement between the roof and angles.


Ideed the panel touches the roof. The bolts actually gently pull it down onto the roof, as the roof is curved. I apply strips of waterproof foam on the underside of the panel to prevent any scratching issues.
 
Roger, is it possible to use a different Ethernet cable to connect the 2 units ( MPPT package ). I have found an ethernet cable that has a Right Angle ethernet plug on one end which would make it much easier to surface mount the Monitor Unit, or is the cable not a true ethernet cable?
 
Ideed the panel touches the roof. The bolts actually gently pull it down onto the roof, as the roof is curved. I apply strips of waterproof foam on the underside of the panel to prevent any scratching issues.

Hi Roger
There wasn't any foam on my panel, should it have been included in the Kit?
 
Hi WelshGas,

Where did you source that 90 degree cable, I've been looking for the same but no luck so far....

Cheers
 
- It is standard Ethernet cable (wired straight through)
Snowy - drop me an email (work email) and I'll send you some out - If yours is the one I packaged on Monday last week in a hurry it would seem I forgot to apply the tape.
 
Regarding right angle ethernet - I'd just use the "flexible" smaller end of the cable (one end is a rigid ethernet plug, the other - a much smaller version) and then basically crush it. I'd be surprised if you could find an ethernet plug that would result in a lower profile than that - basically the thickness of the cable bent over.
 
I didn't want to drill any holes for my installation so both the MPPT and the MT50 display unit are hung on brackets from the top of the panels they rest on.
These are two photos of the MPPT showing the brackets also utilizing the single cross point screw in already in the cupboard.
20150823_113453_zpsjahy9vot.jpg


20150823_113503_zps0bywsdud.jpg


I didn't take pictures of the display unit bracket but it was an aluminium back plate with an extra 50mm at the top that was pushed through the gap and then bent down inside wardrobe.
 
@Roger Donoghue
I took a good look at your website and was very interested in the graph showing a 100w panel doing enough to keep a compressor fridge (and a few extras) going indefinitely. Was that graph with the basic charger or with the MPPT upgrade?
It's nice to see that sort of solid data, as much of the solar chat seems to be guesswork!
 
Thanks - I took the readings with a voltage logger (USB) that you can leave plugged in for months if needed, then disconnect, plug into a pc, and graph the data. Very useful!

It was a regular PWM charger (super cheap one) and an 80w framed panel.

With the MPPT charger (that were not affordable or very common when I did that graph) you'd see another 10% charging minimum - that's what I see in real world side by side tests. If two identical panels are connected to a battery and one is MPPT and on PWM, and it was showing 1 amp on the PWM I'd expect to see 1.1 to 1.2 amps on the MPPT charger. LIkewise, 3.5amps PWM would be around 3.8 - 3.9amps on the MPPT charger. With thin panels the benefit is greatest as they produce over 20 volts and MPPT chargers turn that excess voltage into amps.
 
Hi,
I have a T5 140 with a tailgate(Transporter, not a Cali), with a pop-top roof. How do you route the cable from the solar panel into the back of the van?
Any help/suggestions appreciated
 
Back
Top