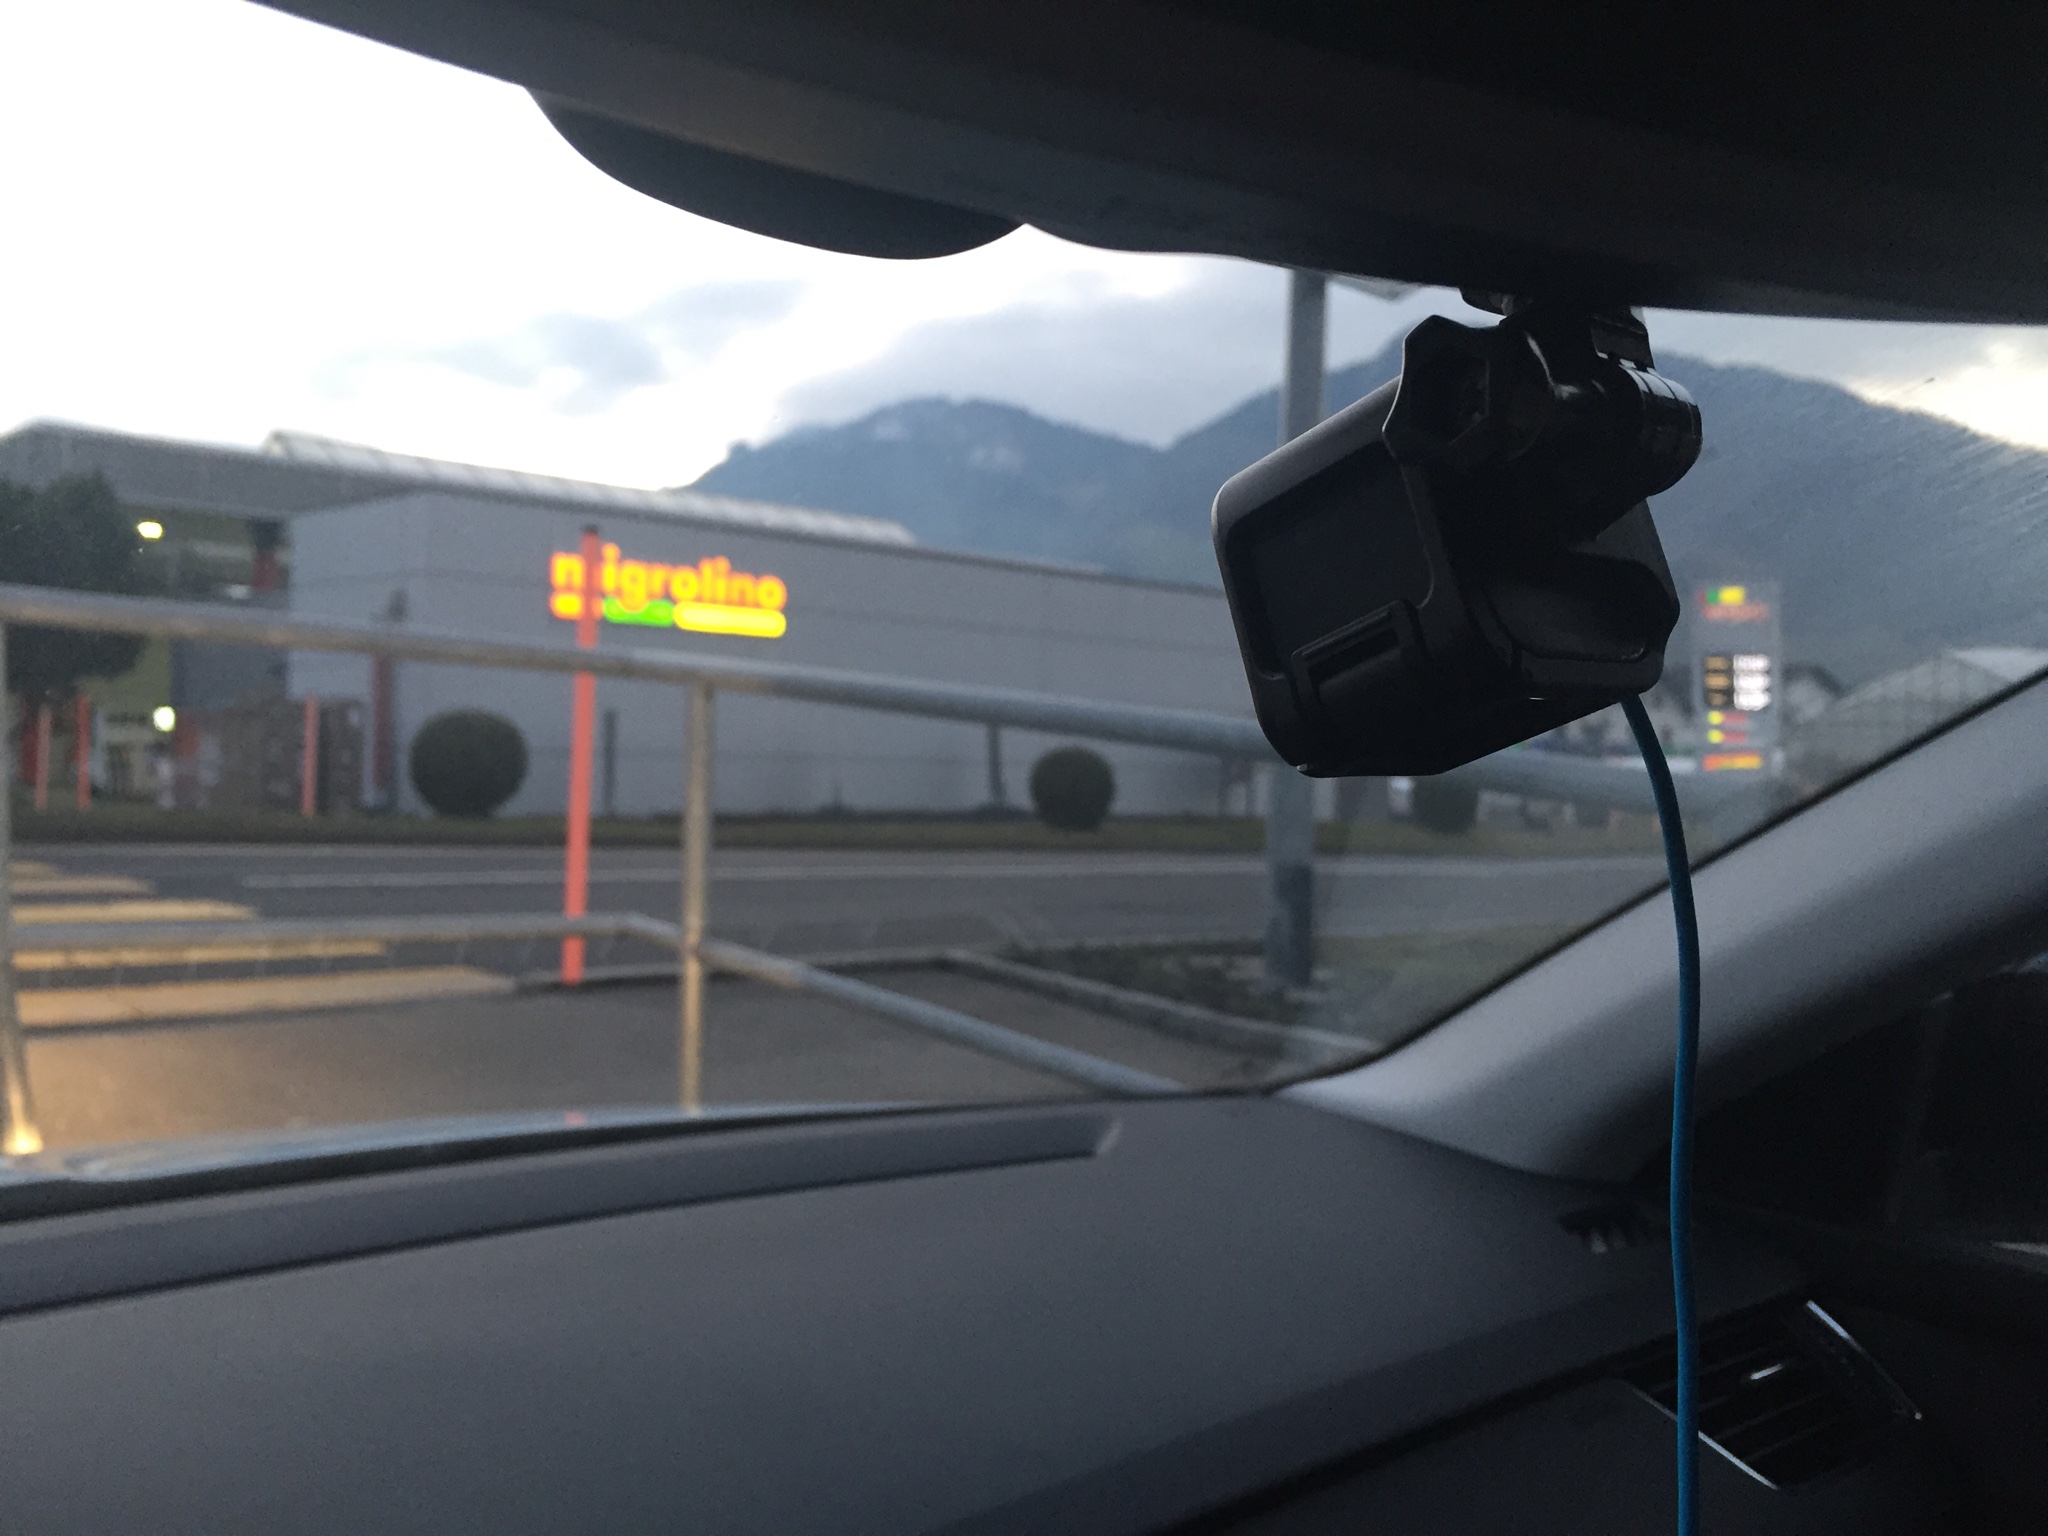
Dash camera install

I'm hoping to tackle this install tomorrow - @Loz thanks again for sending me those scotchloks! :thumb

My main priority for the dashcam install is parking surveillance as unfortunately I have to park on the road outside my house. There is a chance that some weeks it won't be driven other than on the weekends - so I've got a potential 5 day period that I'd like to get as much coverage of as possible.

I know that the SD card will only store so much video, and it depends on the amount of movement detected etc as to how much it records, but looking at just the power side of things for now...

Given this situation would I be best wiring it into the leisure battery, rather than the starter battery? My thinking is that the leisure battery could be ran down to a lower voltage than the starter battery, without risking running the starter battery too low and being unable to start the van? When camping we use hookup 95% of the time - if I know we're not going to be on hookup, then I'd disable the camera and fully charge the leisure batteries before the trip (try to charge leisure batteries before a big trip anyway).

Another thing I noticed in the manual - when driving the starter battery only gets a trickle charge of 2.5A, whereas the leisure battery is charged with (up to) 12.5A - so the leisure battery should be topped up much quicker, thereby allowing me to do less driving while still keeping the voltage required to power the dashcam for as long as possible once parked?

Or is this approach likely to shorten the life of the leisure battery considerably?

Finally - @Loz in the manual I notice that fuse 21 on the leisure battery fusebox powers the central control panel. Does this mean that by tapping into those wires in the control panel, we are actually running off the leisure battery? Or is fuse 21 just for power to the control panel itself, but the wires we're actually tapping are connected to the starter battery? That doesn't sound very clear - hope you get what I mean!

Any advice much appreciated!
:cheers
 
Snip

Another thing I noticed in the manual - when driving the starter battery only gets a trickle charge of 2.5A, whereas the leisure battery is charged with (up to) 12.5A - so the leisure battery should be topped up much quicker, thereby allowing me to do less driving while still keeping the voltage required to power the dashcam for as long as possible once parked?

I don't think that is right.

Lead Acid batteries have to be kept fully charged, so the alternator will always charge the engine battery fully as quickly as it can after the drain caused by start up.

My proof is that is when I had a flat battery and had to call out the RAC for a jump, the engineer clipped a amp meter around the engine battery cables after starting to check the system was charging, the engine battery was taking 45 amps at that point. The current dropped as the charge was completed.

The system is intelligent, so will sense when the engine battery is full and then divert the available charge current to the leisure batteries. At that point the engine battery may well be restricted to a maximum of 2.5amps in order to supply a decent charge current to the leisure batteries.

Alan
 
I'm hoping to tackle this install tomorrow - @Loz thanks again for sending me those scotchloks! :thumb

My main priority for the dashcam install is parking surveillance as unfortunately I have to park on the road outside my house. There is a chance that some weeks it won't be driven other than on the weekends - so I've got a potential 5 day period that I'd like to get as much coverage of as possible.

I know that the SD card will only store so much video, and it depends on the amount of movement detected etc as to how much it records, but looking at just the power side of things for now...

Given this situation would I be best wiring it into the leisure battery, rather than the starter battery? My thinking is that the leisure battery could be ran down to a lower voltage than the starter battery, without risking running the starter battery too low and being unable to start the van? When camping we use hookup 95% of the time - if I know we're not going to be on hookup, then I'd disable the camera and fully charge the leisure batteries before the trip (try to charge leisure batteries before a big trip anyway).

Another thing I noticed in the manual - when driving the starter battery only gets a trickle charge of 2.5A, whereas the leisure battery is charged with (up to) 12.5A - so the leisure battery should be topped up much quicker, thereby allowing me to do less driving while still keeping the voltage required to power the dashcam for as long as possible once parked?

Or is this approach likely to shorten the life of the leisure battery considerably?

Finally - @Loz in the manual I notice that fuse 21 on the leisure battery fusebox powers the central control panel. Does this mean that by tapping into those wires in the control panel, we are actually running off the leisure battery? Or is fuse 21 just for power to the control panel itself, but the wires we're actually tapping are connected to the starter battery? That doesn't sound very clear - hope you get what I mean!

Any advice much appreciated!
:cheers

Hi
When you complete the install would you take lots of pictures and explain what you did in detail. I want to have a go at hard wiring a dashcam myself, but I'm petrified that I might fry the electrics or break something important. Patience is not my best virtue then rage kicks in and I surrounded by broken bits after the mist clears. :shocked

Yes will definitely do this!

Have you seen this quite old thread on connecting a dash cam to the leisure battery?
https://vwcaliforniaclub.com/threads/guide-ipixi-winycam-x100fhd-vehicle-recording-device.4951/

Neat install by adding to the existing 12v fuse bar.
Most of the pictures & route should apply to the T6 as well.

I hadn't seen that post - that's really helpful actually and shows how I'd route the cable if powering from the leisure battery. Still need to decide if the leisure battery is the best option though.

I don't think that is right.

Lead Acid batteries have to be kept fully charged, so the alternator will always charge the engine battery fully as quickly as it can after the drain caused by start up.

My proof is that is when I had a flat battery and had to call out the RAC for a jump, the engineer clipped a amp meter around the engine battery cables after starting to check the system was charging, the engine battery was taking 45 amps at that point. The current dropped as the charge was completed.

The system is intelligent, so will sense when the engine battery is full and then divert the available charge current to the leisure batteries. At that point the engine battery may well be restricted to a maximum of 2.5amps in order to supply a decent charge current to the leisure batteries.

Alan

Thanks for that info Alan - that would make sense for it to operate intelligently like that.
 
@Loz Started his today, didn't get too far...

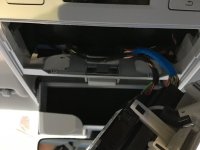
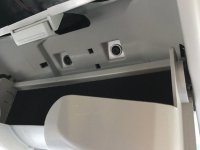
With the switch panel prised down, where are the 2 black screws that need removing? I can only see two small ones, but they just look to hold the sunglasses release catch in place (centre of first pic)? There are 2 black screws in the sunglasses holder (second pic) - are these the ones you mean? If they are, I tried to unscrew them but they wouldn't budge - might need a better torx screwdriver!

Also, should I be disconnecting the battery before doing this? There doesn't seem to be a way to turn off the central control panel fully as the screen is still on?

IMG_2543.JPG

IMG_2544.JPG
 
The front camera is now installed here are the steps.

First mount the camera so the lens looks out just below the shaded part of the screen.
I mounted it on the right of the rear view mirror as the camera needs to slide right to detach from the mount that is stuck to the screen.
View attachment 17226

Next remove the switch panel from the roof console by leavening it down from the front edge, you can make it easier by dropping down the sunglasses holder.
View attachment 17227
There are 2 black screws up inside that need to be removed.

Next remove the the roof console lights by levering down from the left. Again there are 2 more black screws to be removed.
View attachment 17228 View attachment 17229

With the 4 screws removed carefully prise down the whole roof console.
View attachment 17230
It may help to remove the control panel first and to do this I found that
I needed to release the side clips with my trim tool.
View attachment 17231

With the console down you can pass out the power lead and connect it to the camera and push the bundle of spare cable into the gap above the roof lining.

The F770 hard wire kit needs a permanent and switched feed plus an earth connection.
The earth connection can de made to one of the 2 black screws you can see when you look up under the roof and the red and yellow cables need to be spliced into the loom that goes to the 6 wire plug in the back of the camping control unit.

As you look at the back of the control unit you will see 3 connectors; a 32 pin plus with a purple clip over it, a 2 pin plug and a 6 pin plug.

The 6pin plug has a permanent live on the red wire and a switched live on the black wire.
Using a couple of 3M splice crimps (jelly filled BT quality ones) join the yellow(batt) lead from the camera to the permanent feed red wire and the red(ACC) camera lead to the black wire.
View attachment 17232

Tidy up the cables and push the slack back up into the void at the side and refit the roof console, put the 4 screws back in and refit the 3 units.
View attachment 17233

Job done.
Hi loz
excellent piece. I have a couple of questions, you didn't mention any fuses, have you fitted any? secondly, I have a nextbase unit, the hardwire kit only has two wires, live and earth, so live to the switched wire I guess? The kit is quite neat as it piggybacks into an existing fuse slot, but routing the cable is a bit of an a**e, your way is much neater.
 
OK.... You are all scaring me now! I have thoroughly enjoyed watching the UTUBE Russian dashcams but do we seriously need them here? I have been driving for 45 years and cannot think of a single occasion when one would have been needed. Which means had they been available fourty five years ago I would probably have wasted a fortune on them by now.... A little bit like British gas boiler cover. Is this a case of a desire creating a need I ask myself.
 
OK.... You are all scaring me now! I have thoroughly enjoyed watching the UTUBE Russian dashcams but do we seriously need them here? I have been driving for 45 years and cannot think of a single occasion when one would have been needed. Which means had they been available fourty five years ago I would probably have wasted a fortune on them by now.... A little bit like British gas boiler cover. Is this a case of a desire creating a need I ask myself.
Maybe I'm just unlucky but I've had numerous near misses over the years and the odd altercation with road rage idiots (including one yesterday!). These incidents seem to be happening more often as time goes by, everyone is so angry!
I've dabbled with a cheap dash cam in the past, I think it was calikev who recommended a ÂŁ40 one and it was crap!
After doing a bit of research I bought a nextbase 412GW yesterday, hopefully I'll never need it but I'll feel a bit happier knowing it's there especially if it results in a bit of extra discount on my insurance as well.
 
OK.... You are all scaring me now! I have thoroughly enjoyed watching the UTUBE Russian dashcams but do we seriously need them here? I have been driving for 45 years and cannot think of a single occasion when one would have been needed. Which means had they been available fourty five years ago I would probably have wasted a fortune on them by now.... A little bit like British gas boiler cover. Is this a case of a desire creating a need I ask myself.

I've luckily only had one incident which was caused by a plonker running a red light at a round-about. If I'd had the camera at the time I would have been able to prove he was at fault. It was his word against mine, so the camera gives you a pair of extra eyes.

The reason they caught on in Russia was because people were getting fed up of being crashed into by police and other official cars. It was your word against their's, the cameras made the authorities accountable.

...message ends...
 
Last edited:
Hi loz
excellent piece. I have a couple of questions, you didn't mention any fuses, have you fitted any? secondly, I have a nextbase unit, the hardwire kit only has two wires, live and earth, so live to the switched wire I guess? The kit is quite neat as it piggybacks into an existing fuse slot, but routing the cable is a bit of an a**e, your way is much neater.
The hardwire kit for F770 comes with inline fuses, but you could add some to yours.
 
A couple of questions
Is there a front and rear dashcam set up that doesn't require the rear camera to be hard wired to the main front camera (wireless)?

Where do you take the power supply for the rear camera?
 
Maybe I'm just unlucky but I've had numerous near misses over the years and the odd altercation with road rage idiots (including one yesterday!). These incidents seem to be happening more often as time goes by, everyone is so angry!
I've dabbled with a cheap dash cam in the past, I think it was calikev who recommended a ÂŁ40 one and it was crap!
After doing a bit of research I bought a nextbase 412GW yesterday, hopefully I'll never need it but I'll feel a bit happier knowing it's there especially if it results in a bit of extra discount on my insurance as well.
I've just been out and installed it - slightly disappointed as the instructions recommend siting it behind the rear view mirror, but on both of my 2 work vans that I'll be swapping between there is a black shaded area there and the suction mount won't stick to it. So I've had to move it to the passenger side about 2 inches and it looks a bit unsightly.
Do most people mount it there?
 
I've got it installed - well at the front anyway - so thanks @Loz again for your instructions! :)

To answer my own questions from above - yes it is those 2 black screws, and I didn't disconnect any of the batteries.

The hardest part was getting all the new cabling out of the way so the control panel would fit flush back onto the roof and the switch/control panels would click properly into place - those inline fuses kept getting in the way so it took several attempts.

I also originally mounted it too far over to the left, then realised when I looked properly at the video that the mirror mount was obstructing the view - cue some swearing, an hour with a hairdryer (and burning my fingers) to get the sticky pad off and move it over a bit, luckily another pad was included in the box!

It's quite fiddly to re-connect the power cable in the event that you remove it from the Cali (not that I intend to often), so I pulled through a bit more slack of the cable to make this a bit less fiddly.

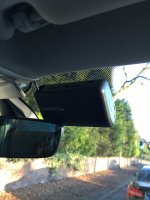
Here's a pic of it installed, with my dog photobombing in the rear view mirror. :cool:

Very pleased with the result, nice and neat and out of the way. Hopefully soon I will find some time to look at the rear camera.

IMG_2668.JPG
 
I've got it installed - well at the front anyway - so thanks @Loz again for your instructions! :)

To answer my own questions from above - yes it is those 2 black screws, and I didn't disconnect any of the batteries.

The hardest part was getting all the new cabling out of the way so the control panel would fit flush back onto the roof and the switch/control panels would click properly into place - those inline fuses kept getting in the way so it took several attempts.

I also originally mounted it too far over to the left, then realised when I looked properly at the video that the mirror mount was obstructing the view - cue some swearing, an hour with a hairdryer (and burning my fingers) to get the sticky pad off and move it over a bit, luckily another pad was included in the box!

It's quite fiddly to re-connect the power cable in the event that you remove it from the Cali (not that I intend to often), so I pulled through a bit more slack of the cable to make this a bit less fiddly.

Here's a pic of it installed, with my dog photobombing in the rear view mirror. :cool:

Very pleased with the result, nice and neat and out of the way. Hopefully soon I will find some time to look at the rear camera.

View attachment 18343

Dental floss is a useful technique when removing sticky pads like 3M.


...message ends...
 
  • Like
Reactions: Loz
Maybe I'm just unlucky but I've had numerous near misses over the years and the odd altercation with road rage idiots (including one yesterday!). These incidents seem to be happening more often as time goes by, everyone is so angry!
I've dabbled with a cheap dash cam in the past, I think it was calikev who recommended a ÂŁ40 one and it was crap!
After doing a bit of research I bought a nextbase 412GW yesterday, hopefully I'll never need it but I'll feel a bit happier knowing it's there especially if it results in a bit of extra discount on my insurance as well.

Good choice on the 412GW! best one nextbase does at the moment, 1440p is really good. Just so you know, although they advise up to 32gb sd cards, I have safely tested a 64gb sandisk card and it works just fine.

If you find that the suction cup on the mount is black in colour, they are prone to falling off the window, not sure why that is, when I have queried nextbase's technical support they sent me a couple of dozen clear replacement suction cups that seemed to be better.

Just 2 things to remember, format the 412GW sd card in the device only - it wont recognise the formatting of any other device. And don't use cheap sd cards, they have a tendency to overwrite the internal memory of the nextbase device rendering it faulty.

Love to know your thoughts on it when you have used it for a while.
Yes I discovered it accepted 64gb as I had a spare one I removed from my last Samsung S5, seems to be working fine.
As of yet I haven't experimented with editing/copying files or uploading to their server, I feel I need to get to grips with this in case of an incident but can't be bothered at the moment as too busy!
Definitely feel happier having it in the van, I like the fact it unclips from the base so easily as I don't like leaving it in place overnight.
 
Good choice on the 412GW! best one nextbase does at the moment, 1440p is really good. Just so you know, although they advise up to 32gb sd cards, I have safely tested a 64gb sandisk card and it works just fine.

If you find that the suction cup on the mount is black in colour, they are prone to falling off the window, not sure why that is, when I have queried nextbase's technical support they sent me a couple of dozen clear replacement suction cups that seemed to be better.

Just 2 things to remember, format the 412GW sd card in the device only - it wont recognise the formatting of any other device. And don't use cheap sd cards, they have a tendency to overwrite the internal memory of the nextbase device rendering it faulty.

Love to know your thoughts on it when you have used it for a while.

I bought a NextBase 512G based on the write-up from another forum poster, and I absolutely hate it. Perhaps I've been spoiled with Apple tech or from using nice cameras etc, but it looks and feels cheap and the screen interface is horrible. The desktop app, at least on Mac, also stinks.

Today it's decided not to recognise the SanDisk SD card, so I'm secretly hoping it's broken so I can get a replacement with a clean conscience.

On the plus side it's very simple to use (one button on/off, another button to hard-save current clip, and the highest setting video picture quality is 'okay'.
 
Thanks for the review. Like to hear the bad as well as the good. Something I still need to get done.


Mike
 
Great work @Loz thank you for sharing.
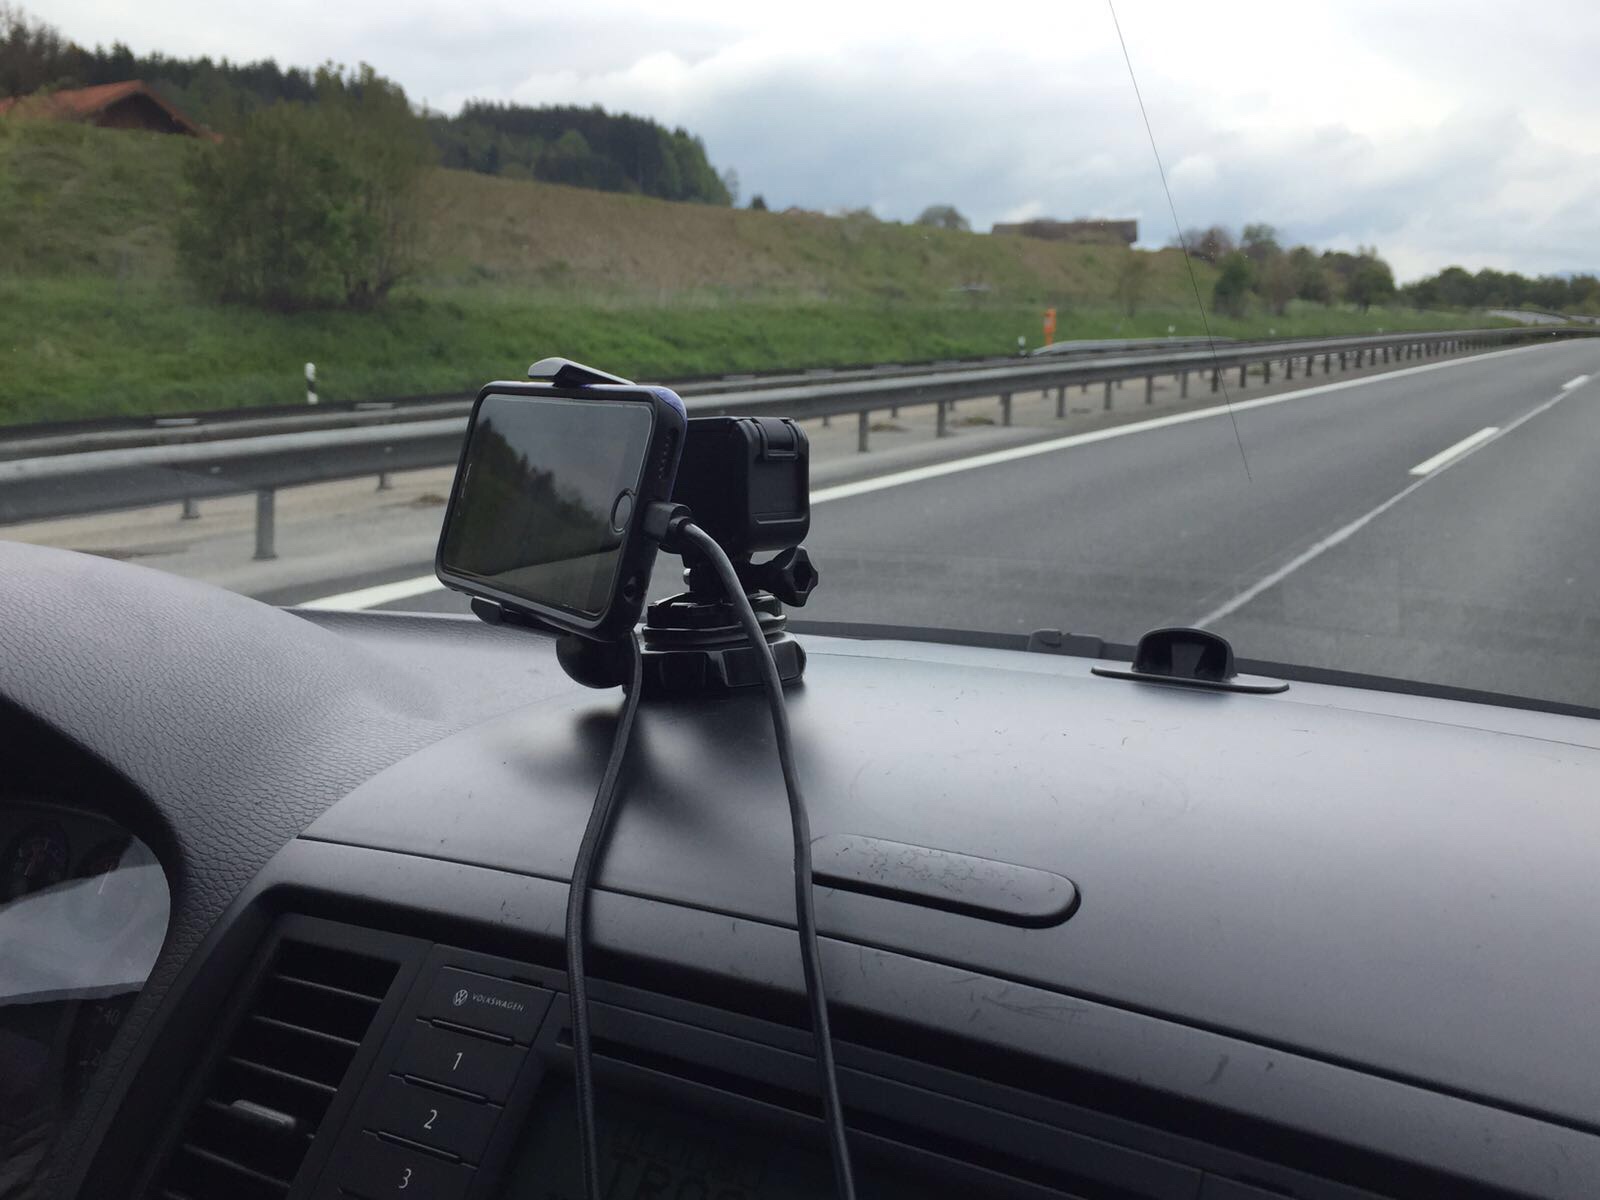
I went the easy way:
ec7e203fbef45f90c39051cd289f3d57.jpg

VWT5: Gopro Session attached to a cheap iphone suction cup
8e3233d263b12c0a744201e8a55113f9.jpg

Skoda Octavia: also Gopro Session

It works however the wire aren't as nicly done as you did @Loz. Not at all
 
The front camera is now installed here are the steps.

First mount the camera so the lens looks out just below the shaded part of the screen.
I mounted it on the right of the rear view mirror as the camera needs to slide right to detach from the mount that is stuck to the screen.
View attachment 17226

Next remove the switch panel from the roof console by leavening it down from the front edge, you can make it easier by dropping down the sunglasses holder.
View attachment 17227
There are 2 black screws up inside that need to be removed.

Next remove the the roof console lights by levering down from the left. Again there are 2 more black screws to be removed.
View attachment 17228 View attachment 17229

With the 4 screws removed carefully prise down the whole roof console.
View attachment 17230
It may help to remove the control panel first and to do this I found that
I needed to release the side clips with my trim tool.
View attachment 17231

With the console down you can pass out the power lead and connect it to the camera and push the bundle of spare cable into the gap above the roof lining.

The F770 hard wire kit needs a permanent and switched feed plus an earth connection.
The earth connection can de made to one of the 2 black screws you can see when you look up under the roof and the red and yellow cables need to be spliced into the loom that goes to the 6 wire plug in the back of the camping control unit.

As you look at the back of the control unit you will see 3 connectors; a 32 pin plus with a purple clip over it, a 2 pin plug and a 6 pin plug.

The 6pin plug has a permanent live on the red wire and a switched live on the black wire.
Using a couple of 3M splice crimps (jelly filled BT quality ones) join the yellow(batt) lead from the camera to the permanent feed red wire and the red(ACC) camera lead to the black wire.
View attachment 17232

Tidy up the cables and push the slack back up into the void at the side and refit the roof console, put the 4 screws back in and refit the 3 units.
View attachment 17233

Job done.
Hi Loz
I haven't wired in the rear camera yet, because I was waiting to get access to the manuals for the trim removal. I have now purchased all the necessary workshop manuals and as soon as I get time with weather permitting, I'll post a how to.

My current plan is to wire it through the trim over the sliding door to avoid the trim trapped by the wardrobe but there is access at the very top of the wardrobe to the roof.

The scotch-locked wires are very small gauge, I actually used some BT ones used by the guys who do the underground joints as they are jelly filled. I could post you a couple if you PM me your address.
Hi Loz, I have T6 ocean 2017 picked it up 24/03/2017. And looking to fit blackvue dr650s front/rear. I would love to hear how you routed the cable for the rear camera. Do you know if those jelly connectors are available to buy.
Thanks for any help. Steve.
 
Hi Loz

Hi Loz, I have T6 ocean 2017 picked it up 24/03/2017. And looking to fit blackvue dr650s front/rear. I would love to hear how you routed the cable for the rear camera. Do you know if those jelly connectors are available to buy.
Thanks for any help. Steve.
Now the weather is improving I will get to that job so will update the thread, if you pm my your address I'll put some crimps in the post. The only other place will be your friendly BT man if you pass one at the side of the road..
 
I put my rear one on the same panel as the previous photo but on the vertical side rather than underneath. As I have a Beach underneath would have been a bit exposed (no rear locker). It needs to be offset to either the right or left to clear the top hook for the tailgate blind.
View attachment 18033
View attachment 18035
I took the wiring down the nearside of the van running it in the panel that houses the led lights & air vents. (above the cooker & fridge on the SE)
View attachment 18034

The wire could be routed reasonably easily in the cab headlining, just need to peal back the door rubbers a bit. That gets you to the B pilar and can then access the living area trim. B pilar trim comes off quite easily (but is a pig to put back and get the sliding seatbelt slot in line). Possibly you don't need to remove the trim I can't remember Im afraid. I did pop out the 3 LED lights & the heater vents so that I could fish around being the trim. The middle (large) light was also a fiddle to get back into place.
I completely removed the trim across the top of the tailgate area (it hadn't been fixed properly anyway after roof work), then had better access to get the cable the last part of the way. Used a variety of hooks, bent rods etc to help in routing the cable. The camera I had came with some sticky pads to hold the cable prevent rattles. Also used some small zip ties & wiring loom tape.
The SE/Ocean is obviously going to be a bit different with the wardrobe.
Good luck, its a fiddly job so take your time.
You can run the cable to the rear camera with out taking any panels off.
One you get to B pillar use something plastic to work the cable behind the panel and then there are three LED lamps remove them and work the cable behind the panel, ( this is all kitchen side ) once you get it to the LED lamp nearest the wardrobe then go to the rear of the vehicle and open the cubboard that houses the gas bottle look up and you will see a gap in the trim close to van roof.
You will need some stiff cable. I used a length of aerial coax left over from another job. At this point you need a bit of patience and work it through and you will see it at the LED light housing attach the cable to it and pull through, nice and steady. From there it is straight forward. I hope this helps all.
 

Similar threads

M
Replies
4
Views
4K
JamesTT
J
Racing 47
Replies
14
Views
3K
Van Diesel VW
Van Diesel VW
L
Replies
2
Views
1K
Lorri
L
This Eva
Replies
19
Views
2K
dspuk
dspuk
J
Replies
1
Views
1K
HistoryBob
H
Back
Top