Hey!
It actually required two holes for each using the drill head you see on the photo, then connecting them to cut out about 0,5cm rectangular hole. Drilling four holes on a van roof is stressful! The solar panel has two cables attached to it, but there is also some raised sealing around them and it is in rectangular shape. That’s why the cut is needed in the same shape, otherwise there would be a bump when I stick the panel on the roof which may cause the double sided tape to give up at some point.
View attachment 99980
View attachment 99981
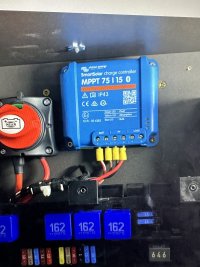
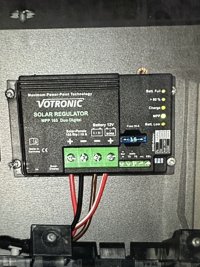
The wires are connected to the controllers in the cabinet. I have now two controllers, Victron MPPT 75/15. I replace the existing one. In addition, I also added a Victron Battery Sense which both Solbian and the electrician recommended so that the controllers gets the battery data. The control panel in the van works as usual, but I can also get the data on my phone via Bluetooth now. See the image below (it’s dark here now, so they don’t produce anything ).
The cables are connected to the controllers. From there, they go straight up towards the ceiling behind the wall “cover”. From there, they’re routed towards the front of the wet room inside the ceiling. Then positive and negative separates: one goes to one panel and the other one to other panel. The panels are connected to each other in parallel.
View attachment 99985
View attachment 99983
View attachment 99984


