Buy all your VW California Accessories at the Club Shop Visit Shop

What have you bought for your Cali today :-)

Having recently bought our 2nd we wanted it to look a little different inside from our previous Cali.

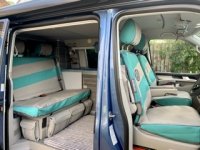
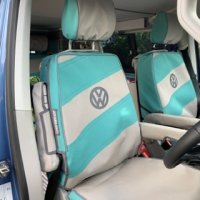
This time we have gone for a darker Brandrup carpet and sand coloured Inka seat covers. We think it looks much brighter inside compared to our previous pale grey carpet and grey Inka covers.

Better still this colour seat cover were half the price of the grey colour!
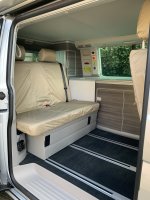
E5B440C1-3D89-4737-9308-613AA776C4C5.jpeg
 
Denise at Jackyards.com is so helpful, I took a long time to finalise my colour choices but nothing was too much trouble. Best of all they offer a club discount too!
 
Denise at Jackyards.com is so helpful, I took a long time to finalise my colour choices but nothing was too much trouble. Best of all they offer a club discount too!
Thank you Jans2
Could you share more photos, please?
To see the details
 
Thank you Jans2
Could you share more photos, please?
To see the details
There are loads of close up photos on Jackyards website.
 
Cool looking seat covers.
We’ve just got a Brompton and an Ikea Dimpa bag to put it in.
 
There are loads of close up photos on Jackyards website.

Thanks for being more on the ball than me Amarillo. There are lots of photos on Jackyards Instagram and Facebook page too. Denise can send you a proper colour chart and (for really difficult customers like me) she can get bigger swatches sent out too.
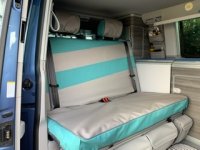
I haven’t tightened up the back seat cover properly yet, so it’s not as neat as it is supposed to be.28679013-081B-4C68-887C-953CBC68941F.jpeg

C26DDF55-6D33-4677-AB35-4C2E10202B80.jpeg
 
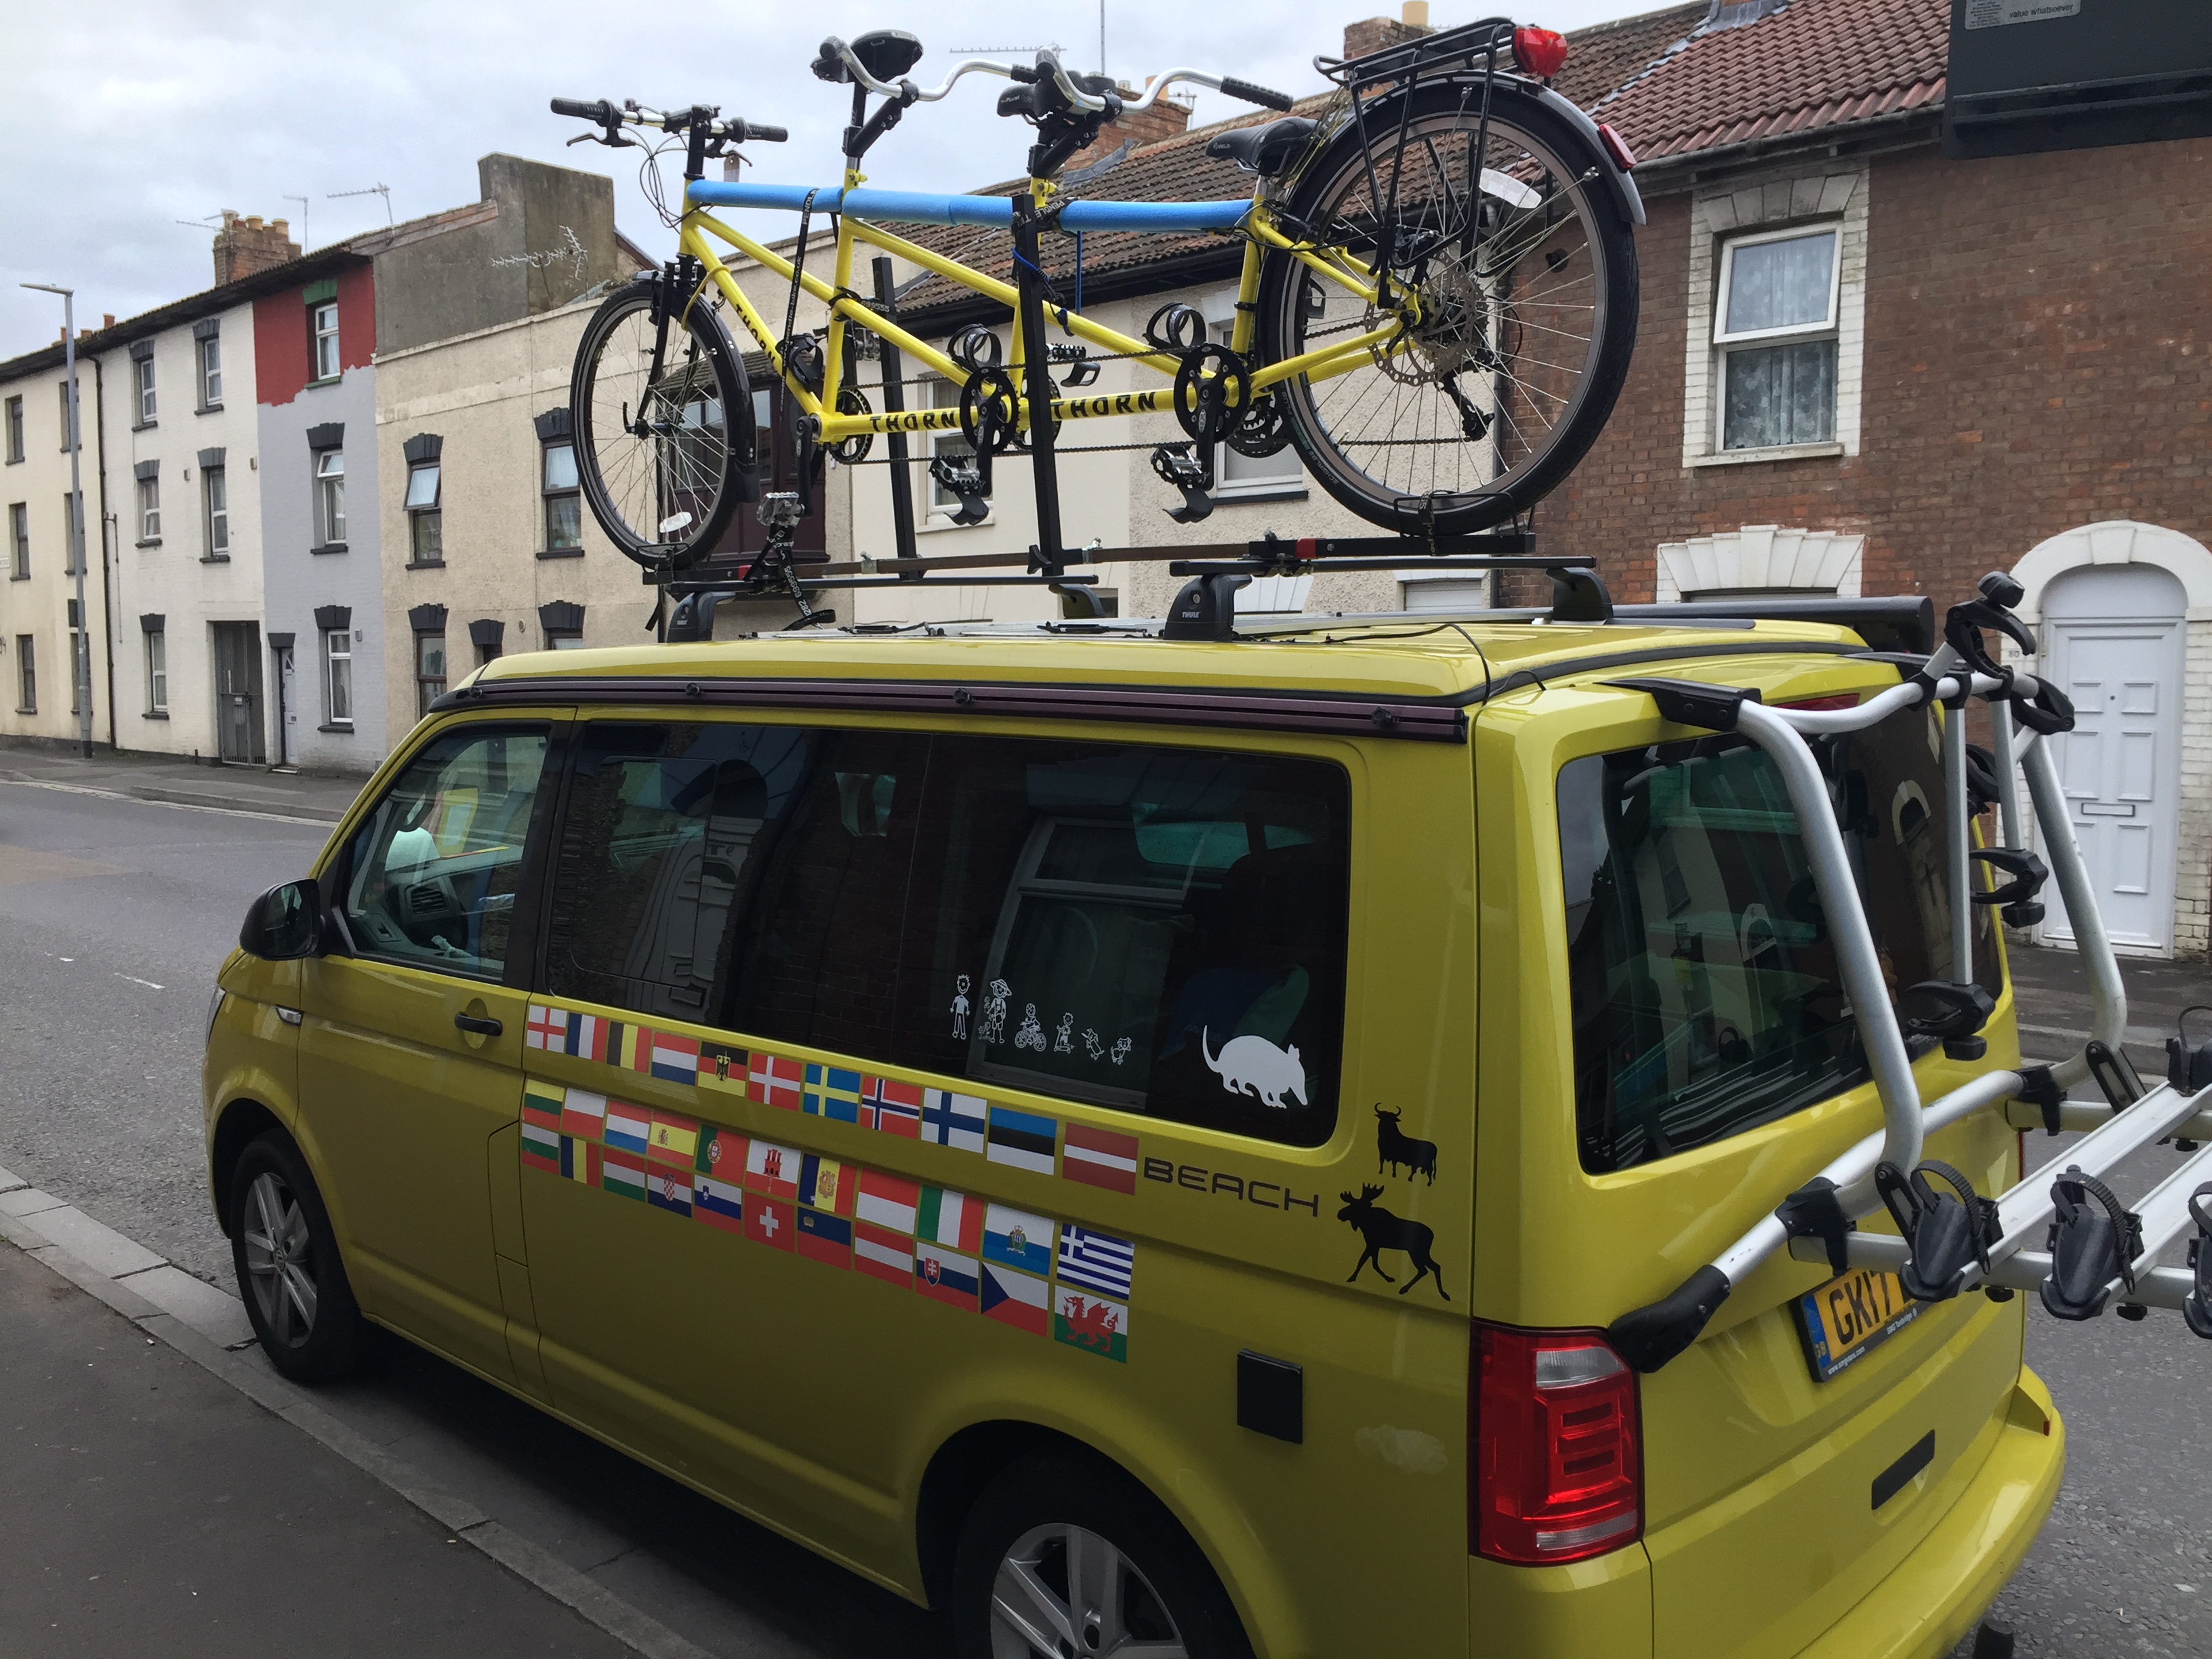
A bicycle made for three.

98141b996ff213ece0af72d975afd697.jpg
 
Nice, but how do you get that on the roof

It was easier than I expected.

I placed a step up about 6” from the van, secured the front wheel with a bungee, lifted the triplet from the pilot’s and first stoker’s seat post tubes just above the boob tube [sic], stepped up onto the step up, slotted the wheels in place and secured the tandem to the starboard upright with a bungee. I then strapped both wheels to the wheel slots, strapped the frame to the starboard upright, positioned and clamped the port upright in place and strapped the frame to that.

I’d previously practiced at home with a standard (but noticeably heavier) tandem without the assistance of a four inch kerb.

The only comical moment was when I tried to wheel the triplet forward with the front wheel bungeed. I couldn’t work out why I couldn’t wheel the damn thing and thought I must have accidentally engaged the emergency (third) brake which is a ratchet brake for reducing speed on long descents and can be used as a parking brake. Doh!
 
A fan for the cooler

The situation:
Outside 35 °C., sun burns on the left side of the Cali, the battery charger and the refrigerator are working and producing much additional heat around there housing. At an ambient temperature of 55 °C the heat protection of both aggregates will stop their operation. Under these conditions the refrigerator has a hard job to hold the cooling temperature. Unfortunately there is no ventilation in the cabinets

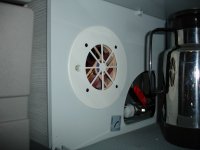
For better ventilation I installed a 92mm PC -Fan ( Noctua NF-A9), a new frame for my Cali T6 was built by 3D-printing from a club member. The fan only runs when the compressor runs and transports the hot air in the left kitchen unit( additionally the door a little bit open). For extraordinary sensitive ears during the night there is an on-off micro switch to be seen on the left side of the frame. The electrical connection is plug and play to the compressor terminal, because special connectors for an optional fan already exist on that terminal.

Greetings from the border of the Baltic Sea ( no fan needed at the moment)

AxelKühlschranklüfter.JPG
 
A fan for the cooler

The situation:
Outside 35 °C., sun burns on the left side of the Cali, the battery charger and the refrigerator are working and producing much additional heat around there housing. At an ambient temperature of 55 °C the heat protection of both aggregates will stop their operation. Under these conditions the refrigerator has a hard job to hold the cooling temperature. Unfortunately there is no ventilation in the cabinets

For better ventilation I installed a 92mm PC -Fan ( Noctua NF-A9), a new frame for my Cali T6 was built by 3D-printing from a club member. The fan only runs when the compressor runs and transports the hot air in the left kitchen unit( additionally the door a little bit open). For extraordinary sensitive ears during the night there is an on-off micro switch to be seen on the left side of the frame. The electrical connection is plug and play to the compressor terminal, because special connectors for an optional fan already exist on that terminal.

Greetings from the border of the Baltic Sea ( no fan needed at the moment)

AxelView attachment 52365
Could you please share more details about the cable connections,please?
Thanks
 
Could you please share more details about the cable connections,please?
Thanks
Hi tharabas,
the electrical compressor terminal has a free + connector (not switched) and a free F (fan) connector. The fan is switched over this - F connector. All to be seen behind the removed round cover plate.
Axel
 
Hi tharabas,
the electrical compressor terminal has a free + connector (not switched) and a free F (fan) connector. The fan is switched over this - F connector. All to be seen behind the removed round cover plate.
Axel
Thanks exdent.
 
Back
Top