GrahamB
Hope this iCloud link works. Shows the switch in use…https://share.icloud.com/photos/09cegWa9w7SZOXTmeuLhmLWzw
Nice installation.Hope this iCloud link works. Shows the switch in use…https://share.icloud.com/photos/09cegWa9w7SZOXTmeuLhmLWzw
Yes the button needs a very slight press.Nice installation.
Is this button touch sensitive or does it need to be pushed in slightly to operate.
Another plus as you demonstrated in the video is the one handed operation of the gas tap and successful ignition that was impossible with the piezo spark plunger.

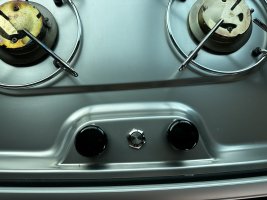
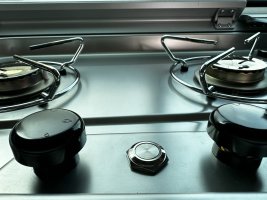
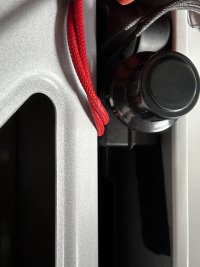
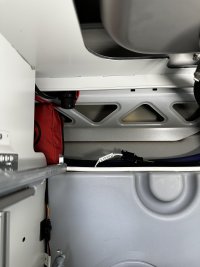
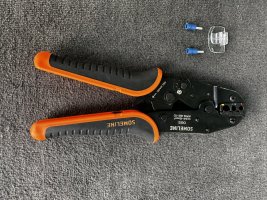
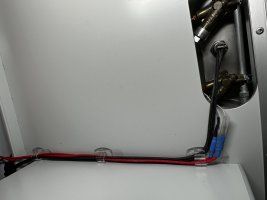
Looks classy.Thanks to everyone’s input on this project, I upgraded my stove ignition this morning. I used Corradobrit’s “Eterma Grill Igniter” option (post #51) but ordered a different metal button that was 16mm width as I wanted the whole process to be reversible if wanted/desired by any future owner (why they would is beyond me, but it’s their option). This means the igniter hole remains factory intact and thus no chance of me screwing up by enlarging it. I also ordered two of the 16mm igniter buttons that I eventually opted for so I would have two locking nuts like GrahamB mentioned in his post (#75) to ensure the button locked tight with one nut above and one below.
I also elected to used another location for the battery holder that works for the option I used (not sure if other battery compartment sizes used by other posters will work). The location coupled with Velcro I used worked perfectly in keeping the holder tightly wedged in.
I kept the VW connectors intact by using the connectors in the photo which worked perfectly. I used some electrical tape and heat shrink to help ensure the spark went to the hob and neaten it up. Routed the cable with some 3M clips. Very happy with outcome!
View attachment 104694
View attachment 104695
View attachment 104696
View attachment 104697
View attachment 104698
View attachment 104699
I used this one because it had spade connectors which allowed me use the existing cable terminals. There are others that are probably cheaper I’m sure. If you use this one it actually has 3 spade connectors. Use one outside and the middle one and tape over the remaining one. If you connect up and the spark immediately fires without pressing the button, just swap the outside connector with the other outside connector.Looks classy.
I think I will go this route first. No point drilling bigger holes when unnecessary. Do you have a link to the button you ordered?
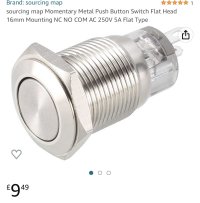
I followed VincentVan original post with the above button.....fantastic upgrade....sitting on the drive on a sunday afternoon pressing the button is so satisfying..life is good!I used this one because it had spade connectors which allowed me use the existing cable terminals. There are others that are probably cheaper I’m sure. If you use this one it actually has 3 spade connectors. Use one outside and the middle one and tape over the remaining one. If you connect up and the spark immediately fires without pressing the button, just swap the outside connector with the other outside connector.
View attachment 104706


The VW California Club is the worlds largest resource for all owners and enthusiasts of VW California campervans.

