


Roger Donoghue
VIP Trade Partner
- Messages
- 465
- Vehicle
- T5 Beach
1 - unfortunately not. There is a WiFi adapter for your charger but the app is really poor so I don't sell it.
2 - you either need to replace your solar regulator with a dual charger like the Western Co one on my site (drop me an email and I'll see if I can better retail price for you as an existing customer) - which also has Bluetooth.
Or, insert a two way toggle switch between the regulator and both batteries so you can flick it between charging your starter battery OR your leisure batteries. It won't do it automatically. But of a bodge but can be used to put charge in the starter battery in an emergency.
 IMG_5027


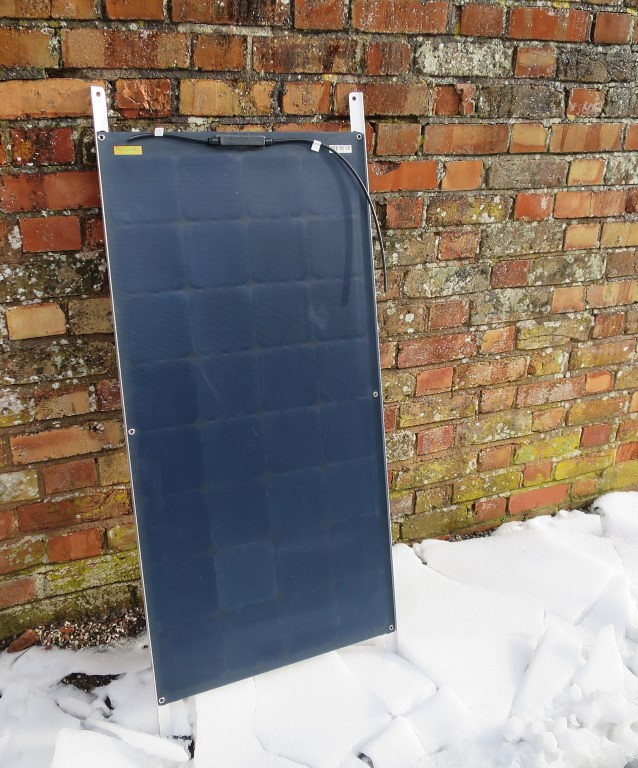
") The roof curve helps hold the panel down firm so there is no movement.
The roof curve helps hold the panel down firm so there is no movement.


